
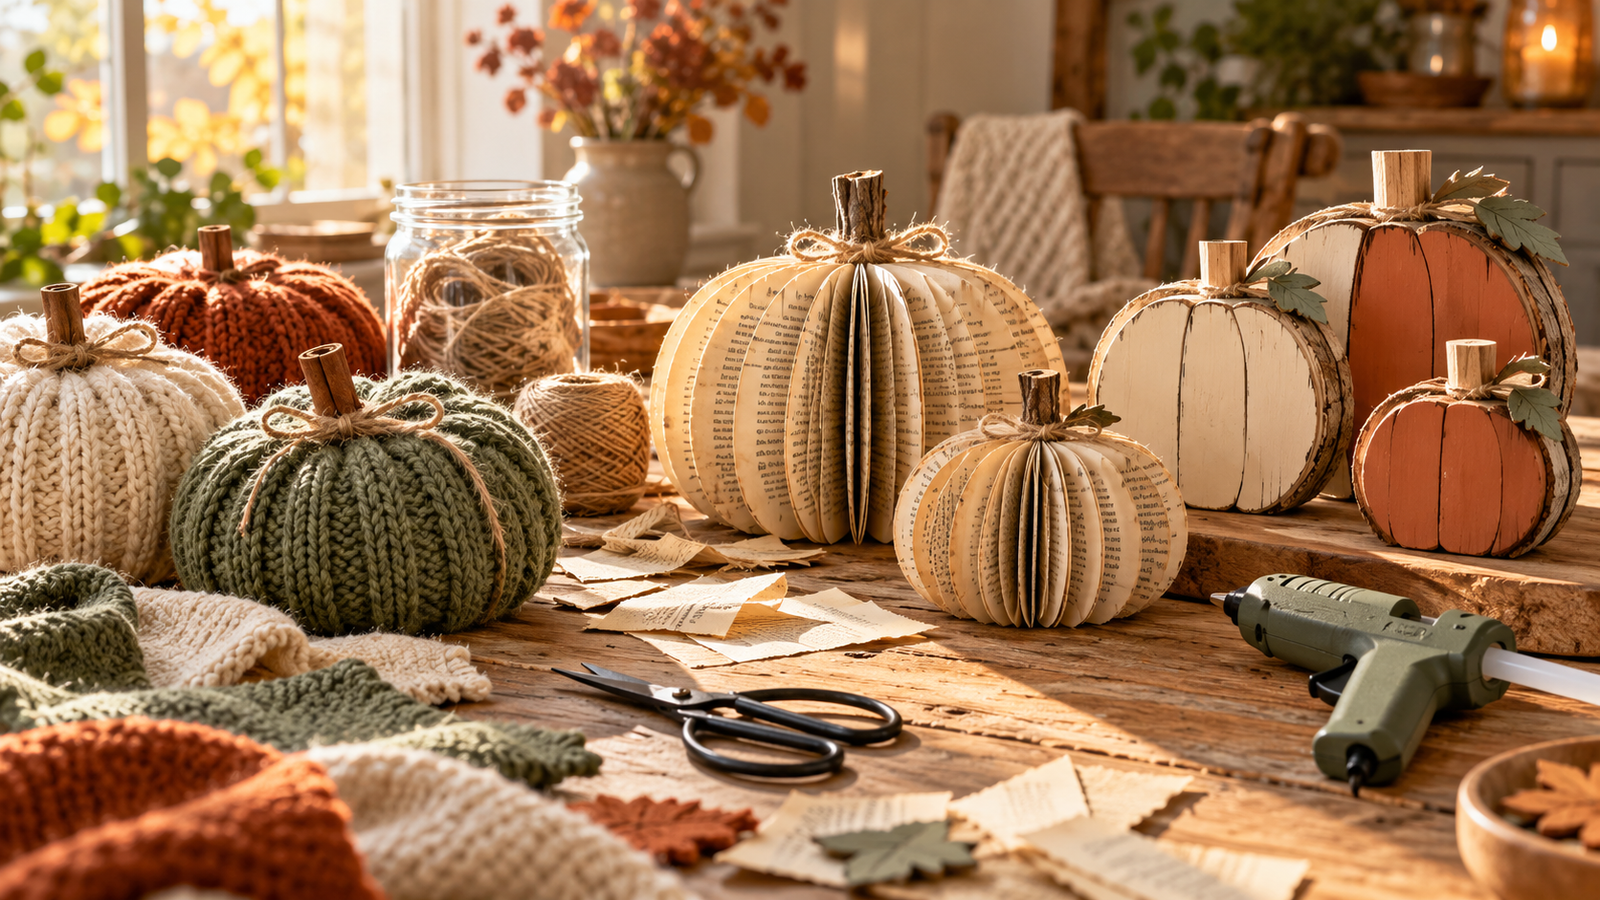
I’ll let you in on a little secret: some of the most-saved pumpkins on my Pinterest boards weren’t grown in a patch at all. They were made from old sweaters, book pages, toilet paper rolls, and scraps of wood on a slow Sunday afternoon.
DIY pumpkin home decor is one of my favorite fall projects. It’s cozy, creative, and so budget-friendly, because most of what you need is already sitting in your closet or recycling bin. And unlike real pumpkins, handmade ones last for years.
In this post, I’m sharing five step-by-step pumpkin tutorials for beginners, plus 20 quick DIY pumpkin ideas you can make in an afternoon. Put the kettle on, grab your glue gun, and let’s get crafting.
Why Make Your Own Pumpkins?
Handmade pumpkins have a charm you just can’t buy. They’re soft, textured, and personal, and every one is a little bit different. They’re also safe for kids and pets, they never rot, and they pack flat or stack neatly for storage.
Best of all, DIY pumpkins let you match your decor exactly. Want sage and cream? Rust and mustard? Moody plum? You can make them in any color and texture you like.
Supplies for Most Projects
Keep these in one basket and you’ll be ready for almost every idea below:
- Old sweaters, fabric scraps, or flannel
- Hot glue gun and glue sticks
- Twine, jute, and ribbon
- Cinnamon sticks, real pumpkin stems, or small twigs
- Acrylic paint in cream, sage, terracotta, and gold
- Old books, paper, and cardboard rolls
- Polyfill or cotton stuffing
- Scissors, a needle, and thread
5 Step-by-Step DIY Pumpkin Tutorials
Tutorial 1: Cozy Sweater Pumpkins
- Cut a sleeve or a section from an old sweater to make a fabric tube.
- Gather one end and tie it tightly with twine, then turn the tube inside out.
- Fill it with stuffing until it’s round and plump.
- Gather the open top and tie it closed.
- Glue a cinnamon stick or real stem into the top and wrap a bit of twine around it.

Tutorial 2: Book Page Pumpkins
- Tear 40 to 60 pages from an old book you no longer need.
- Stack them and cut them into a half-circle shape.
- Fold the stack in half, then glue the straight edges to a small piece of cardboard.
- Fan the pages out and glue the first and last pages together to form a round pumpkin.
- Add a twig or cinnamon stick stem and a small paper leaf.

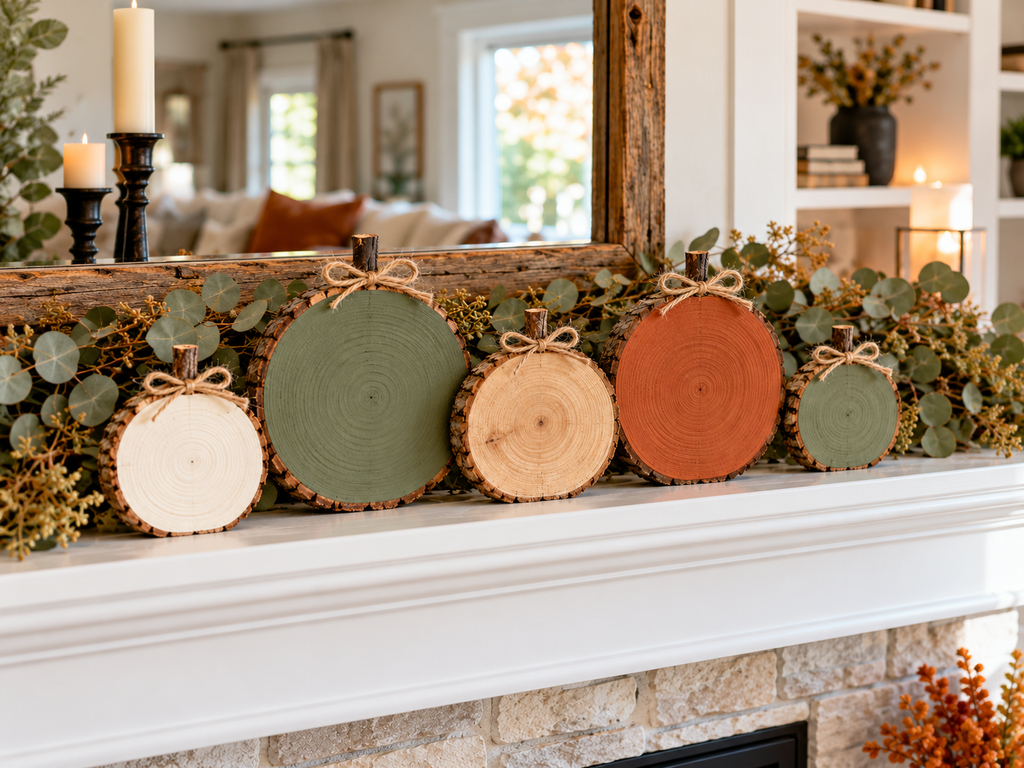
Tutorial 3: Wood Slice Pumpkins
- Collect a few round wood slices or cut circles from scrap wood.
- Lightly sand the edges.
- Paint each slice in cream, sage, or terracotta, or leave the natural wood showing.
- Glue a short twig on top as a stem.
- Add a twine bow and stand them on a shelf or mantel.
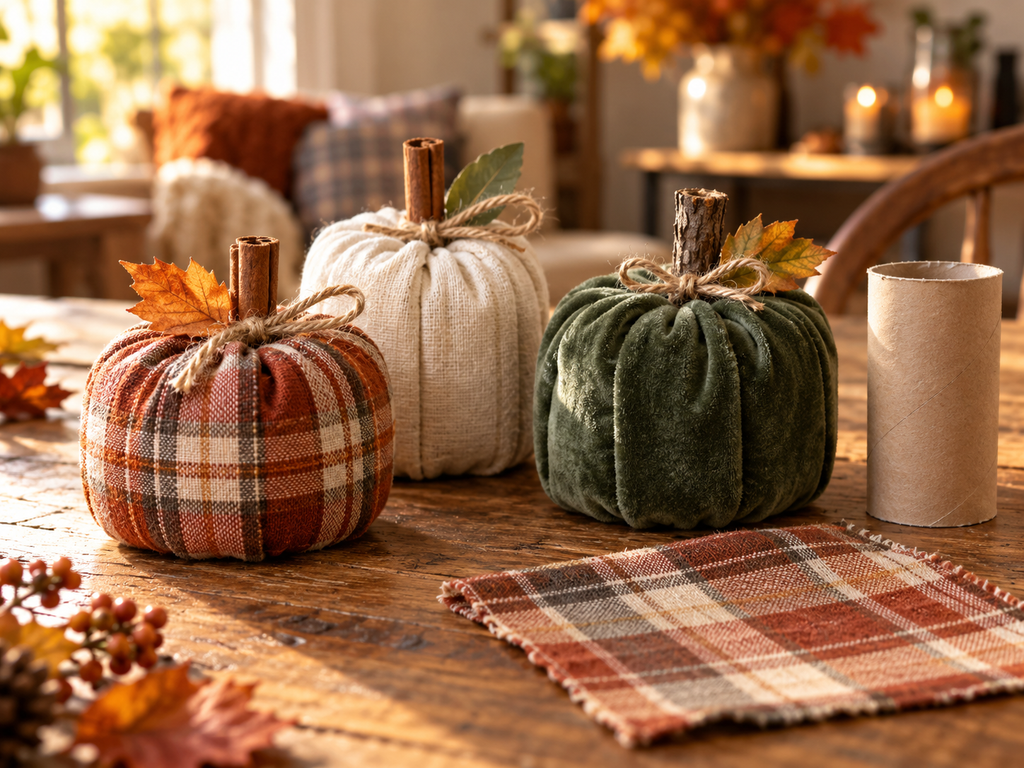
Tutorial 4: Toilet Paper Roll Pumpkins
- Wrap a cardboard toilet paper roll in a square of fabric.
- Tuck the fabric ends into the center of the roll on both sides.
- Push a cinnamon stick or twig into the center as a stem.
- Add a little faux leaf or a twine bow.
- Group them in different fabrics, like plaid, linen, and velvet.
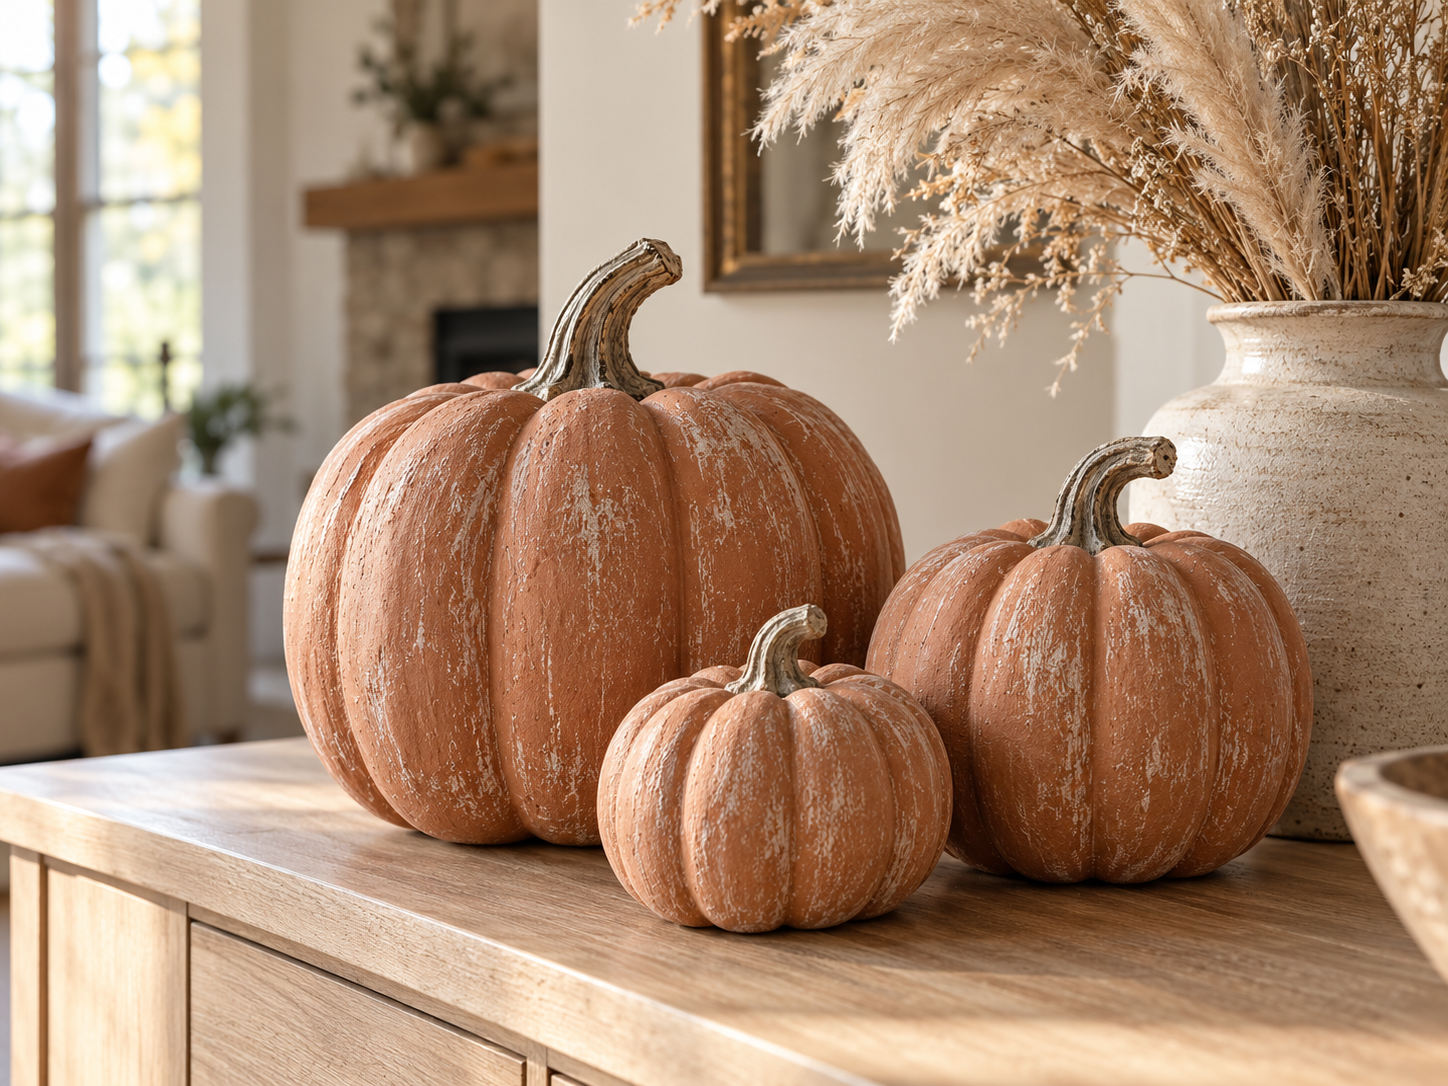
Tutorial 5: Faux Terracotta Pumpkins
- Start with plain foam or plastic pumpkins.
- Mix terracotta-colored acrylic paint with a spoonful of baking soda for texture.
- Paint two coats, letting each dry fully.
- Lightly dry-brush a little white paint over the ribs for an aged, chalky look.
- Display them in a group with dried grasses for an aesthetic, earthy finish.
20 Quick & Cheap DIY Pumpkin Ideas
Easy Upcycled Pumpkins
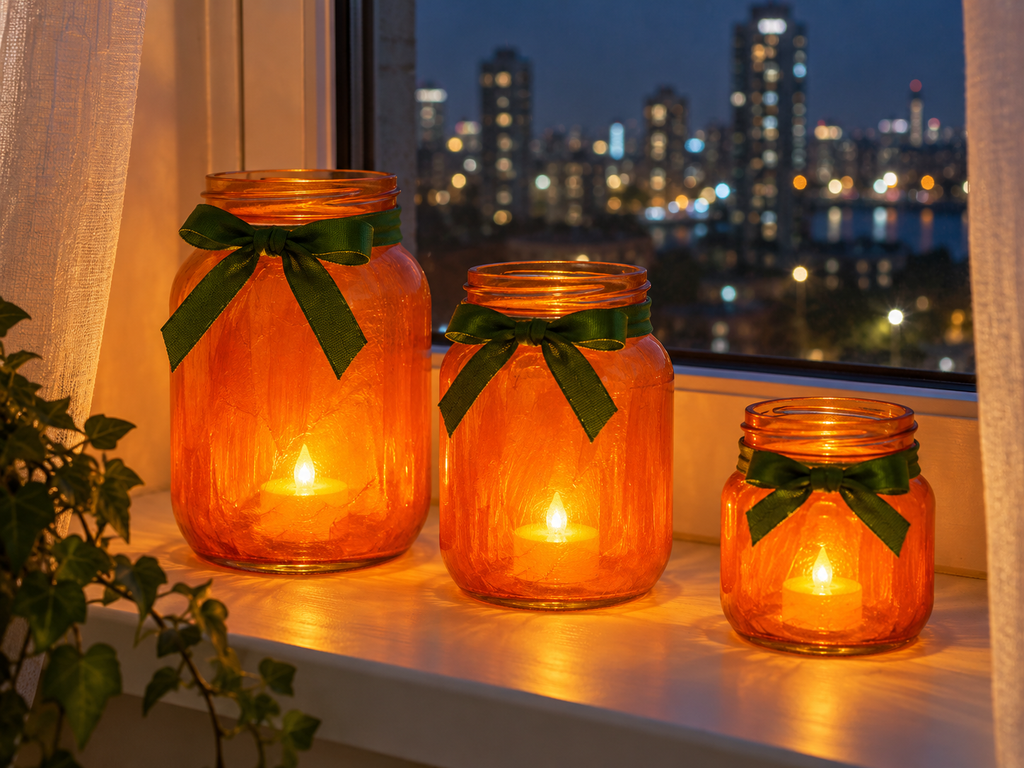
6. Mason jar pumpkins. Paint mason jars orange, add a green ribbon at the lid, and pop a tea light inside. They glow beautifully on a windowsill at night.
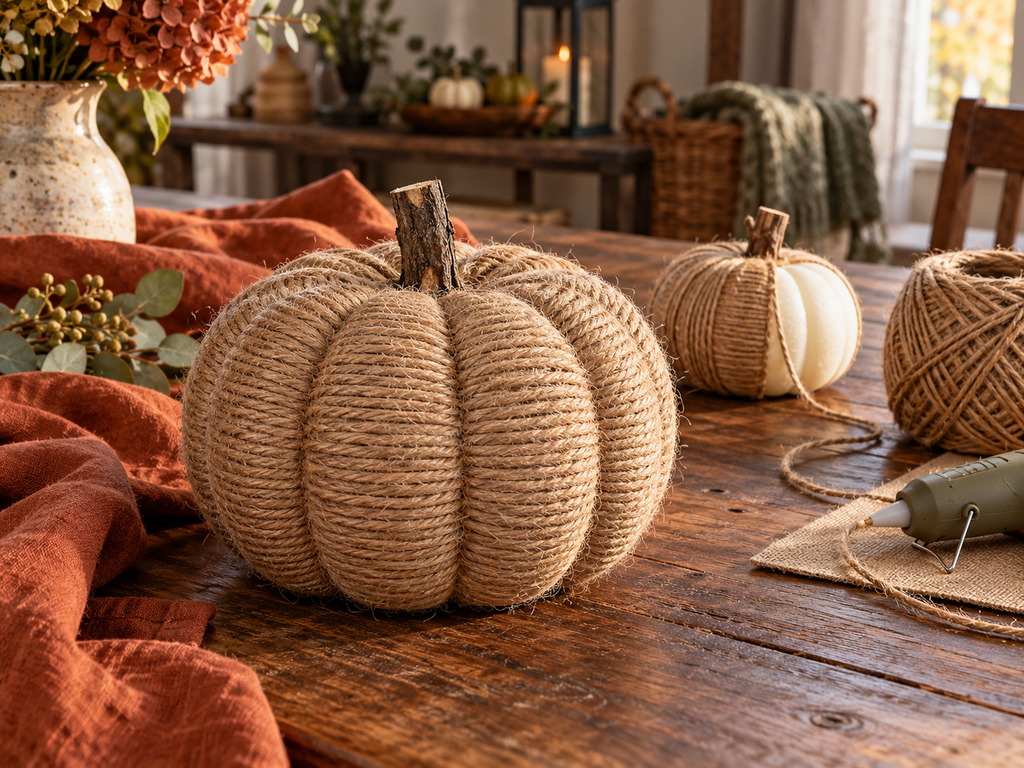
7. Pumpkin twine wrap. Wrap a foam pumpkin in jute twine for a rustic, textured look. A dab of hot glue every few rows keeps it in place.
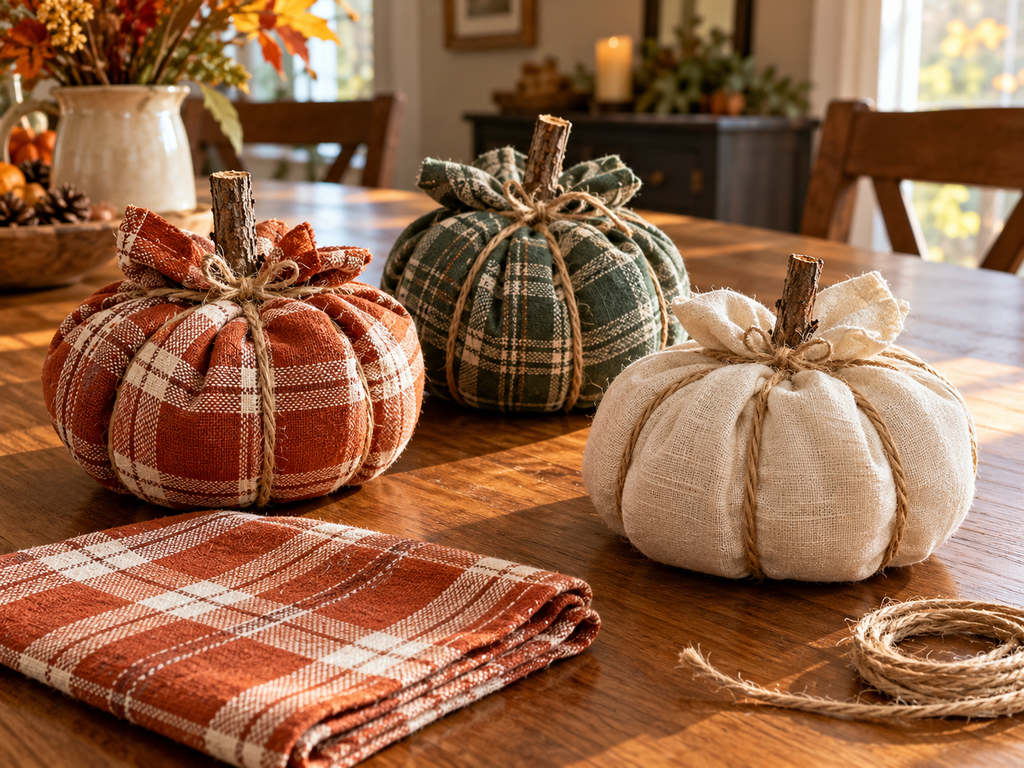
8. Napkin pumpkins. Roll cloth napkins into a ball, tie with twine, and tuck in a stick stem. Plaid napkins make especially cozy pumpkins.
9. Paper strip pumpkins. Loop paper strips into a ball shape and fasten with a brad. Patterned scrapbook paper looks lovely here.

10. Felt pumpkin garland. Cut felt pumpkins and string them on twine. Hang it across a mantel, doorway, or kitchen window.

Painted Pumpkin Makeovers
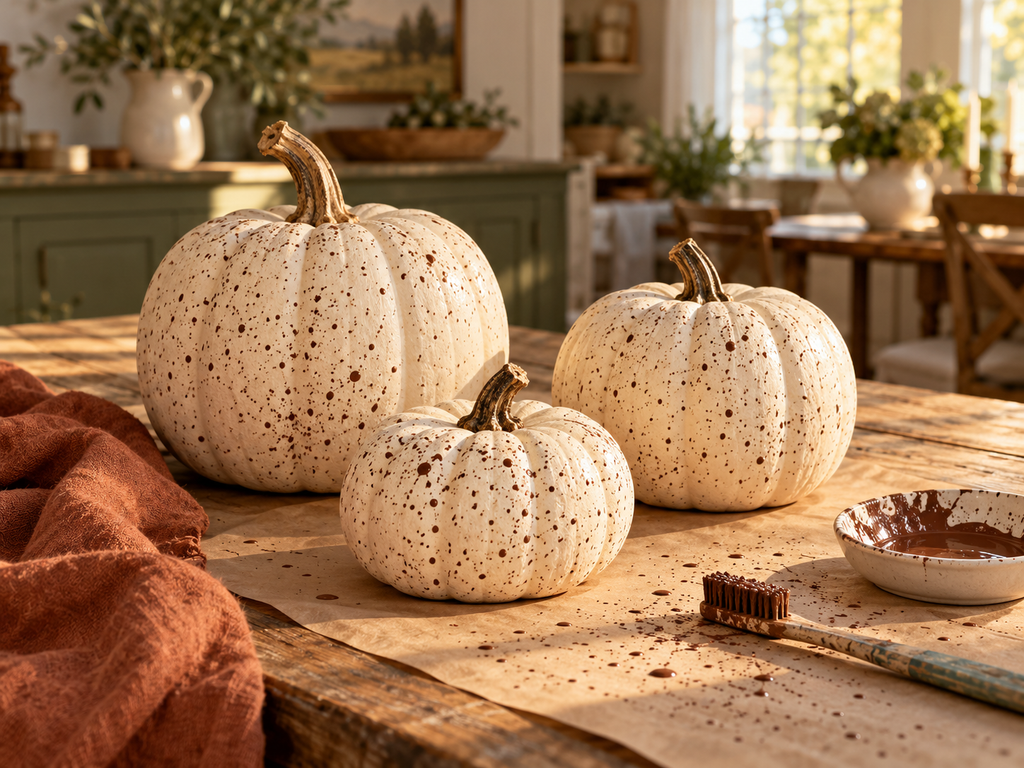
11. Speckled pumpkins. Flick brown paint over cream pumpkins with an old toothbrush. It gives a farmhouse, hand-painted look in minutes.
12. Gold-dipped pumpkins. Dip just the top half of mini pumpkins in gold paint. They look so elegant scattered down a dining table.

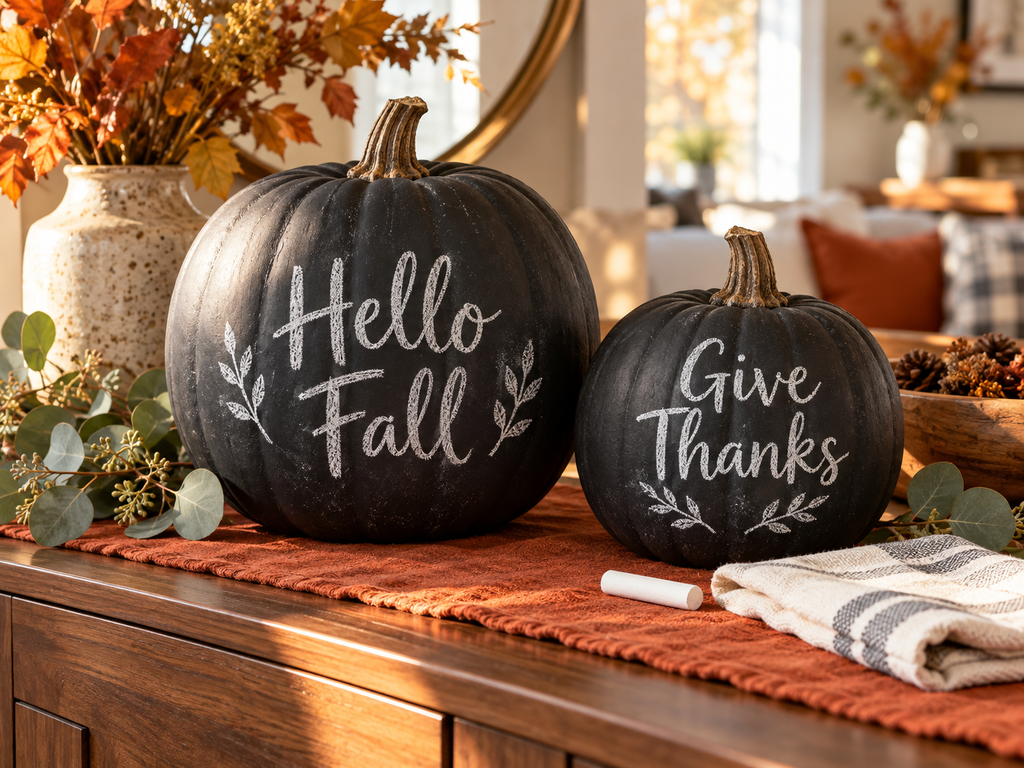
13. Chalkboard pumpkins. Paint pumpkins with chalkboard paint and write sweet messages. Change the words each week, from “Hello Fall” to “Give Thanks.”
14. Ombre pumpkin stack. Paint three pumpkins in light, medium, and dark shades of the same color. It’s a modern look that’s very pinnable.

15. Decoupage pumpkins. Glue napkin prints or patterned paper onto foam pumpkins. Seal them with a clear top coat to protect the paper.

Natural Pumpkin Crafts
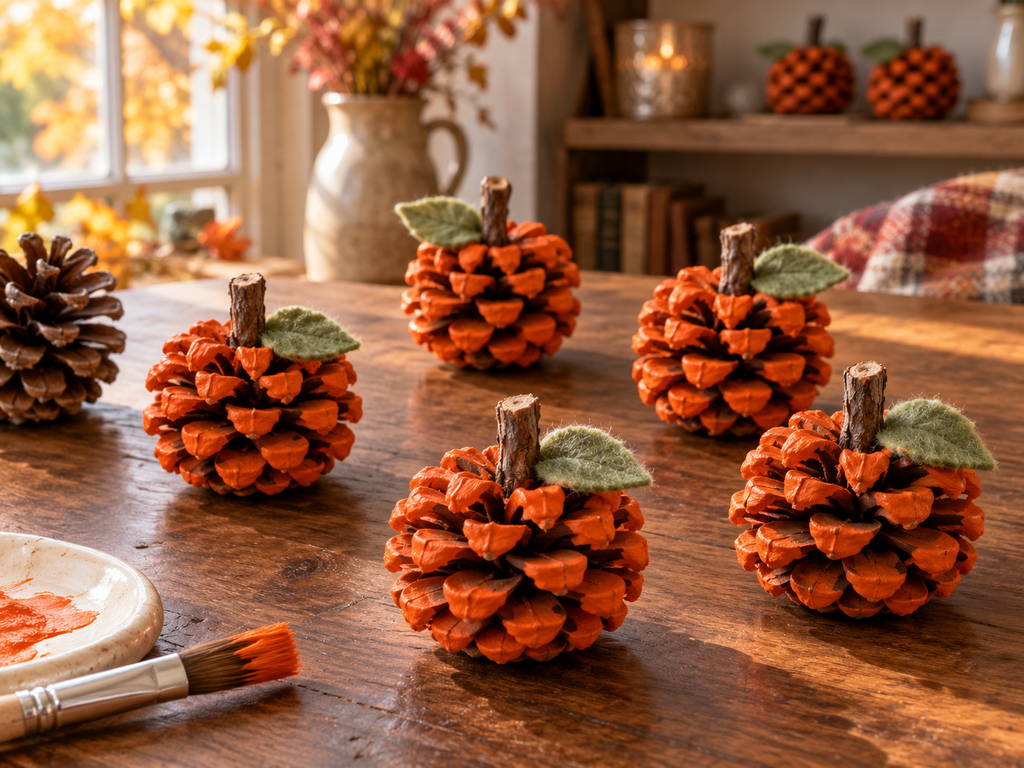
16. Pinecone pumpkins. Paint pinecones orange and add a tiny leaf for mini pumpkins. Scatter them across tables and shelves.
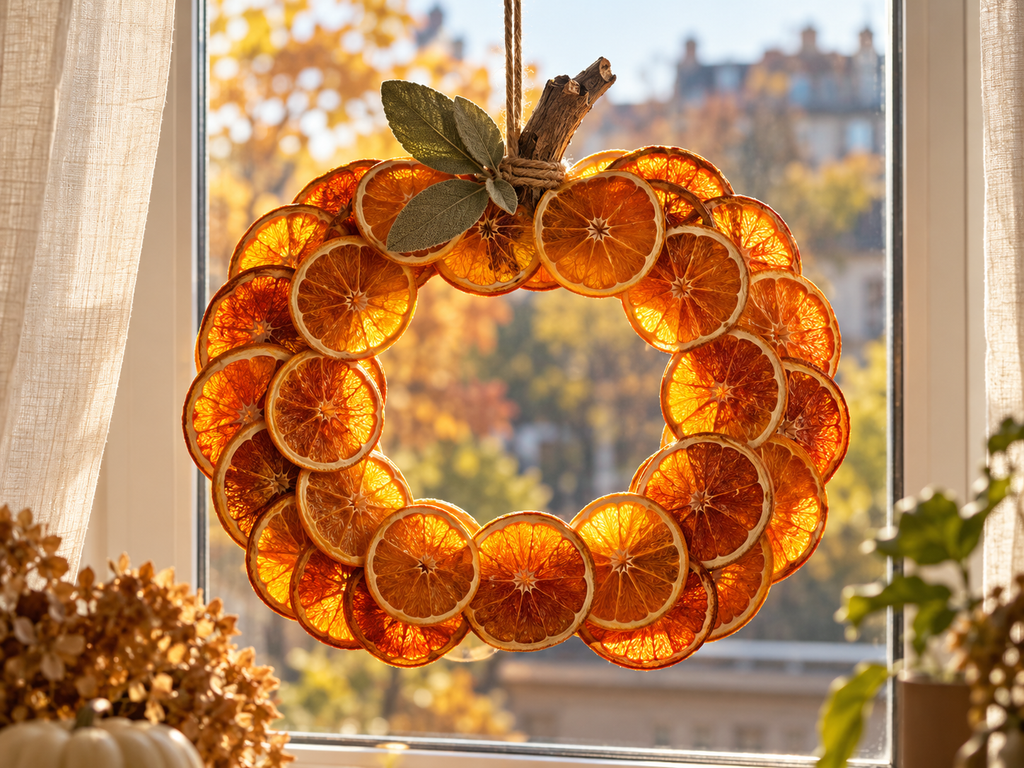
17. Dried orange pumpkin. Arrange dried orange slices into a pumpkin shape on a wreath form. It smells amazing and glows in the window.
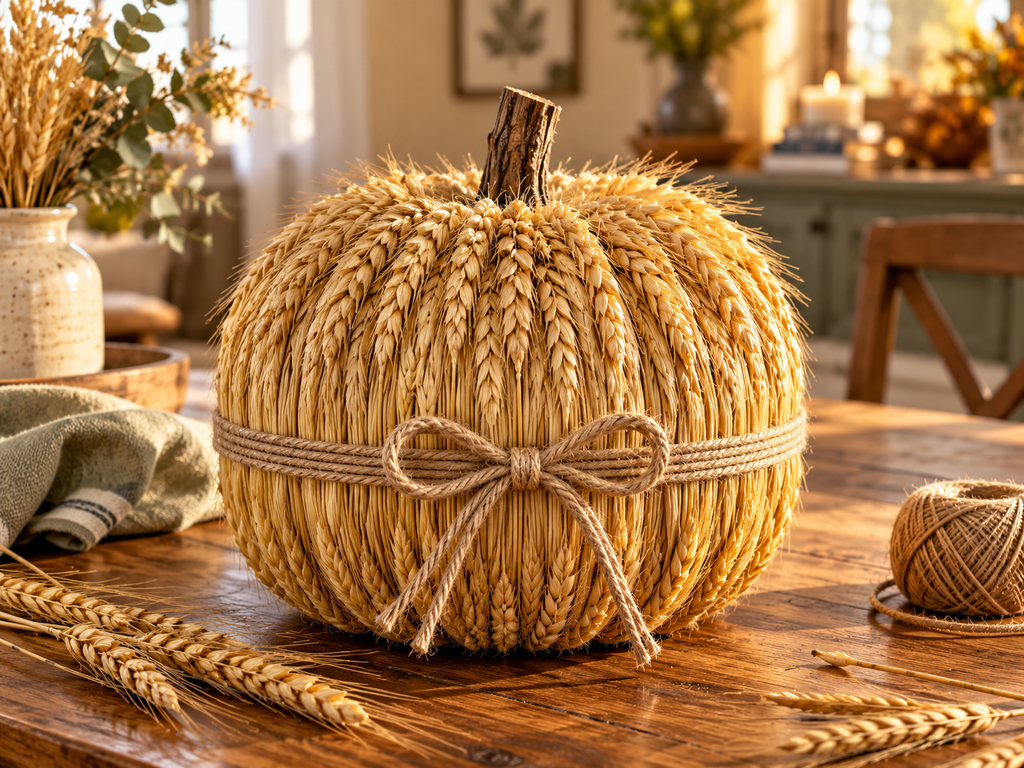
18. Wheat-wrapped pumpkin. Glue wheat stems around a foam pumpkin for a harvest texture. Tie a twine bow around the middle to finish it.
19. Twig pumpkin stems. Swap plastic stems for real twigs to make faux pumpkins look natural. It’s the easiest upgrade for store-bought pumpkins.
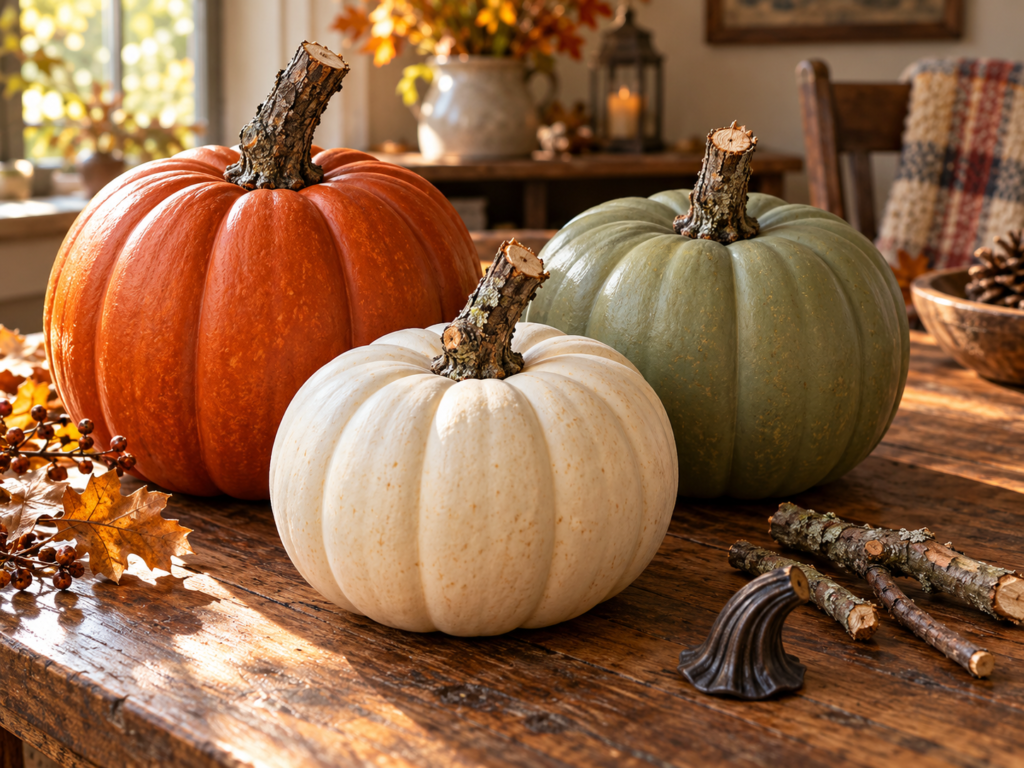
20. Pumpkin succulent planter. Hollow a small pumpkin, add moss and a few succulents. It makes a sweet living centerpiece.

Kid-Friendly Pumpkin Projects
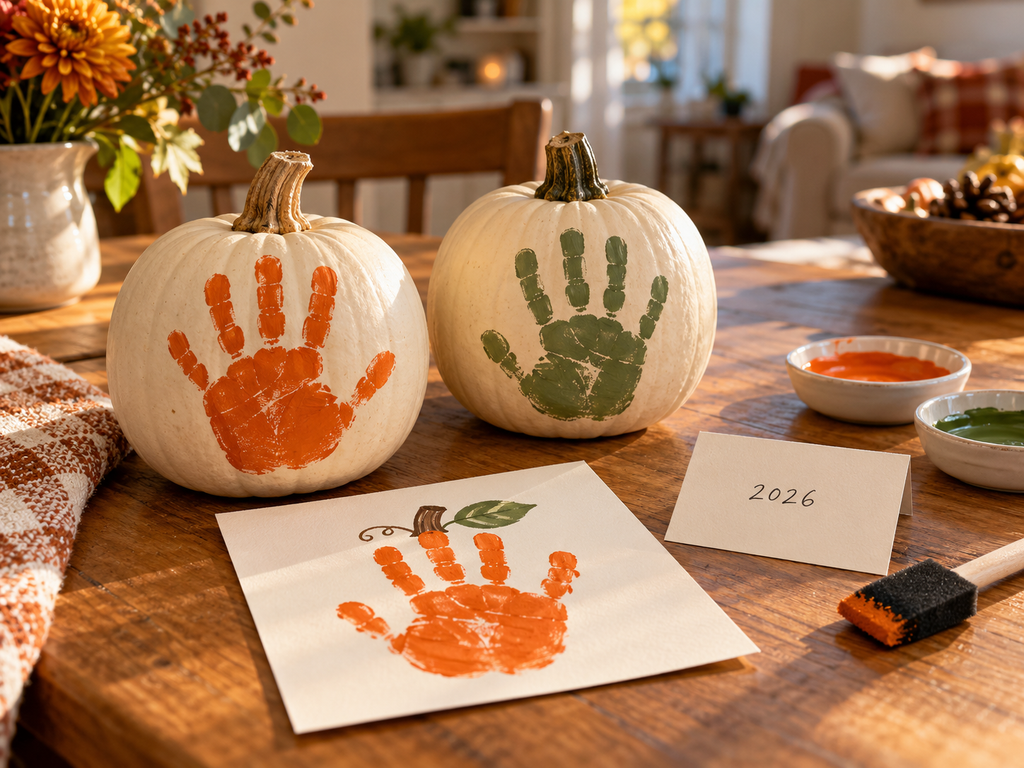
21. Handprint pumpkins. Stamp kids’ handprints in paint onto paper or small pumpkins. Write the year on the back to keep as a memory.
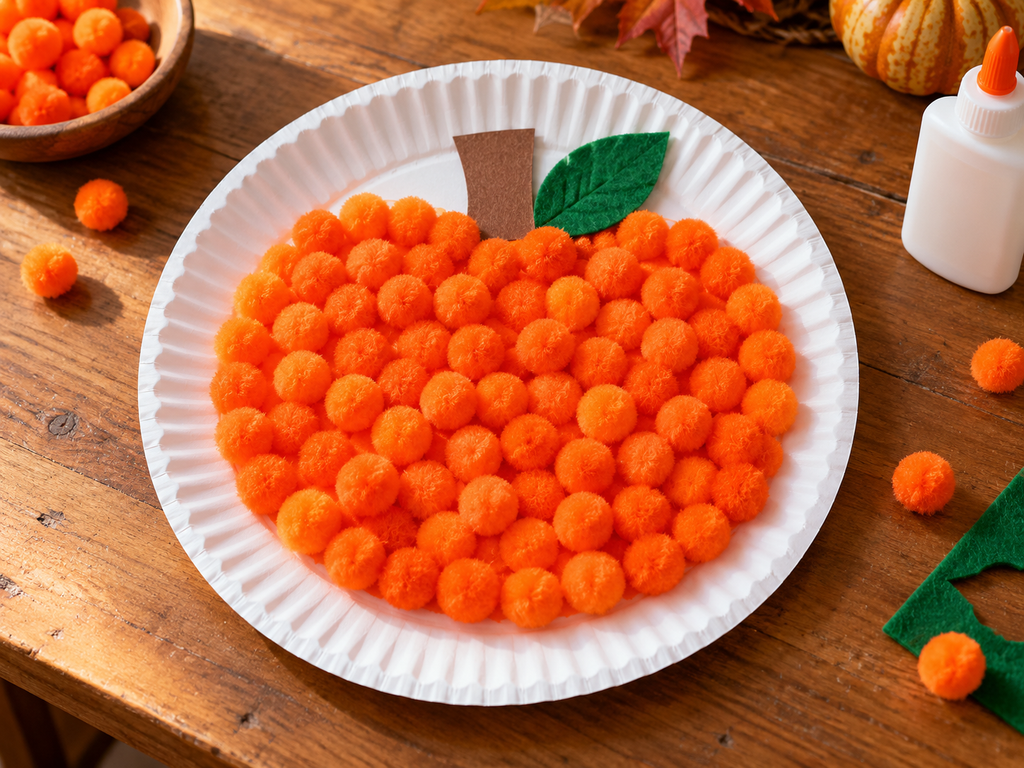
22. Pom-pom pumpkins. Glue orange pom-poms onto a paper plate in a pumpkin shape. Little hands love sticking them on.
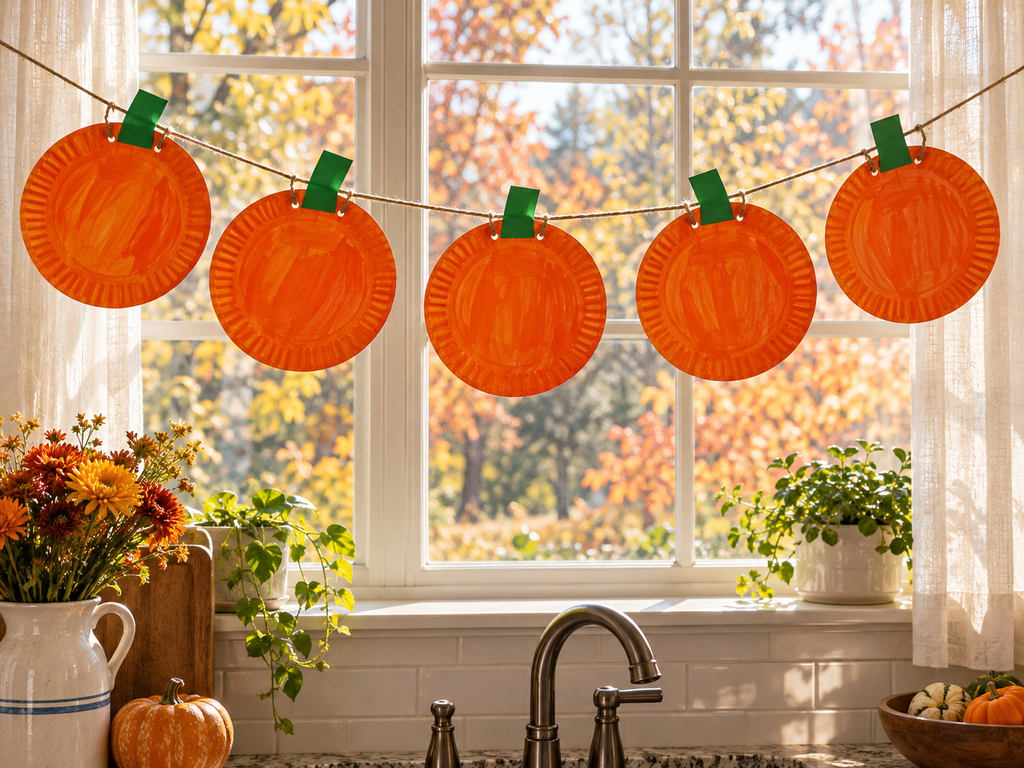
23. Paper plate pumpkins. Paint paper plates orange and add a green paper stem. Hang a row of them as a cheerful banner.
24. Sticker pumpkins. Let kids decorate mini pumpkins with stickers instead of paint. No mess and lots of fun.

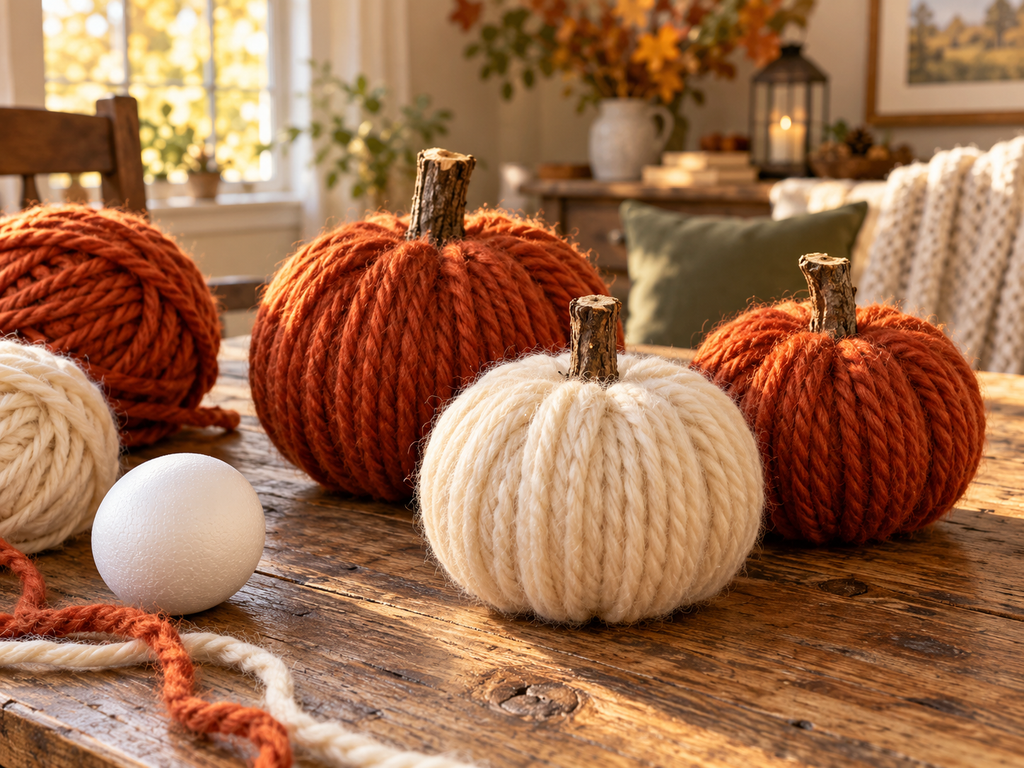
25. Yarn-wrapped pumpkins. Wrap yarn around a small foam ball and add a stick stem. Chunky yarn in rust or cream looks the coziest.
Tips for Budget-Friendly DIY Pumpkins
- Shop your home first. Old sweaters, books, and fabric scraps make the best materials.
- Stick to one palette. Choose two or three colors so your pumpkins look cohesive.
- Mix textures. Pair knit, wood, paper, and velvet for an interesting display.
- Make it a family afternoon. Kids love painting and stuffing pumpkins.
Frequently Asked Questions
Final Thoughts
DIY pumpkin home decor is cozy, creative, and so easy on the budget. With a few old sweaters, some paint, and a glue gun, you can fill your home with one-of-a-kind pumpkins that last for years.
Pick one tutorial to start this weekend, save this post to your fall board, and enjoy your handmade pumpkin season.
2 Comments