

The kitchen counter is the hardest working surface in the house, and the easiest one to lose. One morning it holds a coffee mug and a cutting board; by dinner it is buried under mail, spice jars, and a drying rack that never quite empties. A cluttered counter shrinks your cooking space and makes the whole kitchen feel smaller than it is.
The fix is not a bigger kitchen. It is a system: a clear counter, a few honest zones, and storage that moves things up and out of the way. The 12 kitchen counter organization ideas below work in big kitchens and tiny ones alike, and most cost little or nothing.
Why a Clear Counter Changes the Whole Kitchen
A clear counter changes how a kitchen feels before you change anything else. When the surface is open, you cook faster, clean up quicker, and actually enjoy being in the room. An empty stretch of counter invites you to use the kitchen, while a crowded one quietly pushes you toward takeout.
The secret is that a clutter-free counter is not about owning less. It is about giving everything a home that is not the countertop. The toaster in a cabinet, the utensils on a rail, the fruit in its bowl — each one frees a few inches, and a few inches add up to a whole counter. Our small kitchen organization ideas use the same rule across the entire room, and the counter is the best place to start.
12 Kitchen Counter Organization Ideas for a Clutter-Free Counter
Clear the Counter First
1. Start with a Total Counter Reset
Take everything off the counter. Every jar, every appliance, every stray paper clip — all of it, onto the dining table. Then wipe the surface clean and look at the empty counter for a full minute.
Now put back only what truly belongs there, one piece at a time, and be strict about it. If you have to think about whether something earns its spot, it does not. The rest goes into a cabinet, a drawer, or a donation box.
Practical note: Do the reset when the dishwasher is empty, so nothing comes back onto the counter “just for now.”

2. Keep Only What You Use Every Day
The rule for what stays on the counter is simple: if you do not use it every single day, it does not live there. The coffee maker and the toaster earn their spots. The waffle maker, the food processor, and the bread machine do not.
Be honest about “every day.” The stand mixer you use twice a month is not a daily tool, no matter how much you love it. Moving it off the counter can free up a full square foot of workspace.
Practical note: Try the one-week test: move a suspect appliance into a cabinet and see if you miss it within a week.

3. Corral the Small Stuff on a Tray
Small things are what make a counter look cluttered, even when there is not much on it. A bottle of olive oil here, salt and pepper there, a little plant in the corner — each one is innocent on its own, but together they read as mess.
A tray fixes that in seconds by turning five loose objects into one tidy group. It sets a boundary, so nothing creeps past its edges, and wiping the counter becomes a one-lift job.
Practical note: A tray about 12 inches across suits most counters. Keep it to a single layer so nothing stacks and hides.

4. Build a Coffee Station in One Corner
Coffee things have a way of spreading: the machine on one side, the mugs in a cabinet, the beans somewhere else entirely. Give them one corner and keep everything together — the coffee maker, two or three mugs, a jar of beans, and a small spoon.
A coffee station tucked into a corner uses dead space that is awkward for cooking anyway, and it keeps the main stretch of counter free for prep. Hang the mugs on small hooks under the cabinet above, and the station takes up almost no counter at all.
Practical note: Keep the station to one corner and one layer deep, or it becomes the clutter it was meant to fix.

Zones That Earn Their Spot
5. Set Up a Prep Zone by the Stove
Cooking is easier when the prep happens in one place instead of wherever there is a gap. Choose the stretch of counter next to the stove as your prep zone, and keep it permanently clear: a cutting board, a good knife, and a small bowl for scraps.
A dedicated prep zone also makes cleanup faster, because the mess is contained in one spot. Wipe the board, empty the scrap bowl, and the zone is ready again.
Practical note: A wooden cutting board that lives in the prep zone doubles as a serving board. Our kitchen drawer organization ideas show where everything else in the drawer should live.

6. Keep Cooking Tools in a Crock by the Stove
The spatula, the wooden spoon, the whisk — the tools you grab mid-cook should be within arm’s reach of the stove, not buried in a drawer across the kitchen. A sturdy ceramic crock holds them upright, visible, and ready.
The trick is to keep the crock to the tools you actually cook with. Ten utensils is a tidy tool station; twenty is a crowded vase. Pull out anything you have not used in a month.
Practical note: A crock about 5 inches wide and 7 inches tall holds a full set of everyday tools without tipping.

7. Let a Fruit Bowl Do the Decorating
A counter does not need knick-knacks to look finished — a bowl of fruit does the decorating and earns its space at the same time. Apples, oranges, and lemons add color and life to the kitchen, and they are the healthiest snack in the house.
Keep it to one bowl, full but not overflowing. A single wooden or ceramic bowl on a clear stretch of counter reads as intentional; three bowls, a vase, and a candle read as clutter.
Practical note: A shallow, wide bowl shows off the fruit better than a deep one, and it is easier to see what is ripe.

8. Give the Sink a Tidy Caddy
The sink area collects clutter faster than anywhere else in the kitchen: soap bottles, sponges, brushes, and a drying cloth all end up in a damp pile beside the tap. A small caddy gathers them into one neat container and keeps the sponge off the counter so it dries properly.
Choose a caddy with drainage holes and a tray underneath, so water never pools on the counter. Keep it to the essentials — one soap, one sponge, one brush — and store the spares under the sink. For the storage underneath, see our under kitchen sink organization ideas.
Practical note: A caddy about 8 inches long fits most sinks without crowding the tap. Replace the sponge weekly and the brush monthly.

Vertical & Hidden Storage
9. Hang a Rail for Utensils
When the counter is full, look up. A wall-mounted rail with hooks above the counter moves utensils, pans, and measuring cups off the surface and onto the wall, where they are easy to grab and easy to put back.
Mount the rail on the backsplash at arm’s height, and hang only the tools you use weekly — the ladle, the tongs, the small pan, the measuring cups. Our kitchen cabinet organization ideas pair well with this trick, moving the rest of the tools into cabinets that are organized to match.
Practical note: Use S-hooks so tools lift off easily, and keep the rail a few inches above the counter so tall items never bump the surface.

10. Add a Floating Shelf Above the Counter
A floating shelf above the counter is storage that does not take a single inch of counter space. It holds the everyday plates, the glass jars of pasta and rice, and a small plant — the things you reach for constantly — at eye level.
Keep the shelf styled, not stuffed. A row of matching glass jars, a small stack of plates, and one green plant is plenty; a shelf packed edge to edge just moves the clutter from the counter to the wall.
Practical note: Hang the shelf about 18 inches above the counter, so there is room to work underneath. Keep the heaviest jars closest to the brackets.

11. Hang Mugs Under the Cabinets
Mugs are the quiet counter hogs. They do not fit neatly in a cabinet, they chip when they are stacked, and a row of them on the counter eats space every single day. Small hooks under the wall cabinet fix all of that.
This is a renter-friendly trick too, if you use adhesive hooks rated for the weight instead of screws — they hold a standard mug and come off cleanly when you move. Keep the everyday mugs on the hooks and the special-occasion ones in the cabinet.
Practical note: Space the hooks about 4 inches apart so the mugs do not knock together. Hang them with the handles facing the same way.

12. Roll In a Cart for Overflow
Some kitchens simply do not have enough counter, and no amount of tidying changes that. A slim rolling cart is the answer: it holds the overflow — pantry jars, cookbooks, the blender you use on weekends — on shelves that roll out of the way when you need the floor space.
Park the cart at the end of the counter or in the gap beside the fridge, where it acts like an extra stretch of counter. The top shelf can hold a small plant or the fruit bowl, and the lower shelves take the bulky things that used to live on the counter.
Practical note: A cart about 15 inches wide fits most kitchen gaps. Choose one with locking wheels so it stays put while you cook.

How to Keep the Counter Clear Every Day
- A two-minute nightly reset. Before bed, clear the counter, wipe it down, and put the drying rack away. A kitchen that starts the day clear stays clear far longer than one that starts cluttered.
- One landing spot for everything that enters. Mail, keys, and bags go to a hook or a basket by the door — never the counter. The counter is for cooking, not for holding the day’s arrivals.
- Wipe as you cook. A quick wipe between steps keeps the prep zone usable and stops crumbs and spills from turning into a cleanup project.
- Shop for organizers on sale. Trays, crocks, rails, and carts are small buys that pay for themselves in a calmer kitchen. Watch for deals on our Black Friday checklist before stocking up.
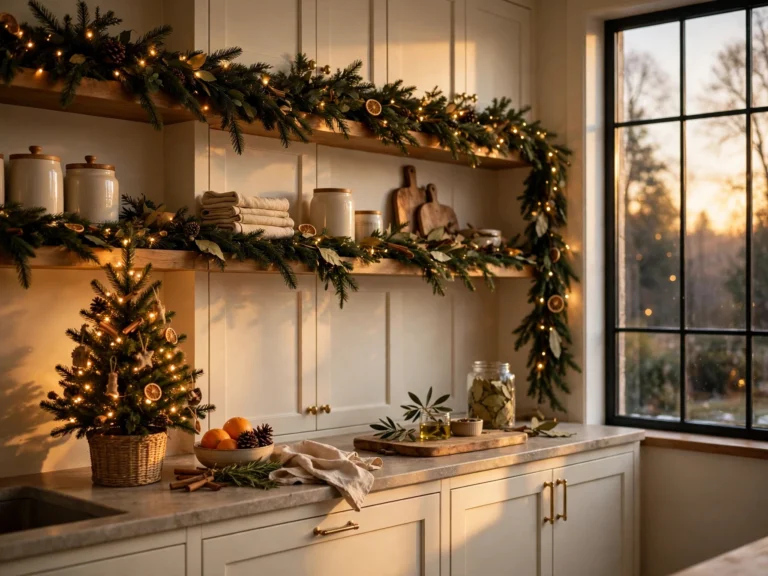
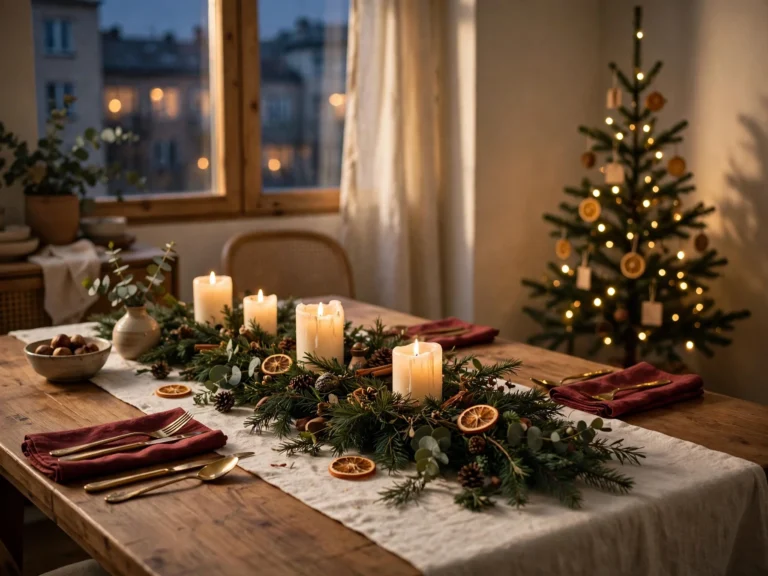
- Re-audit once a season. Every few months, check what has crept back onto the counter. If something has not been used in a month, it goes back to its cabinet. Seasonal swaps are a good moment for this — our Christmas kitchen decor ideas and Christmas table decor ideas show how to refresh the kitchen without letting the counter fill up again.
Kitchen Counter Organization FAQs
What should I keep on my kitchen counter?
Only what you use every day: the coffee maker, the toaster, a cutting board, and one decorative piece like a fruit bowl or a small plant. Everything else belongs in a cabinet, a drawer, or on the wall.
How do I organize a small kitchen counter?
Start by clearing it completely, then add back only daily items. Use vertical storage — a rail, a floating shelf, or hooks under the cabinets — to move things off the surface, and use one tray to corral the small stuff. A rolling cart adds storage without taking up counter space.
How do I stop clutter from coming back to the counter?
Give everything a home that is not the counter, and do a two-minute reset every night. The biggest cause of returning clutter is things with no other place to go, so fix the storage first and the counter stays clear on its own.
What is the best way to store kitchen appliances?
Keep the two or three you use daily on the counter and store the rest in a cabinet at waist height, where they are easy to lift out. Heavy appliances like stand mixers belong low, light ones like blenders can go higher.
Final Thoughts
A clutter-free counter is not a one-time project. It is a habit: clear it, zone it, and give everything a home that is not the surface. The 12 ideas in this list work together — the reset makes room, the zones keep the room useful, and the vertical storage makes the room last.
Pick one idea and do it today. Clear the counter, hang the rail, or set up the coffee station. Tomorrow, pick another. Within a week, the kitchen will feel bigger, calmer, and easier to cook in. For more budget-friendly ways to refresh the kitchen, see our cheap DIY Christmas home decor and our easy fall home decor ideas. And if your kitchen pulls double duty for parties, our Halloween kitchen decor for apartments shows how to dress it up without losing the counter space you just won back.
Save this post to your kitchen board and clear one corner of the counter tonight.




6 Comments