A rental kitchen has one rule the others do not: everything you add has to come off again. No drilling, no permanent shelves, nothing that costs you your deposit when you move out. That sounds limiting, but it is actually freeing — renter-friendly organization is all about clever, removable systems that work in any kitchen you live in next.
The 20 kitchen organization ideas below are made for renters: apartments, shared houses, and older rentals with awkward corners and strict landlords. Every idea is no-drill, no-damage, and easy to take with you when you move. Pick one idea today, try it for a week, and add the next one only when the first has become a habit.
Why Renters Need Removable Systems, Not Renovations
A rental kitchen fails when you treat it like a kitchen you own. You drill a shelf, the landlord notices. You stick something permanent to the wall, it peels the paint. And when you move, the clever system you built stays behind while your new kitchen starts from zero.
Removable systems fix that. Adhesive hooks, over-door racks, tension rods, and freestanding shelves work in any kitchen, cost very little, and move with you in a single box. When every organizer is portable, you only have to solve the problem once — then you carry the solution to every home after it.
20 Kitchen Organization Ideas for Renters
Start Renter-Safe
1. Audit Your Kitchen Before You Buy Anything
Before you buy a single organizer, walk through your rental kitchen with a notebook and write down what actually bothers you. Which cabinet is a mess? Where do things pile up? What do you reach for every day, and what has not moved in a month?
This one step saves more money than any sale. Renters often buy organizers for problems they do not have, while the real problem — the one overflowing drawer — stays untouched. Measure the inside of the cabinets and drawers you plan to fix, and note the width of the sink and the height of the shelves.
Practical note: Keep the list on your phone so you can check it while you shop. Buy only for the first three items on the list, then come back to the rest later.

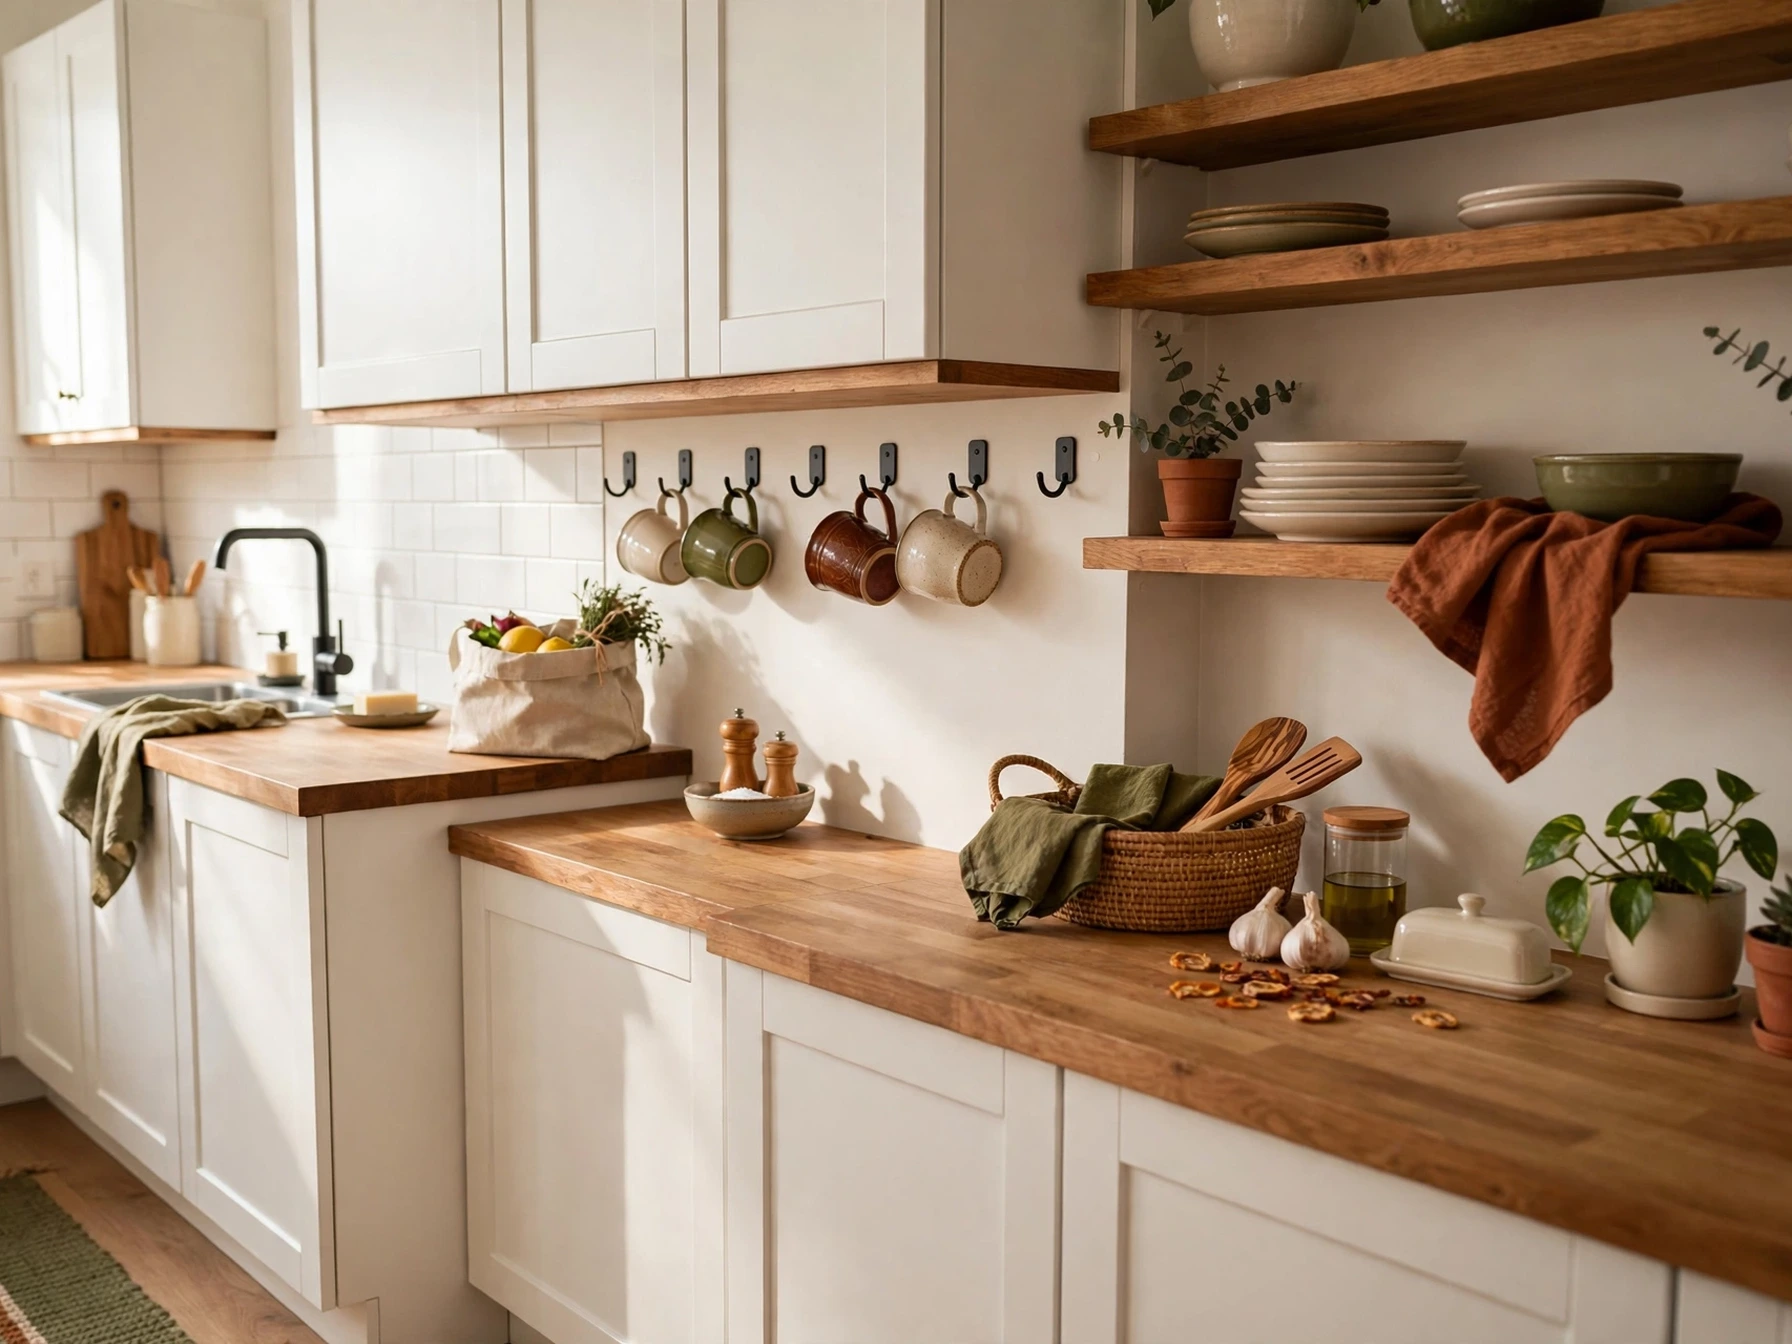
2. Use Removable Adhesive Hooks Everywhere
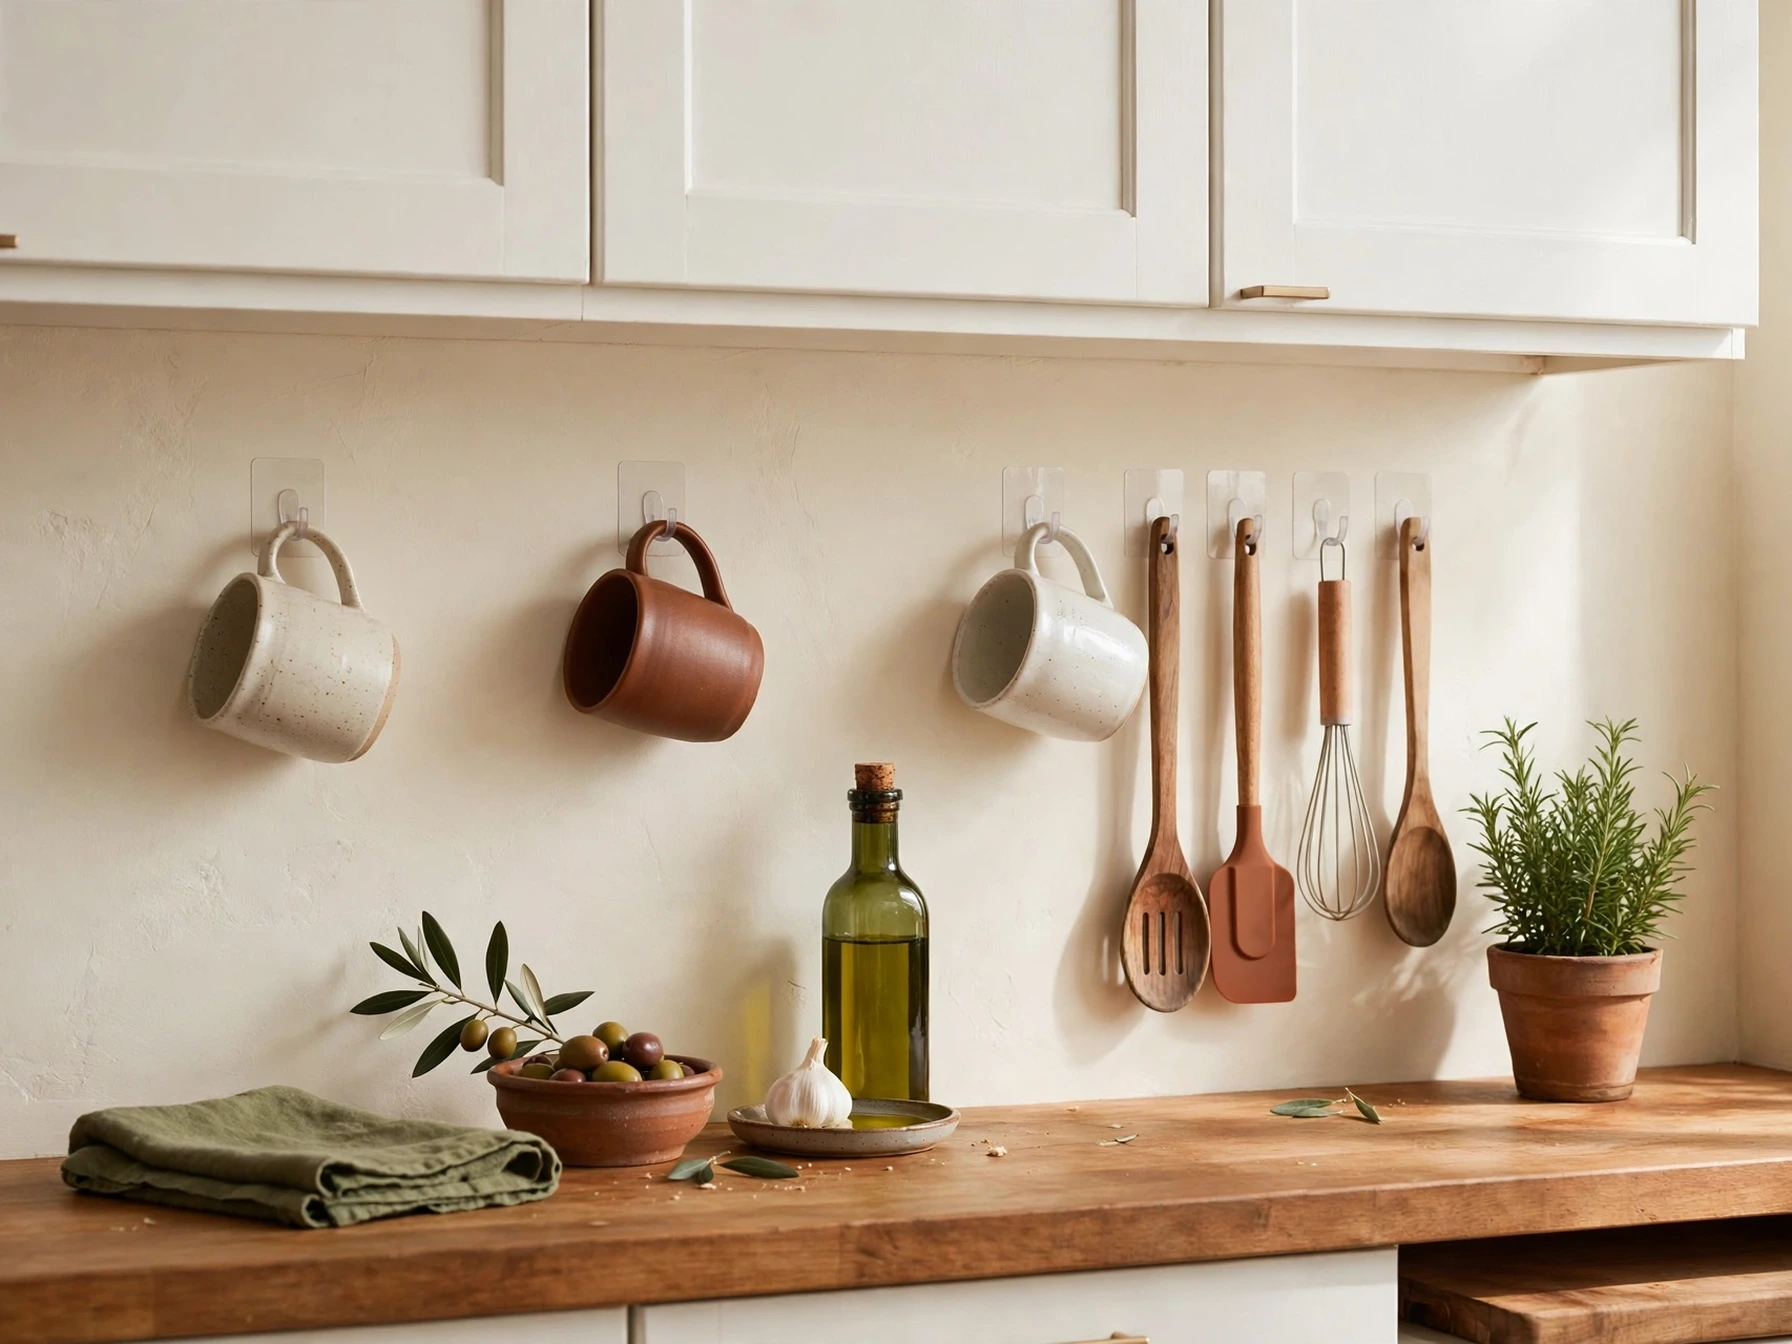
Removable adhesive hooks are the renter’s best friend. They hold mugs, towels, utensils, and measuring cups on the wall or inside a cabinet door, and they peel off cleanly when you move — no holes, no marks, no lost deposit.
Stick them on the wall beside the stove for utensils, inside a cabinet door for measuring spoons, or on the side of the fridge for tea towels. Test one hook with a light item first, follow the weight limit on the packet, and clean the surface with a dry cloth before you stick it on.
Practical note: Wait an hour after sticking a hook before hanging anything heavy from it. In a steamy kitchen, choose hooks rated for bathrooms — they hold better in humidity.
3. Hang Over-the-Door Racks on Pantry and Cabinet Doors
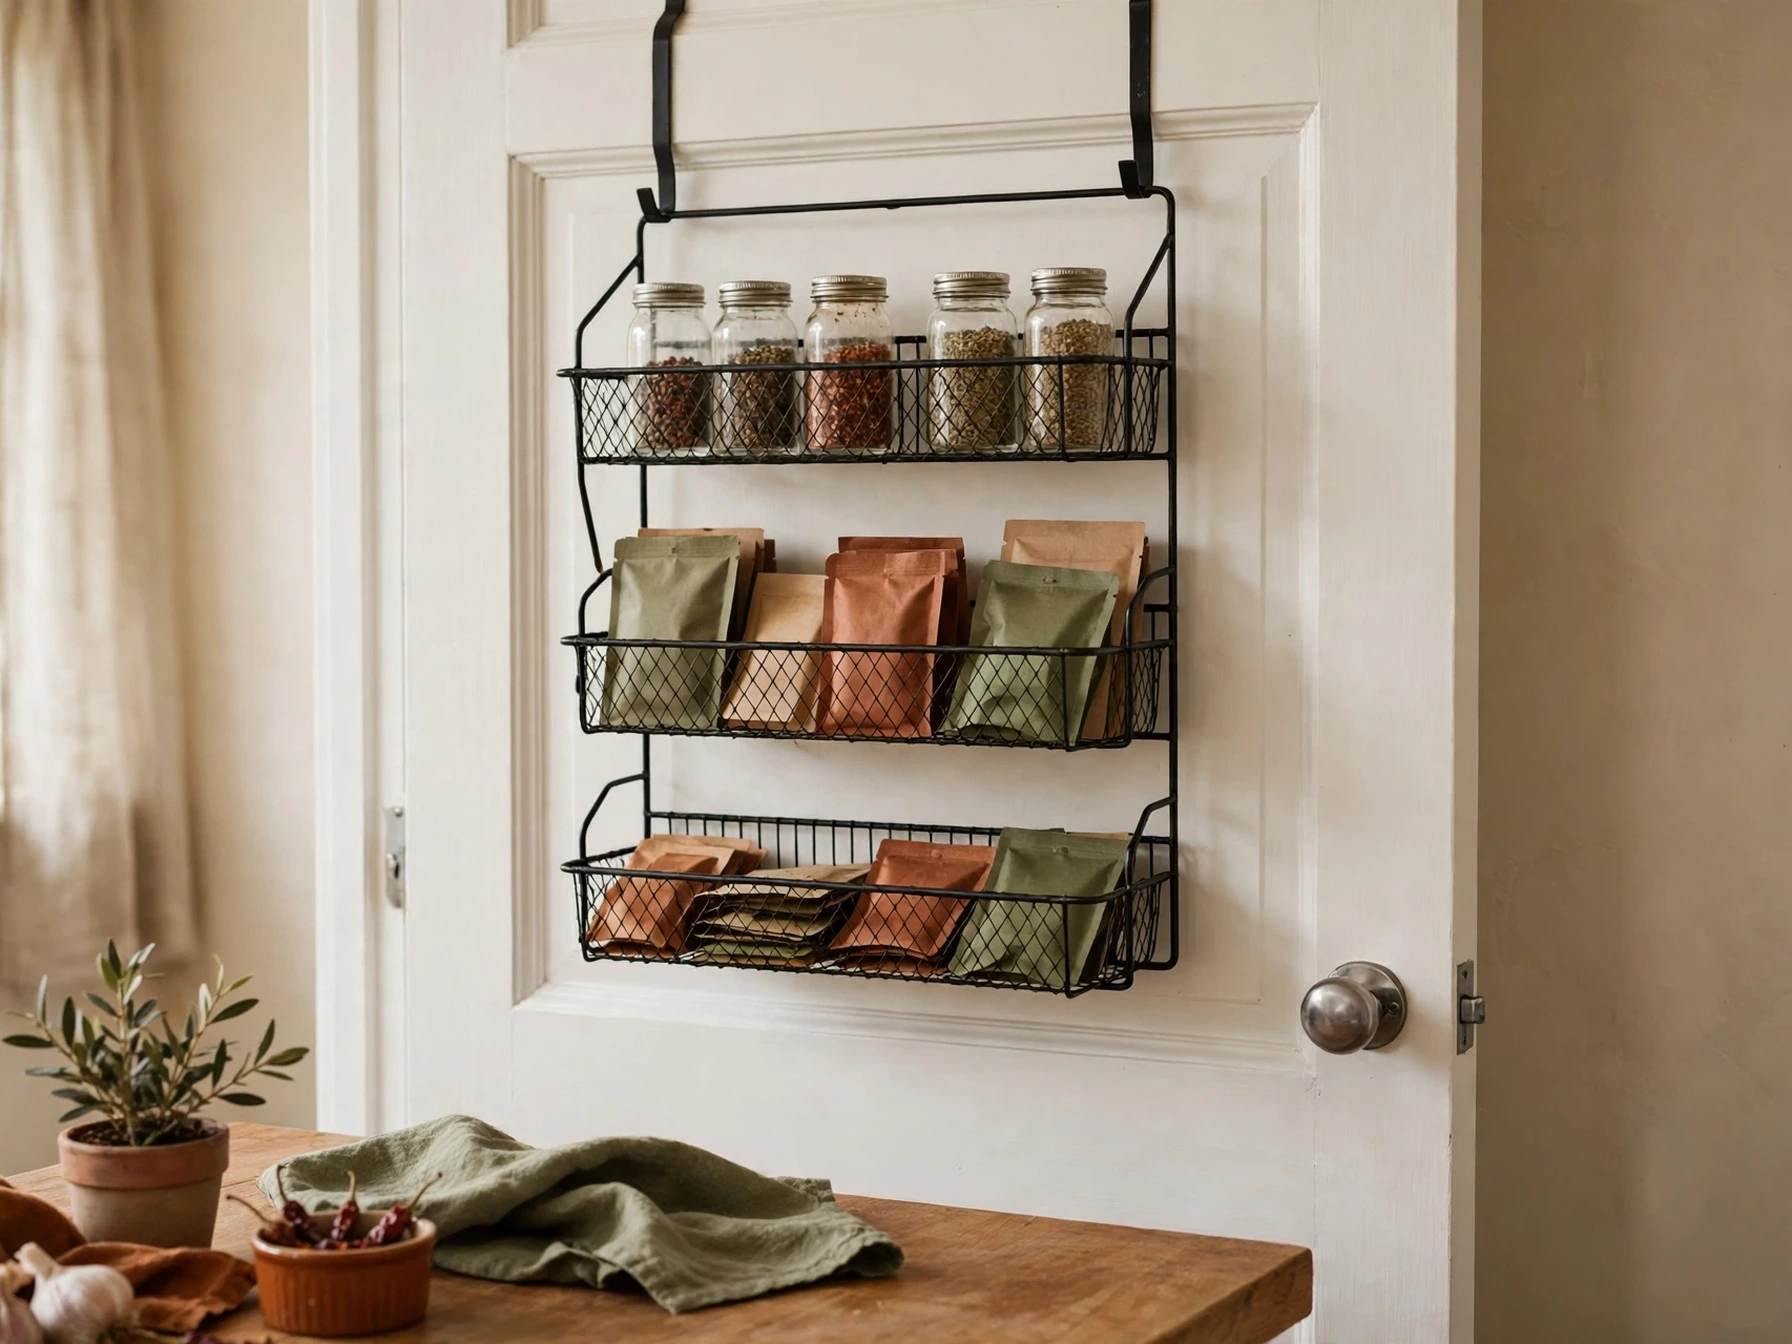
An over-the-door rack turns the back of a door into a shelf, and it needs no screws at all — it simply hooks over the top of the door. Pantry doors, cabinet doors, and even the kitchen door itself can hold spice jars, packets, foil, and cleaning supplies.
Choose a rack shallow enough for the door to close fully, and keep the heaviest items at the bottom so the door does not swing. If the rack rattles, stick a small felt pad on the back where it touches the door.
Practical note: Measure the gap between the door and the shelf behind it before you buy, so the rack does not bump the shelf when the door closes.
4. Add Tension Rods for Hidden Storage
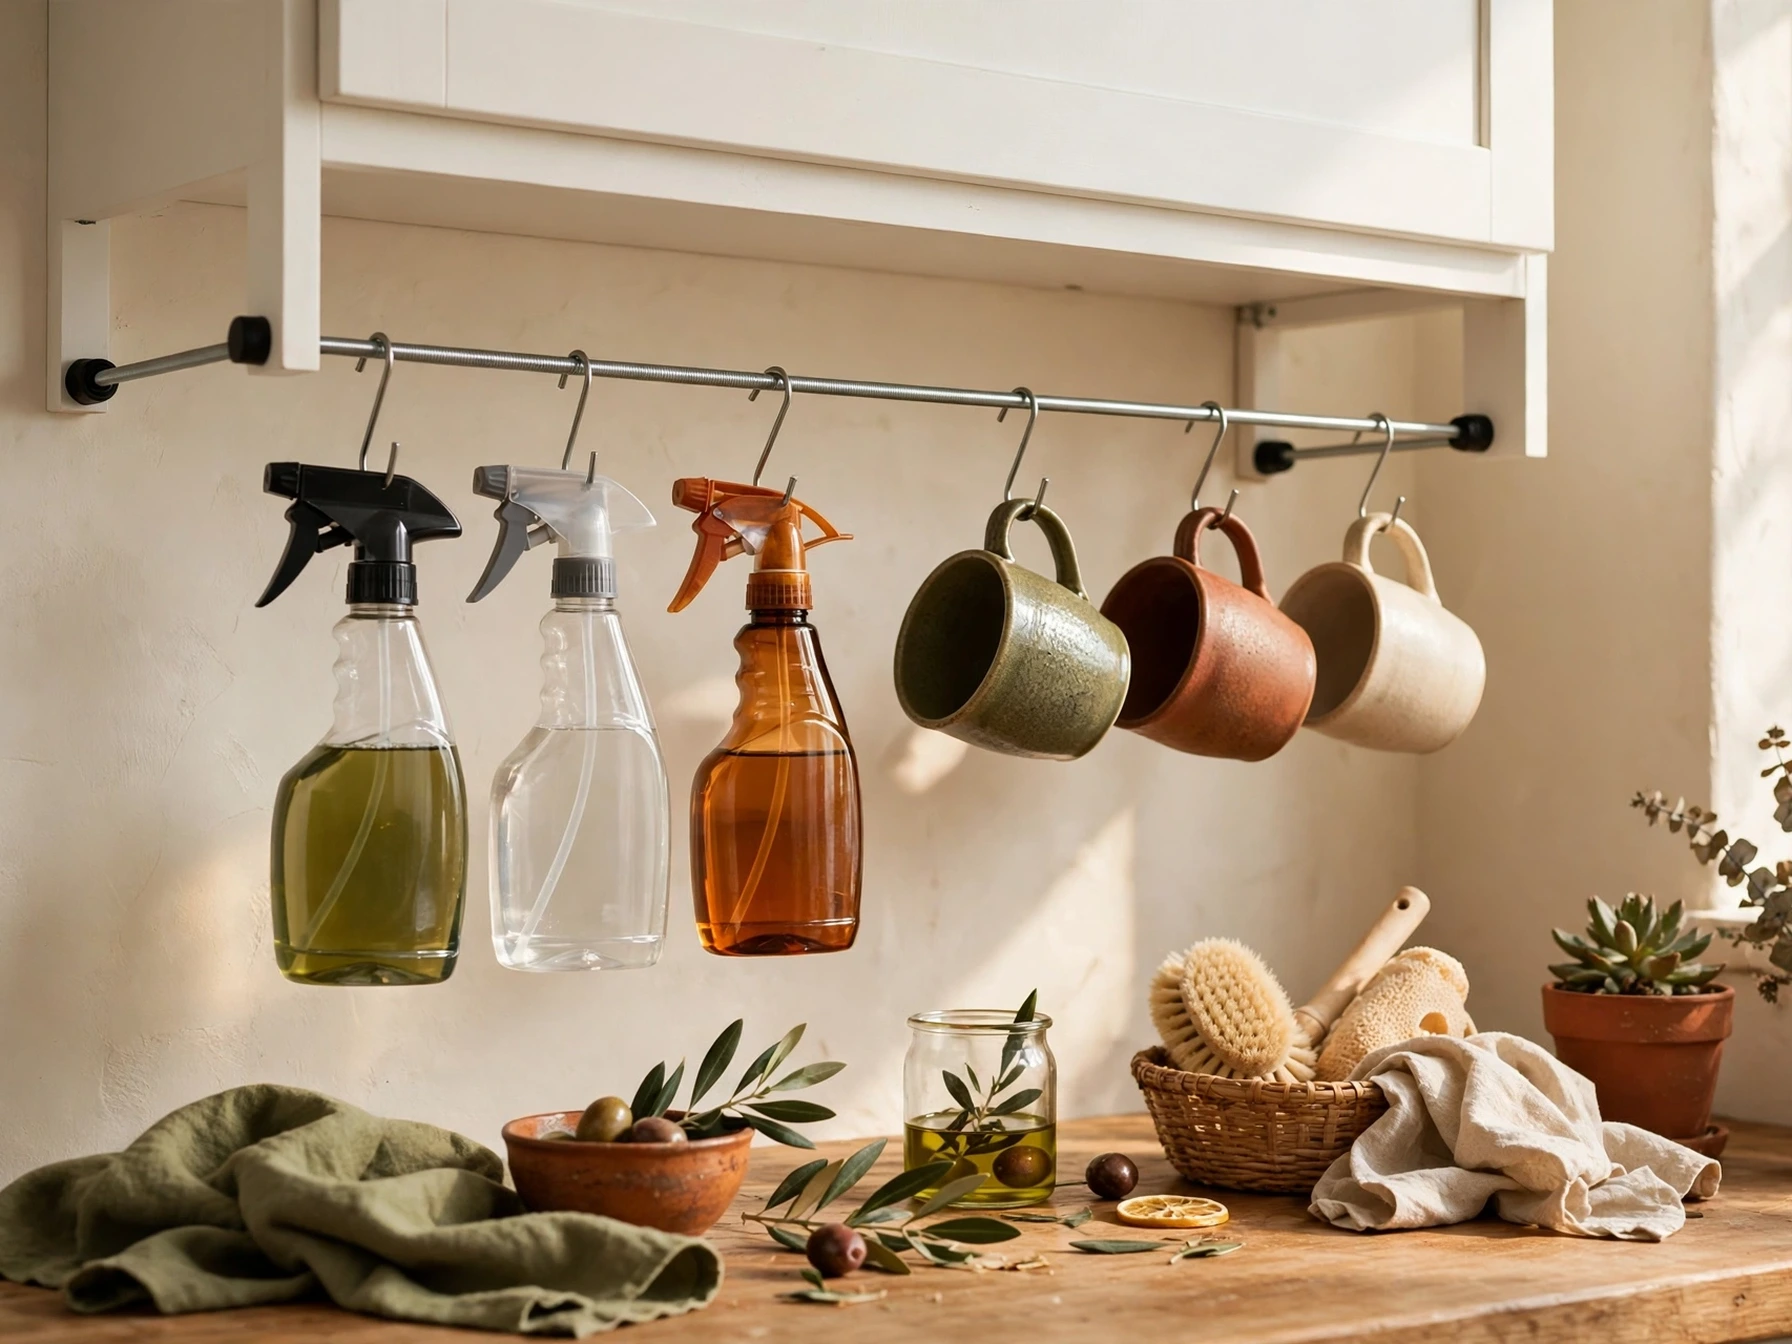
A tension rod is the cheapest organizer in a rental kitchen, and it needs no tools and no holes. Across the under-sink cabinet it holds spray bottles by their triggers, under a cabinet shelf it hangs mugs by their handles, and across a deep drawer it divides lids from pots.
Measure the gap, choose a rod that extends a little beyond it, and twist it tight until it holds firm. If a rod keeps slipping, wrap shelf liner around each end for grip — the rubber stops it sliding on smooth surfaces.
Practical note: Keep tension rods away from heavy items. They are best for light things — sprays, mugs, lids, and foil — not full pots and pans.
5. Stick a Removable Magnetic Strip for Knives and Spices
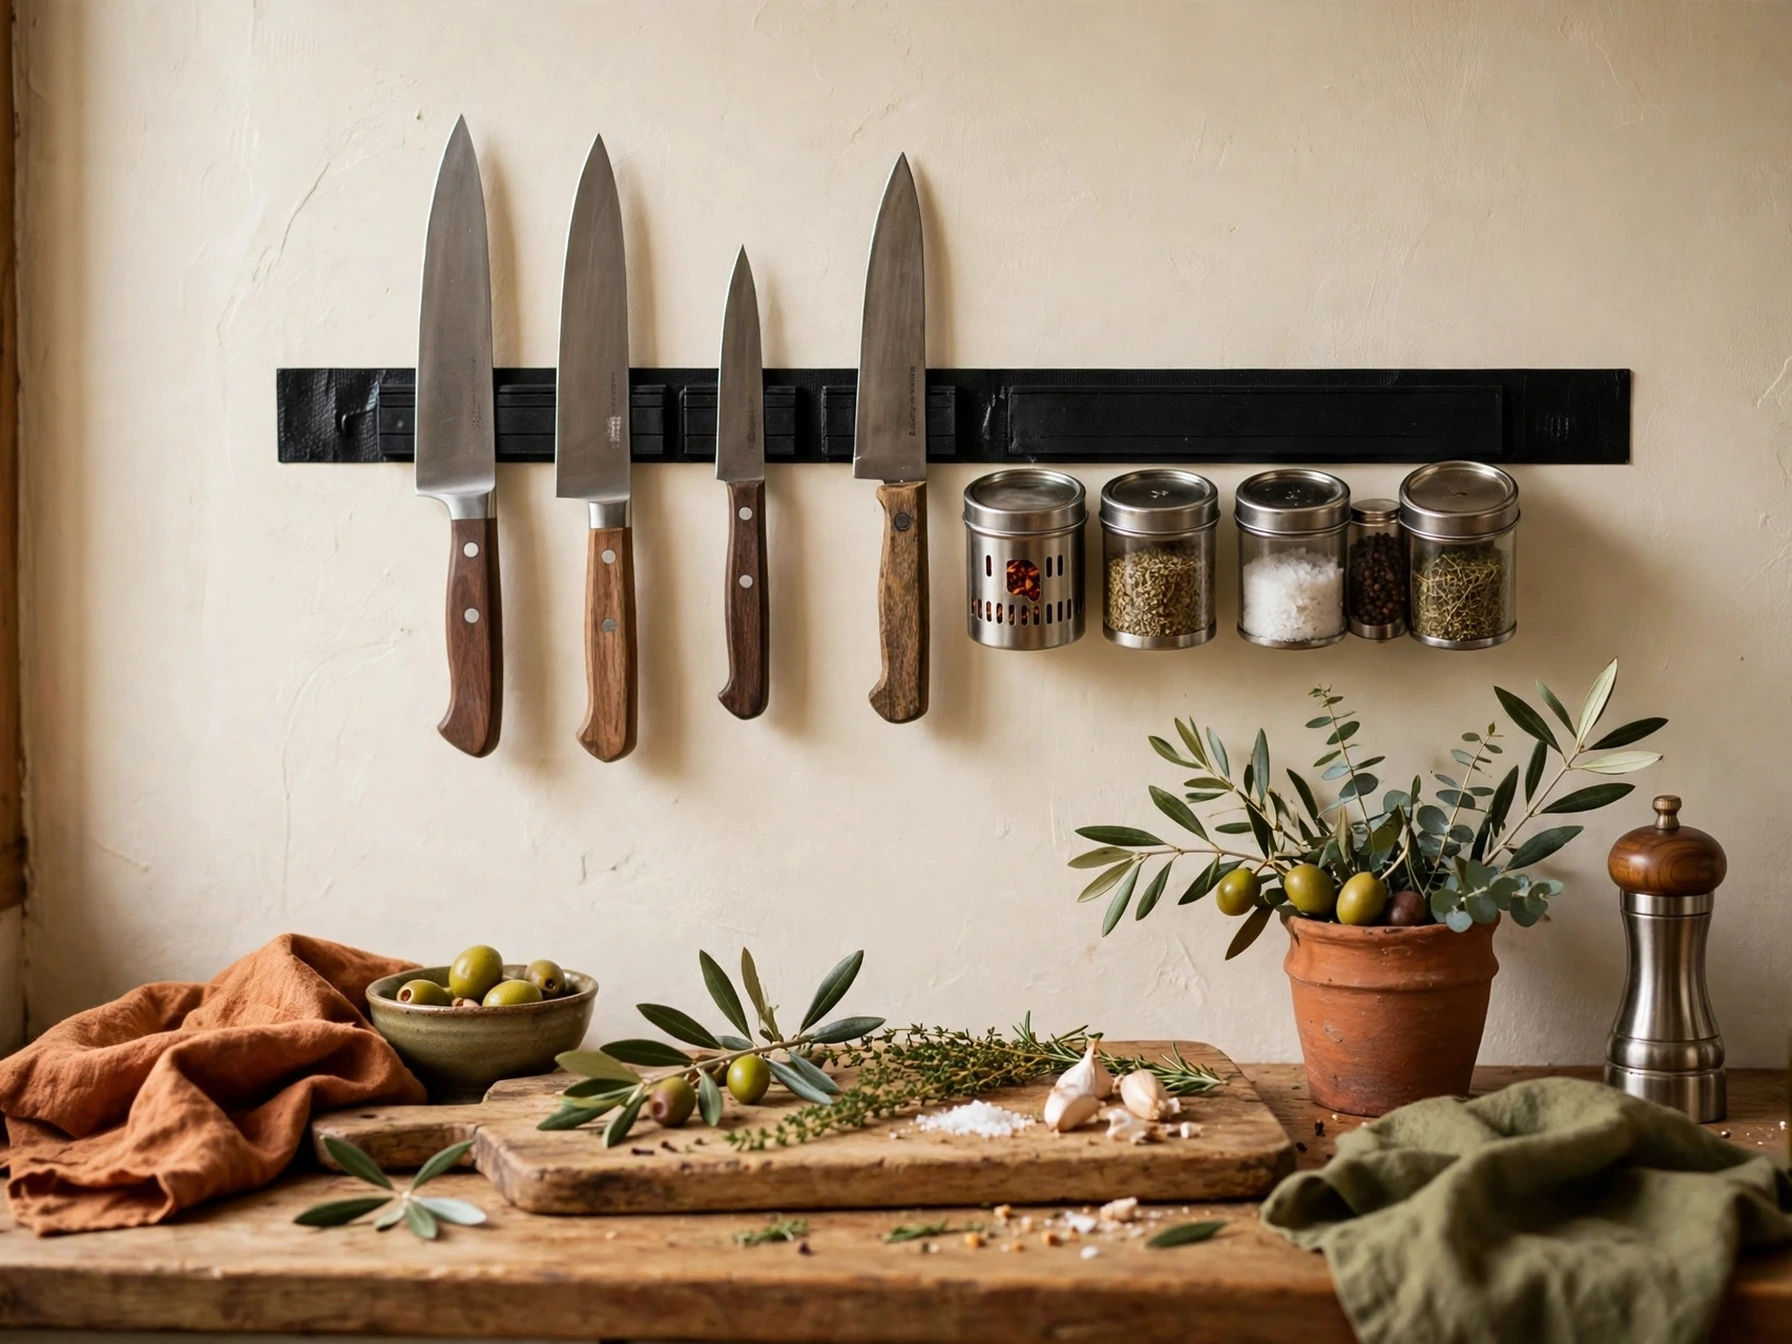
A magnetic strip frees the counter space a knife block takes up and keeps blades visible, dry, and safely out of a crowded drawer. Adhesive-backed magnetic strips stick to the wall and peel off cleanly, so renters get the same benefit without a single screw.
Mount it on the wall near your prep area, where the handles are easy to grip. The same magnetic idea works for spice jars with metal lids, stuck to a strip on the wall or under a cabinet. Keep the strip away from the stove’s heat and the sink’s splashes.
Practical note: A 12 to 18 inch strip holds a small kitchen’s everyday knives. Store large or rarely used knives in a drawer block instead.
Cabinets Without Drilling
6. Add Stackable Shelf Risers Inside Cabinets
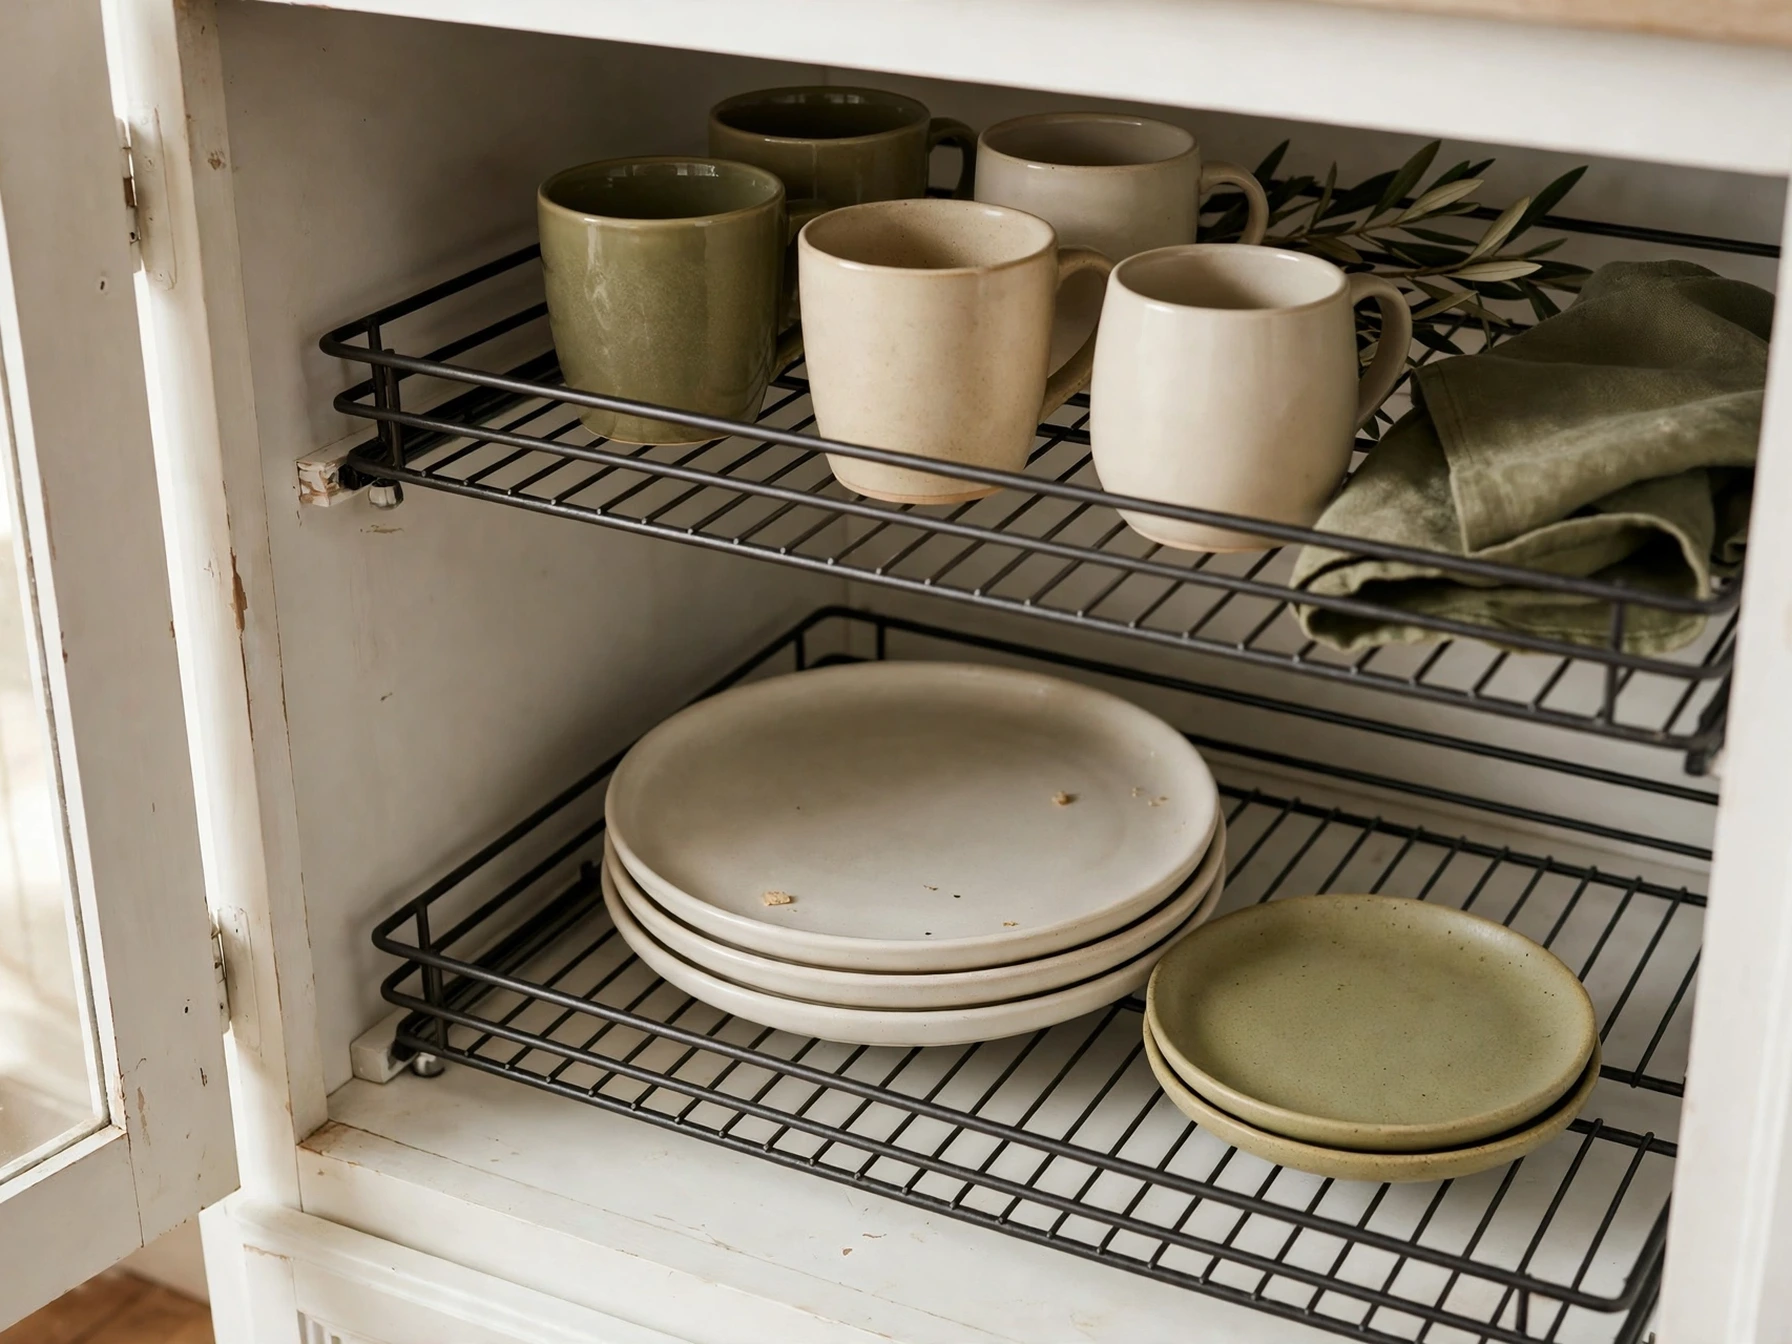
A shelf riser is a small shelf that sits inside a cabinet and doubles its usable surface. It turns one tall, wasted shelf into two levels: mugs on top and plates below, or spices above and oils below.
Risers are cheap, need no screws, and move with you when you move home. Measure the inside height first, then choose a riser that leaves room for the tallest item on the lower level.
Practical note: Choose sturdy metal or bamboo risers, not flimsy plastic. For a full cabinet plan, see our kitchen cabinet organization ideas.
7. Give the Corner Cabinet a Lazy Susan
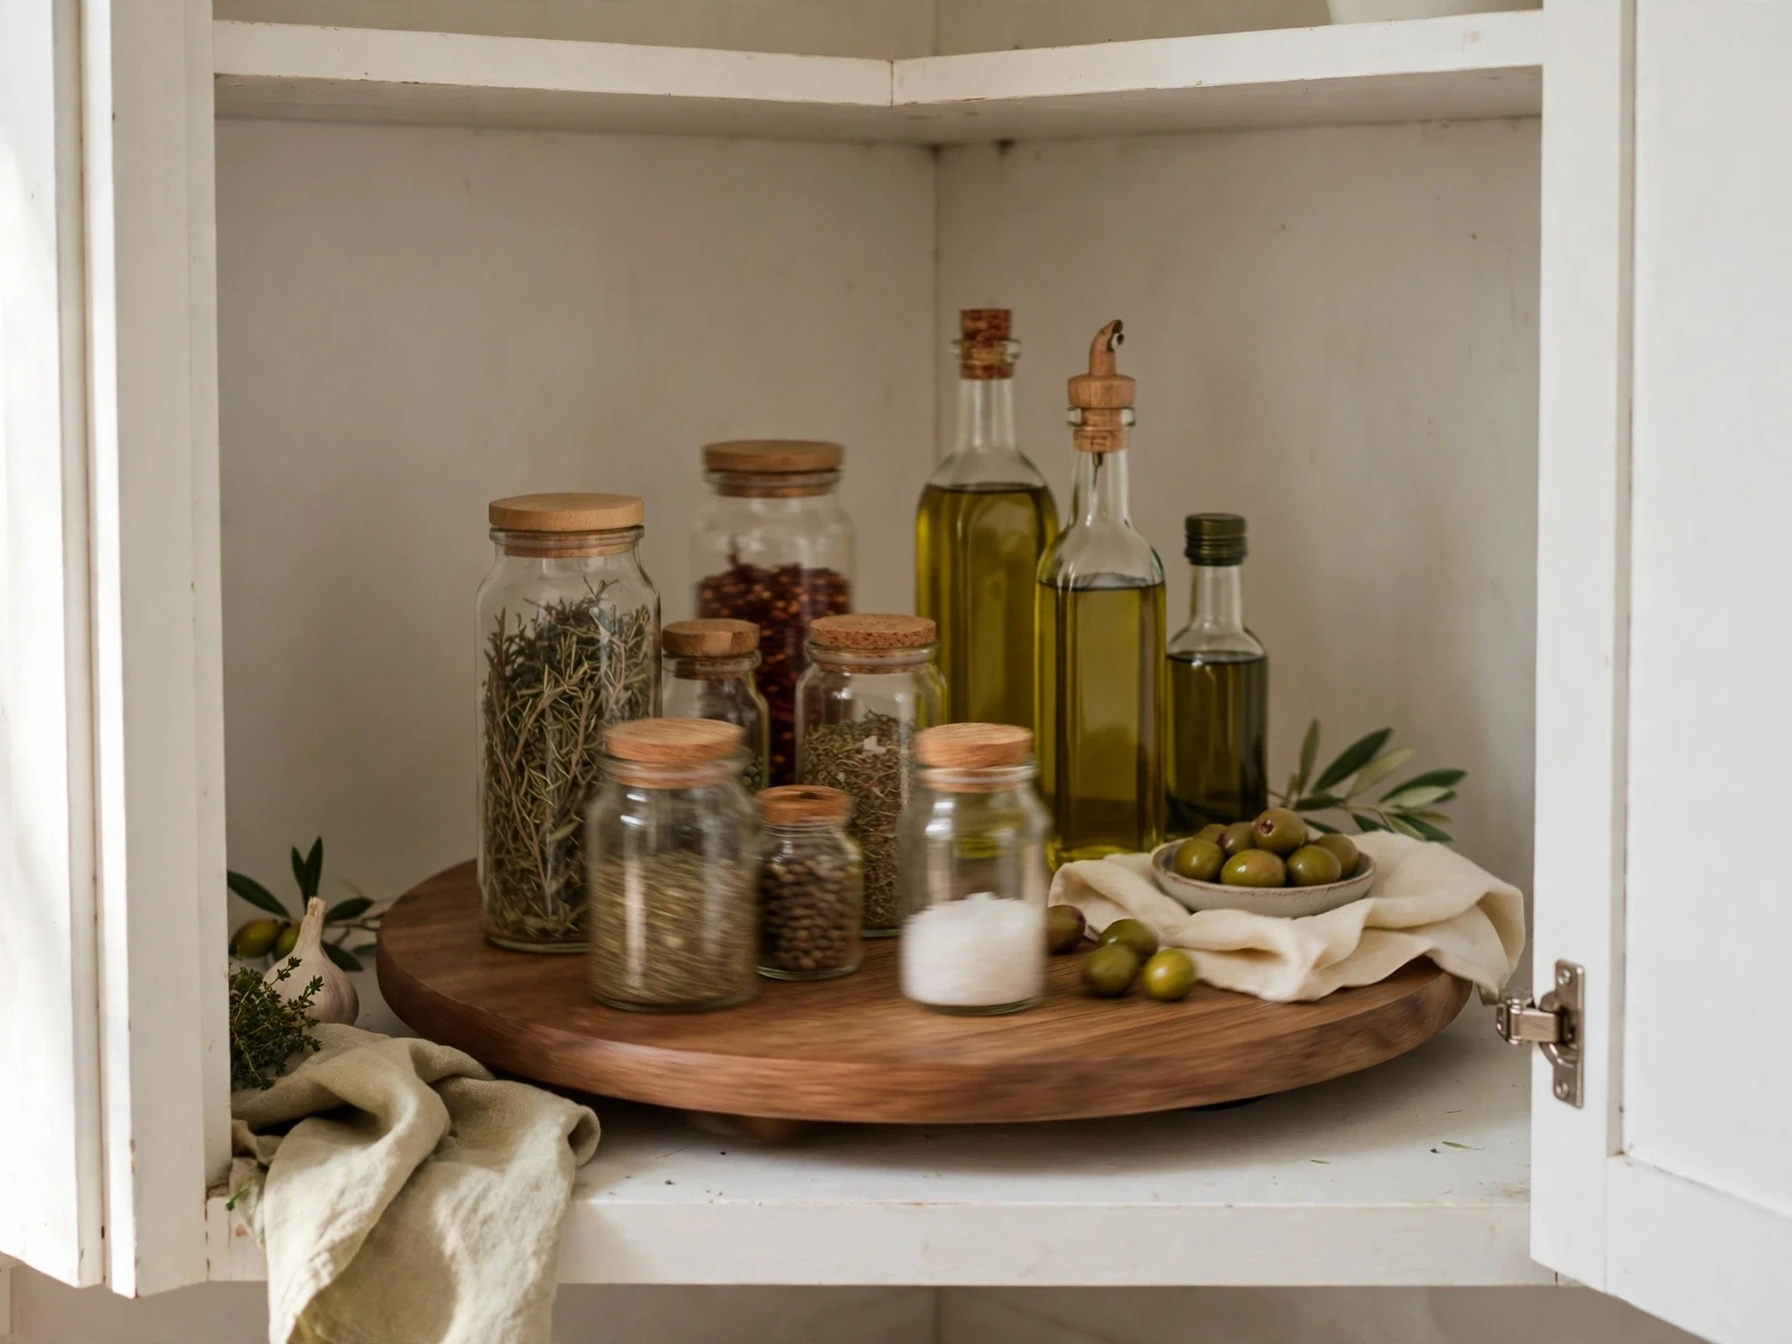
Corner cabinets are where rental kitchens lose things. A lazy Susan — a round turntable that spins — brings the back of the corner to you, so oils and spice jars stop disappearing behind each other.
Pick a turntable with a low rim so bottles cannot slide off, and keep tall bottles in the centre where they are most stable. The same trick works in a deep pantry cabinet, and the turntable simply lifts out when you move.
Practical note: Measure the cabinet opening before you buy; a turntable that is too wide will not fit through the door.
8. Stack Clear Bins and Baskets Inside Cabinets
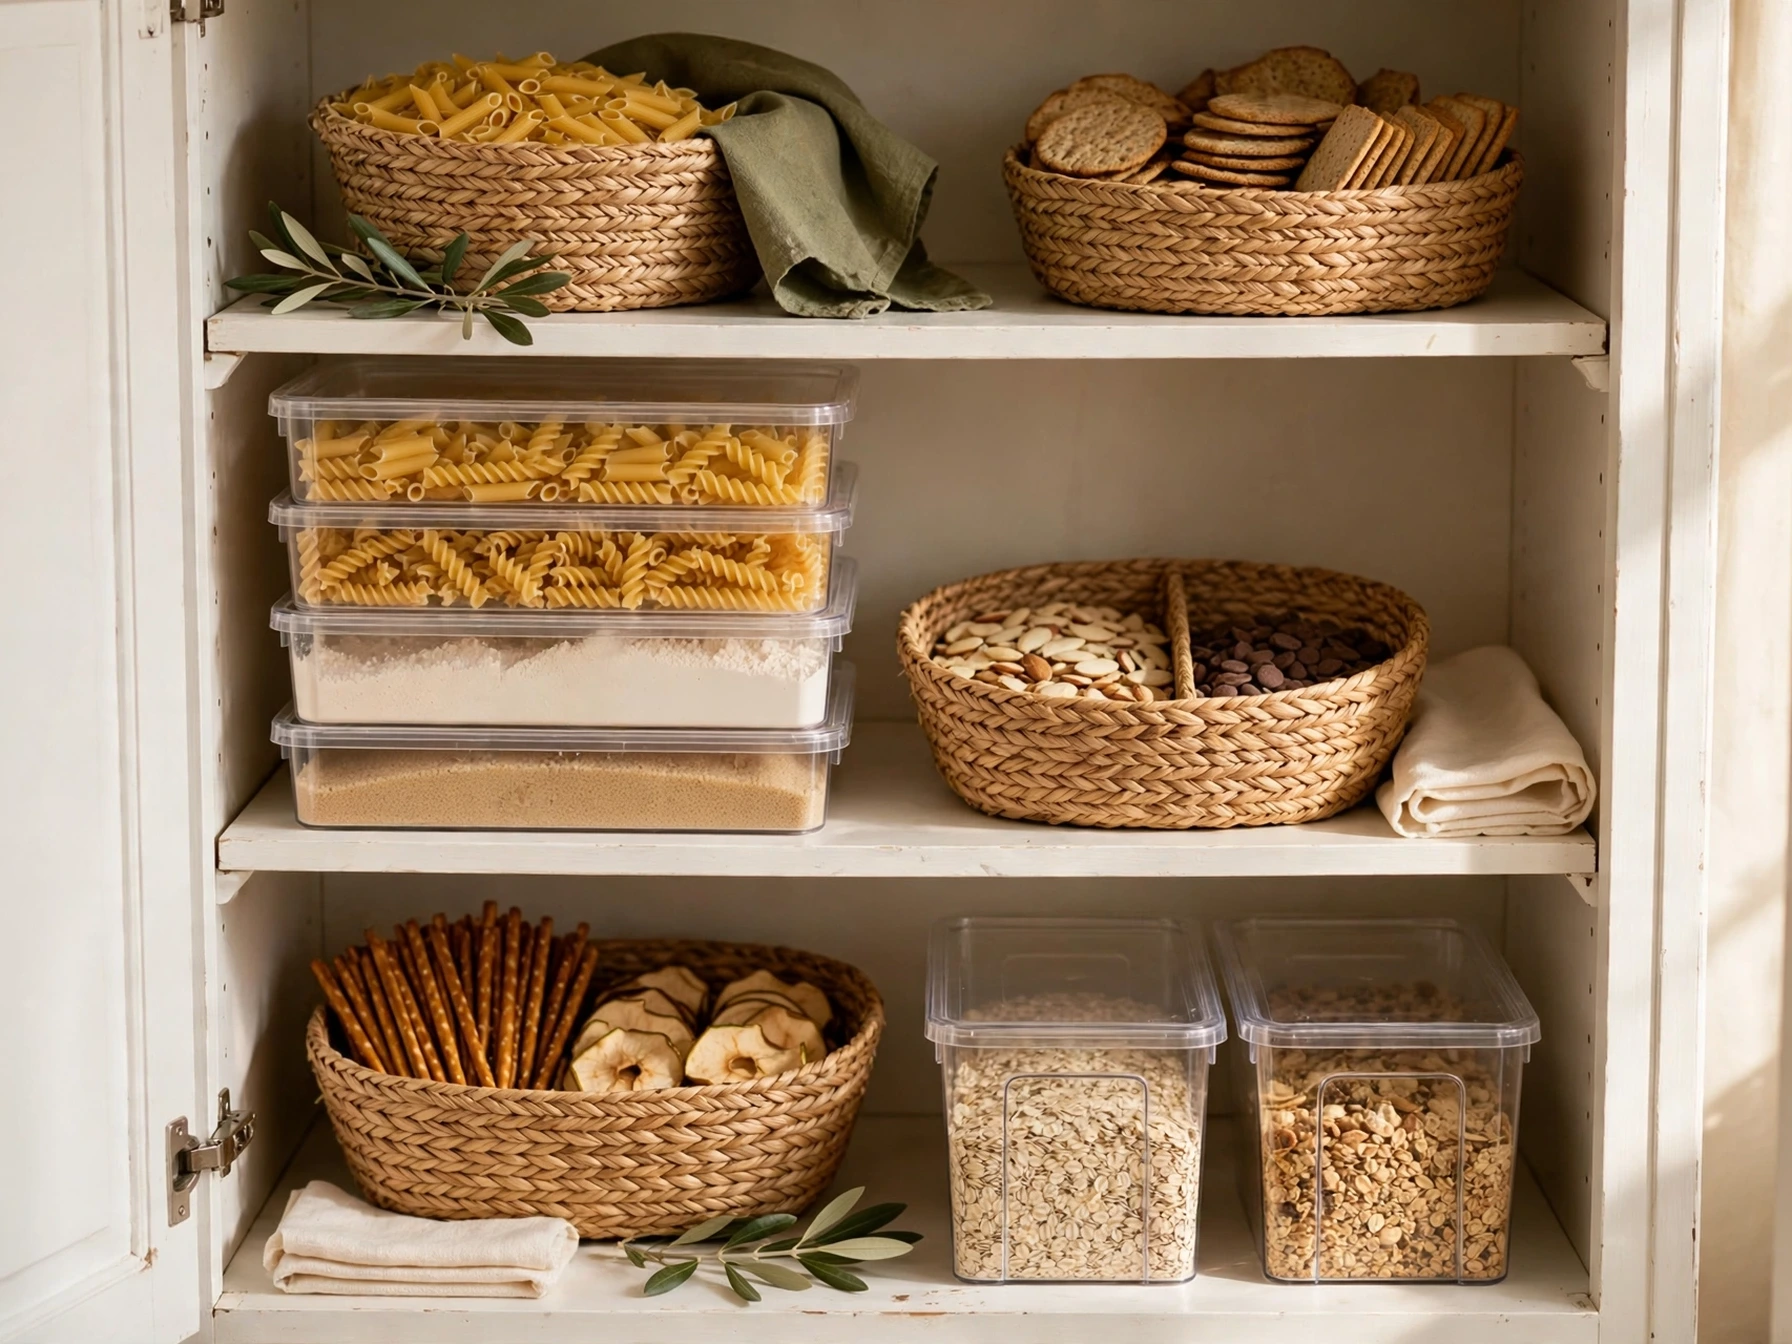
Stackable bins and woven baskets turn a deep cabinet into neat layers instead of one sliding pile. Group like items together — snacks in one bin, baking supplies in another — and stack them so you can lift out the top bin without emptying the whole shelf.
Use clear bins where you want to see the contents at a glance, and baskets where you want the shelf to look calm. Label each one on the front so everyone in the house puts things back in the right place.
Practical note: Buy bins after measuring your shelves, not before. A bin that is half an inch too tall wastes the whole shelf above it.
9. Store Food in Clear, Labelled Containers
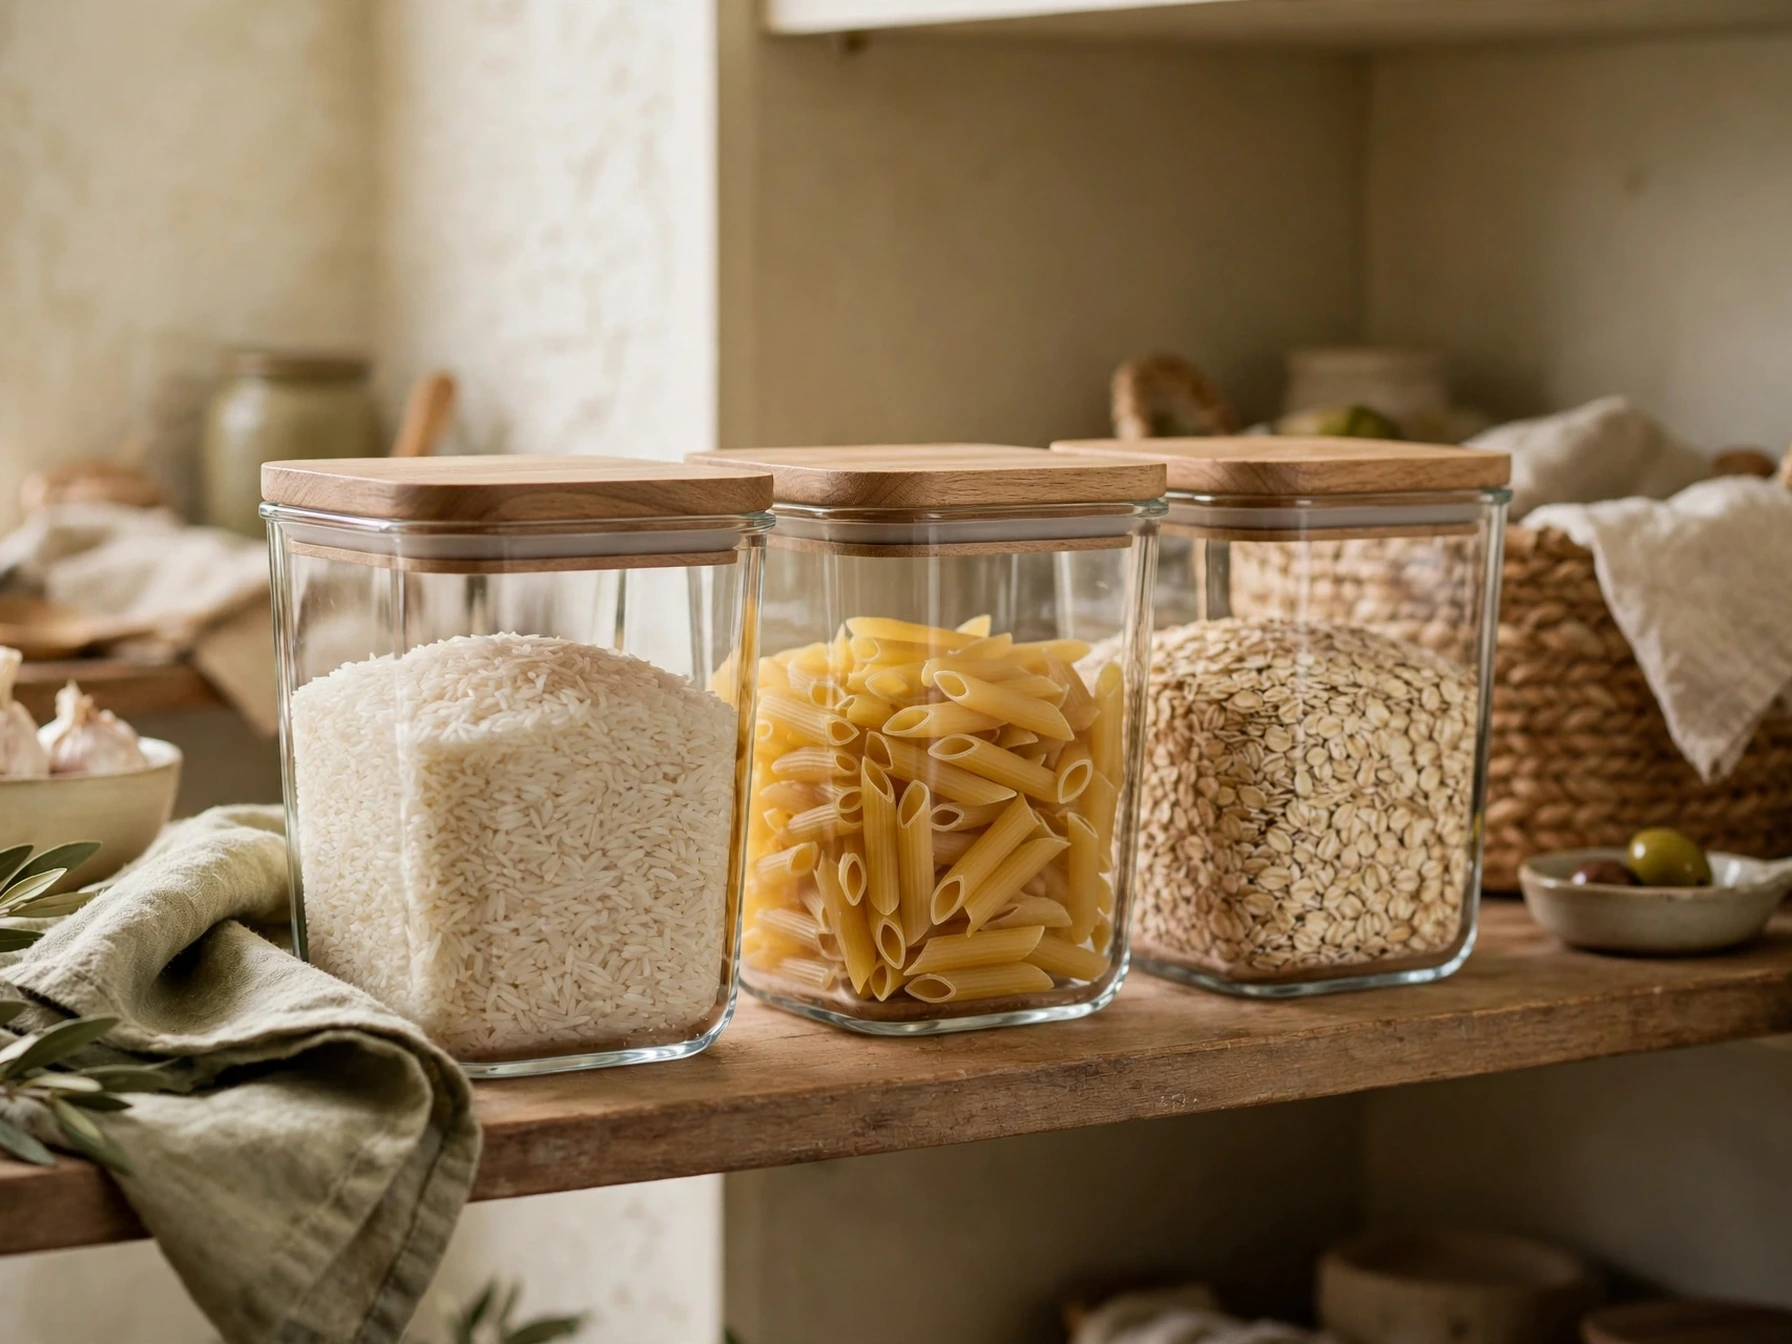
Clear containers turn a pantry from a guessing game into a quick glance. When you can see the rice, pasta, and cereal, you stop buying duplicates and opening five boxes to find one ingredient.
Label each container on the front, and use square containers, which waste less space than round ones. Decant only the dry goods you use often, and keep the rest in their original packets on a higher shelf.
Practical note: Start with five containers for rice, pasta, flour, sugar, and oats, and add more only when those five work well.
10. Stand Baking Sheets and Lids Upright
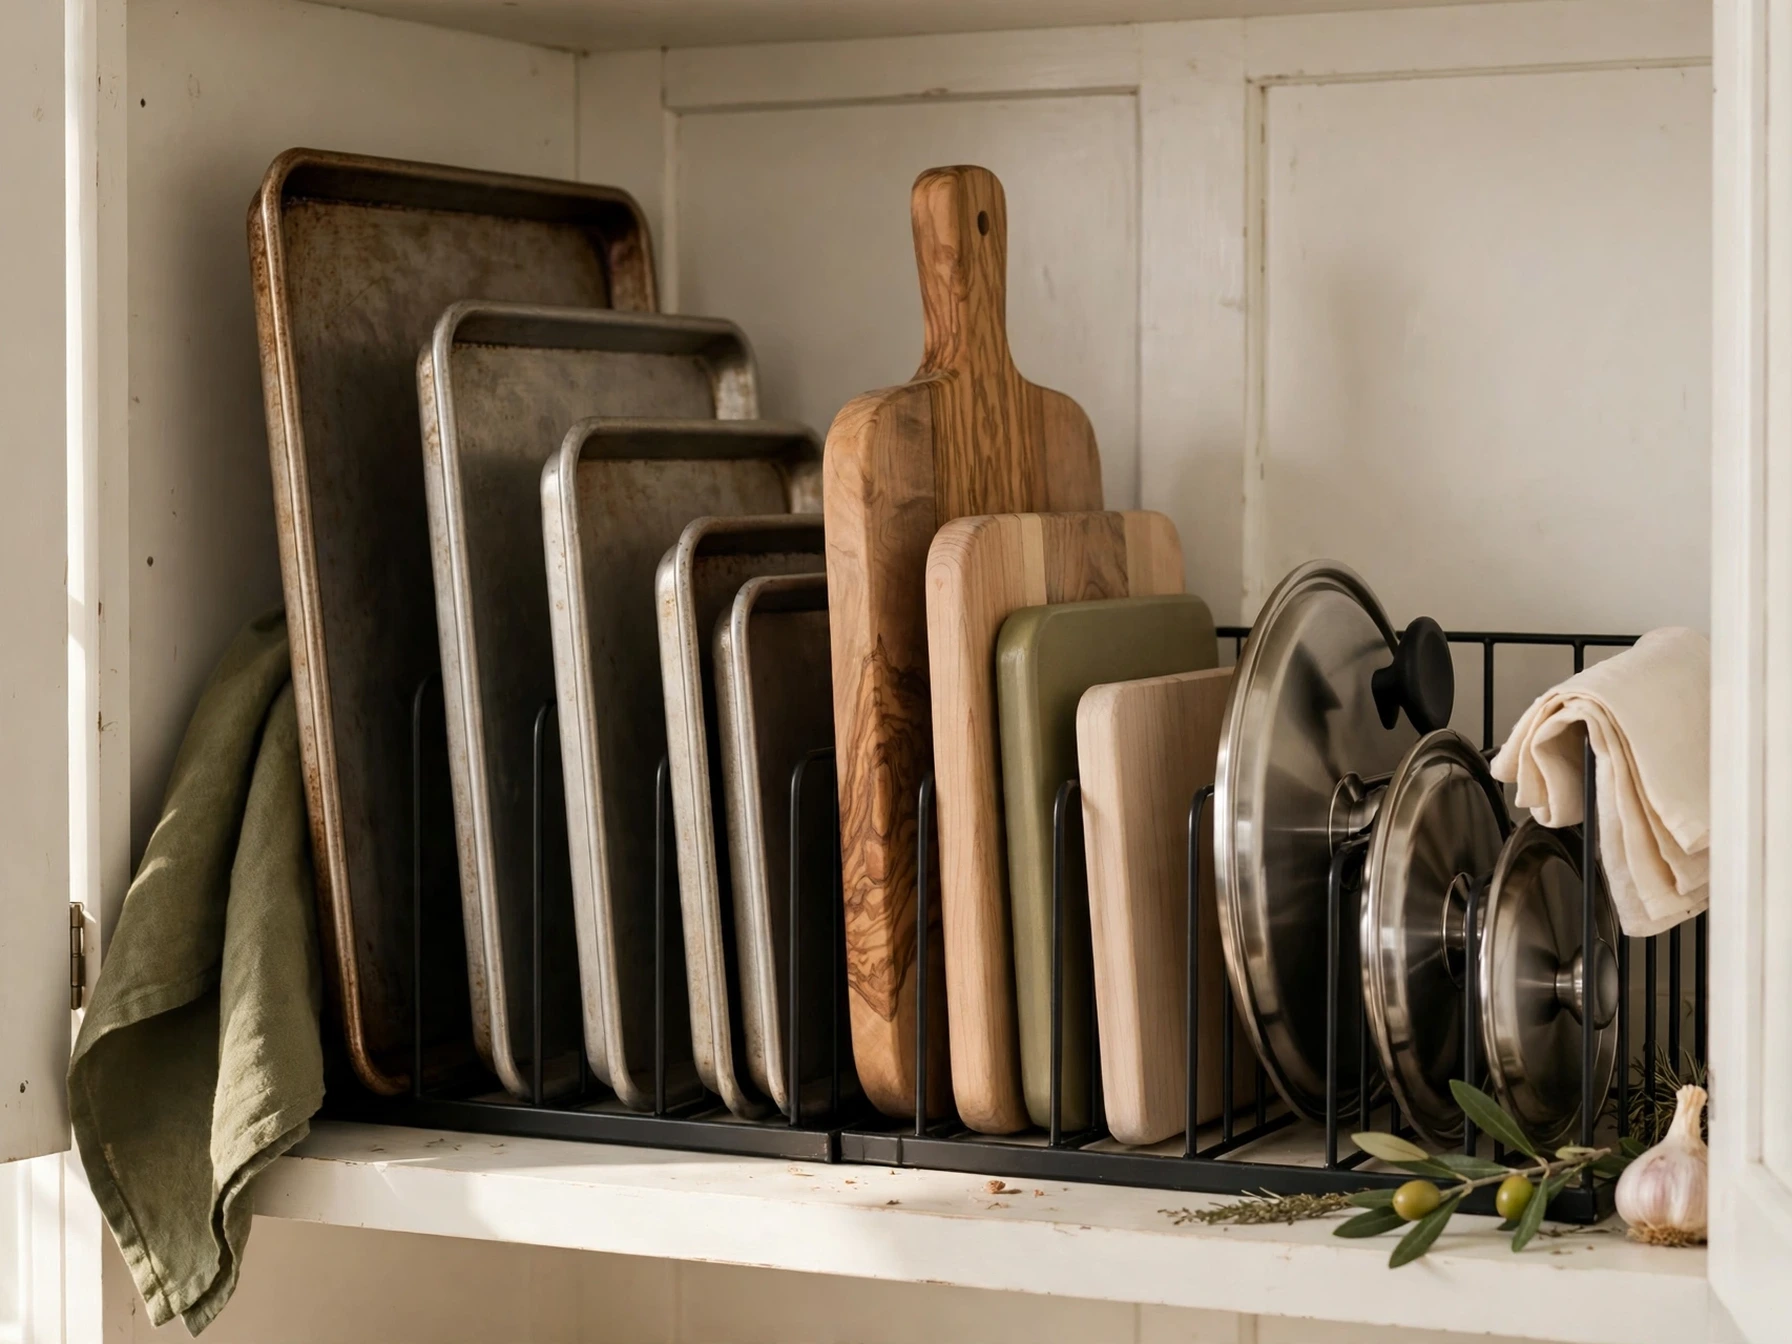
Baking sheets, cutting boards, and pan lids take up far less room standing on their edges than lying flat in a stack. A simple vertical file organizer holds them upright inside a cabinet, so you can slide out one tray without lifting the whole pile.
Sort them by size, tallest at the back, and leave a little space between them so they do not jam. If your cabinet is too short, store tall trays in the narrow gap beside the fridge — no fixing needed.
Practical note: A tension rod across a deep cabinet also makes a cheap divider: slide lids and trays behind it and they stay upright.
Counters, Walls & Extra Space
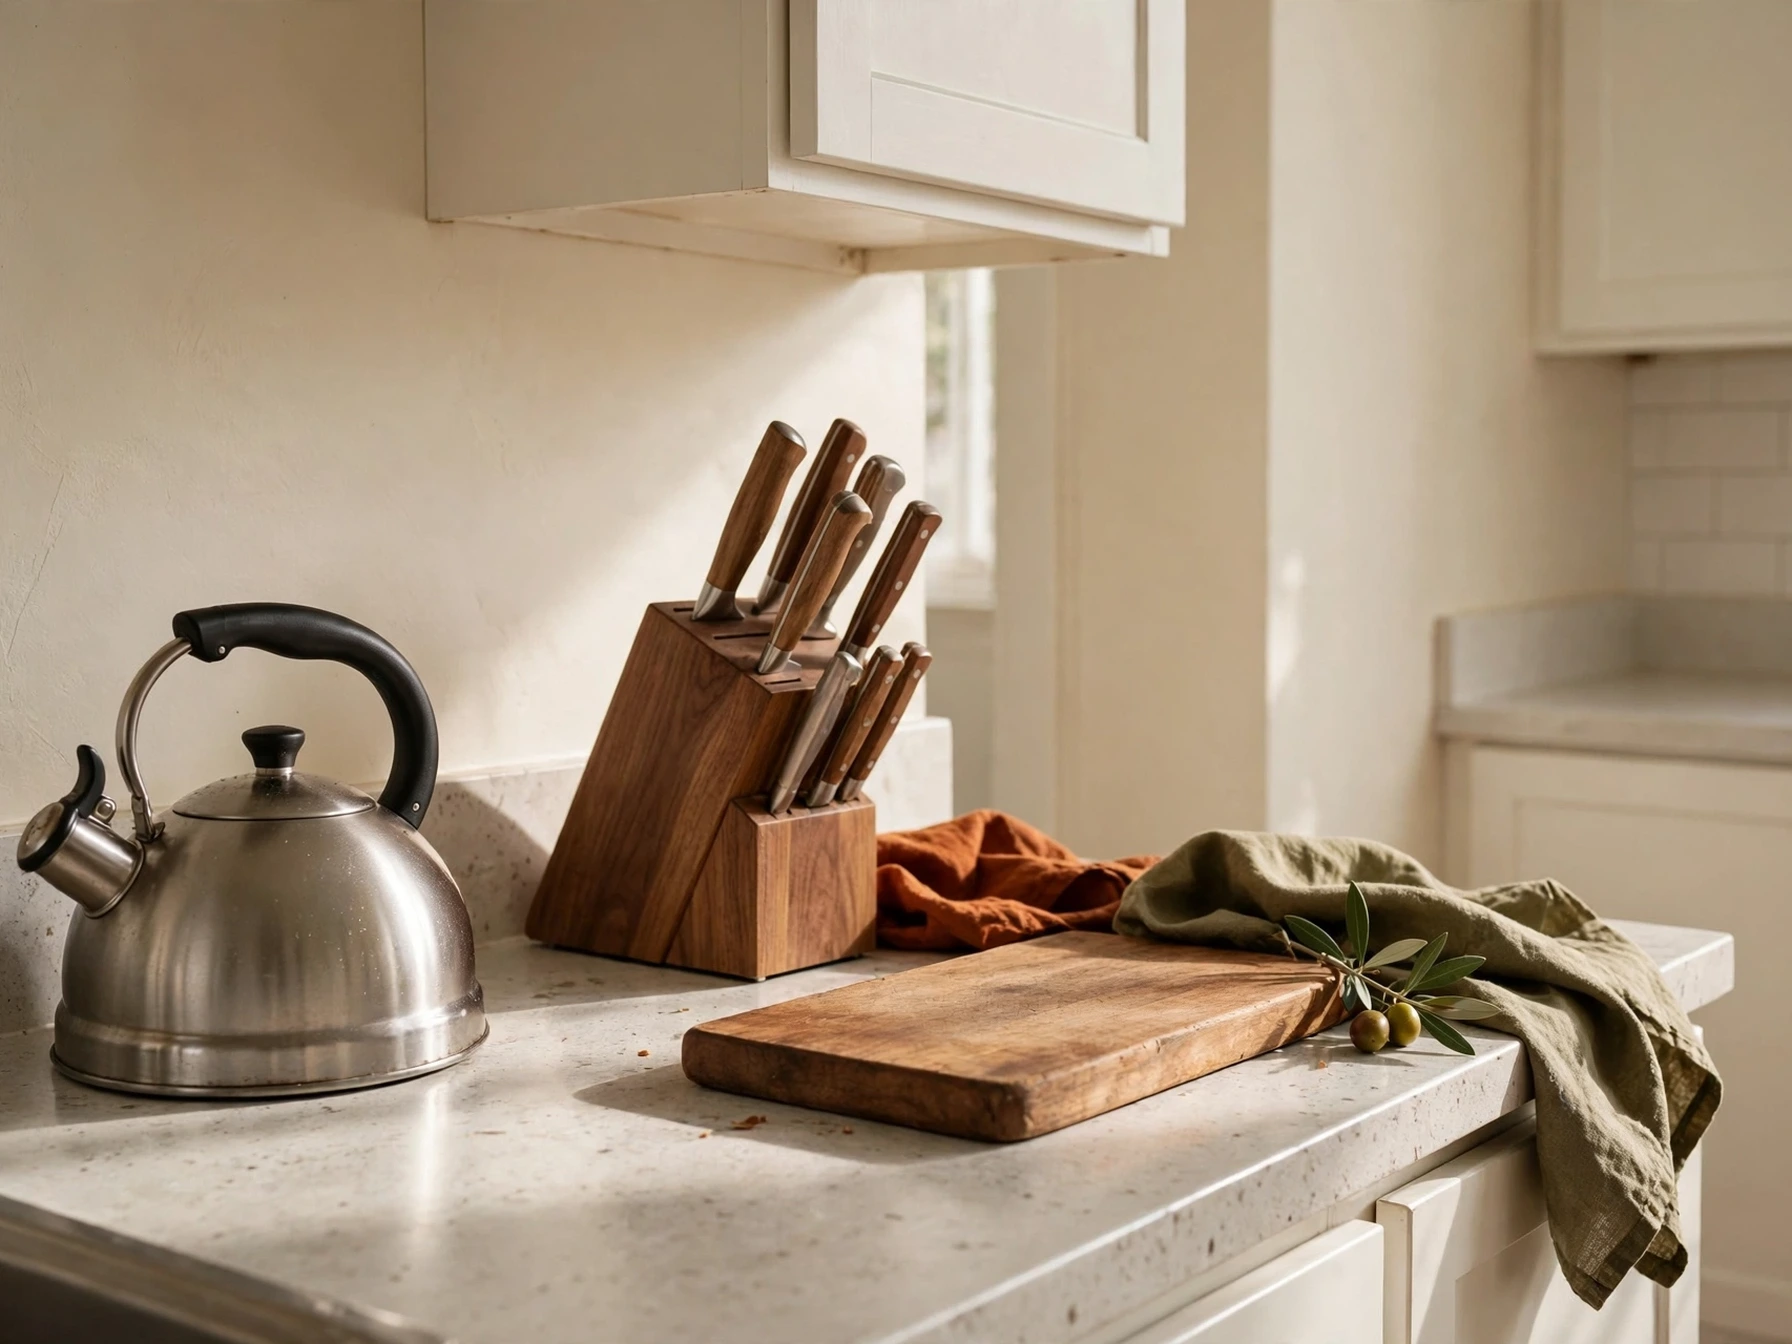
11. Clear the Counter and Keep Only Daily Items
A clear counter is the fastest way to make a rental kitchen feel bigger. Only the things you use every day earn a place there — usually a kettle or coffee maker, a knife block or utensil crock, and a chopping board.
Take everything off, clean the counter properly, and put back only those daily three or four. The items you removed are not gone; they are simply waiting in a cabinet instead of crowding your workspace.
Practical note: If an appliance has not been used in a month, move it to a higher shelf. For more counter ideas, see our kitchen counter organization ideas.
12. Add a Freestanding Countertop Shelf
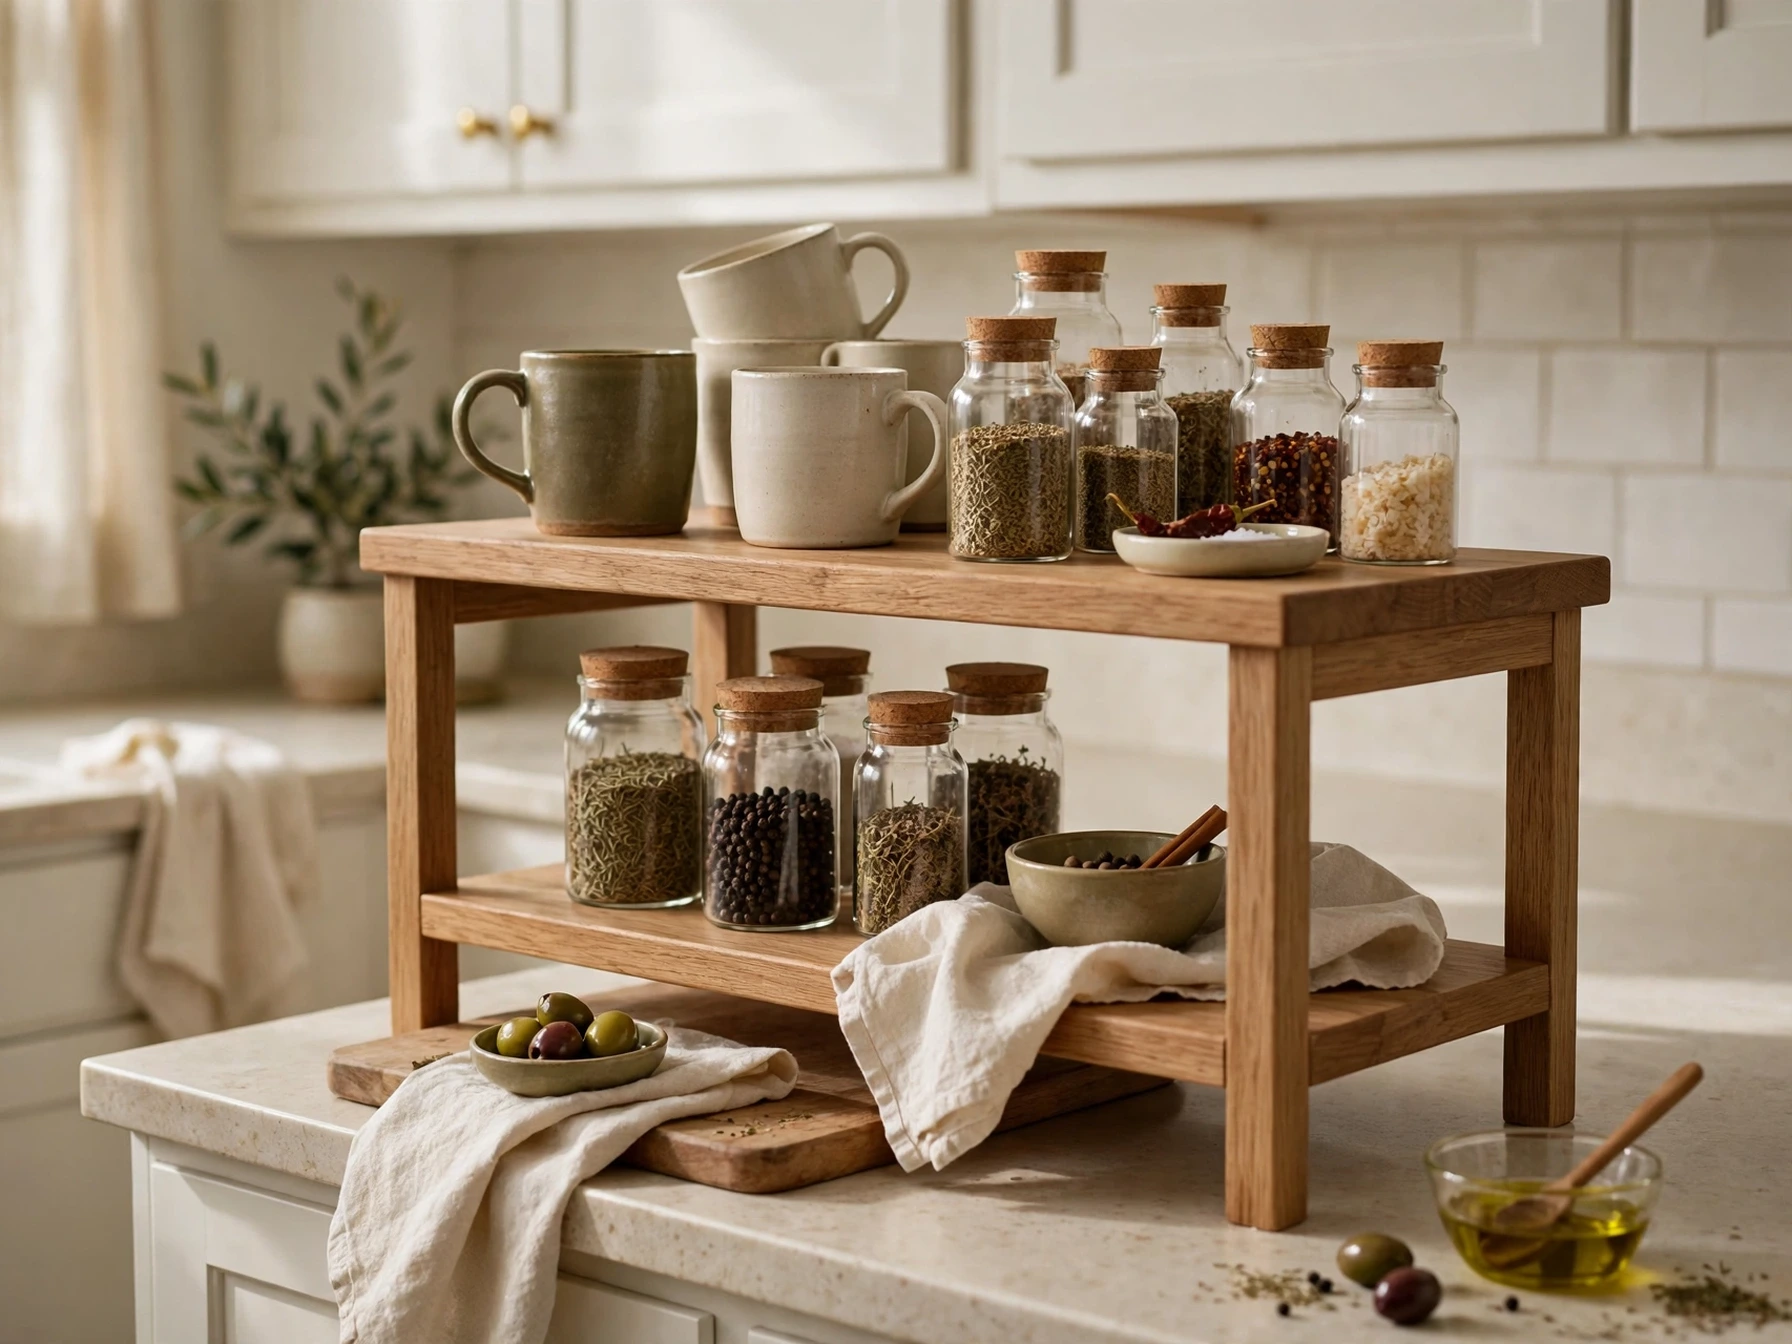
A freestanding countertop shelf adds a second level to your counter without a single screw. Set it over the coffee maker or beside the sink, and it holds mugs, small bowls, and spice jars above the things below — instant storage on a surface you already own.
Choose a shelf in wood or bamboo to warm up a white rental kitchen, and keep it at a height you can reach without a step stool. When you move, it folds flat or lifts straight into a box.
Practical note: Leave some empty space at each end of the shelf so it looks calm rather than crammed, and never load it with heavy pots.
13. Roll In a Kitchen Cart for Extra Counter and Storage
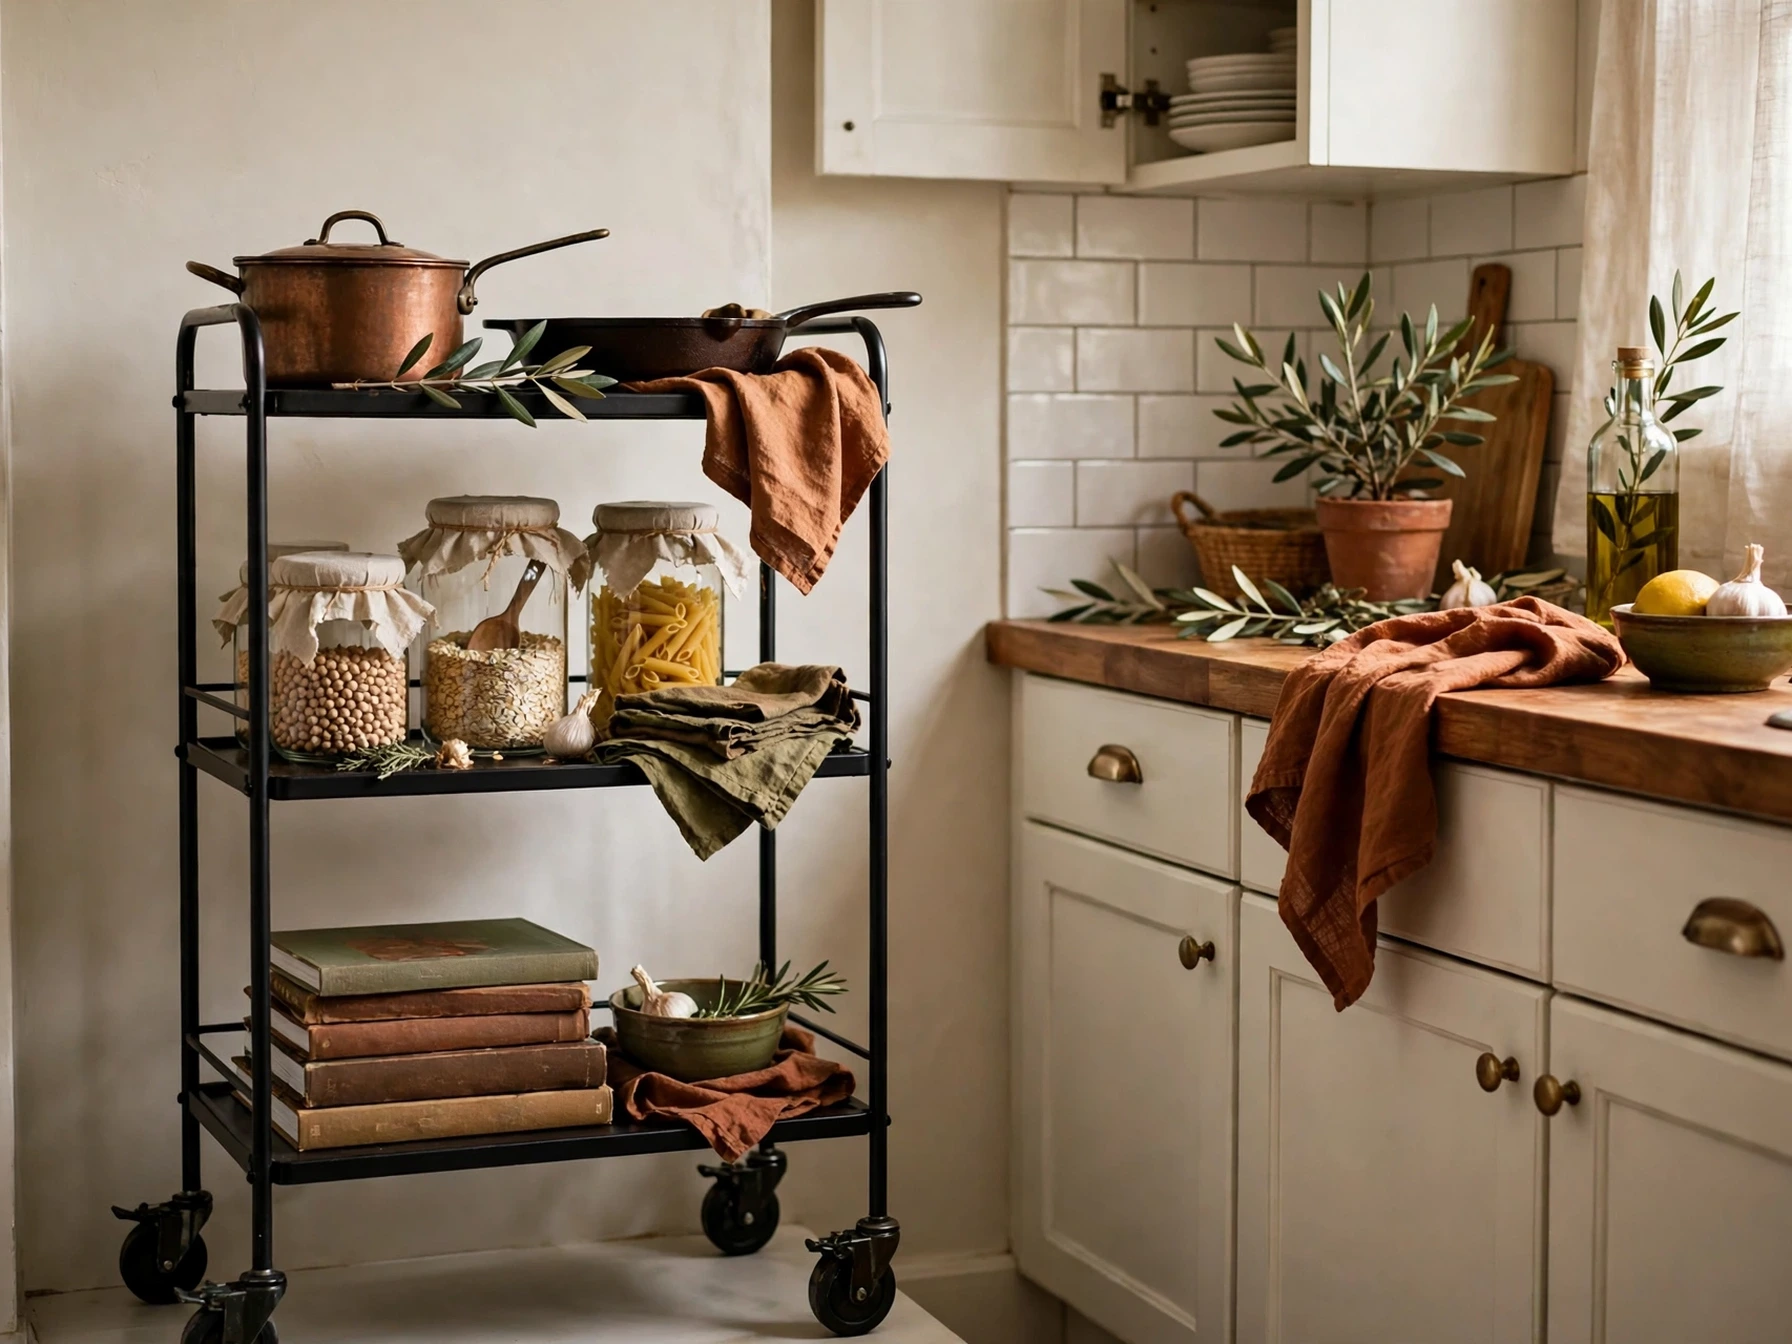
A slim rolling cart is the renter’s answer to a kitchen with no pantry and no spare counter. It holds pots, pantry items, or the coffee station, rolls where you need it while you cook, and tucks into a corner or a gap beside the fridge when you are done.
Pick a cart with shelves you can adjust and wheels that lock, so it stays put while you chop. The top doubles as extra prep space on busy cooking days, and the whole cart moves with you to the next home.
Practical note: Measure the gap it will live in before you buy — a cart that is an inch too wide becomes a hallway obstacle instead of a helper. If you have no pantry at all, see our kitchen storage ideas without a pantry.
14. Hang a No-Drill Wall Rail for Utensils
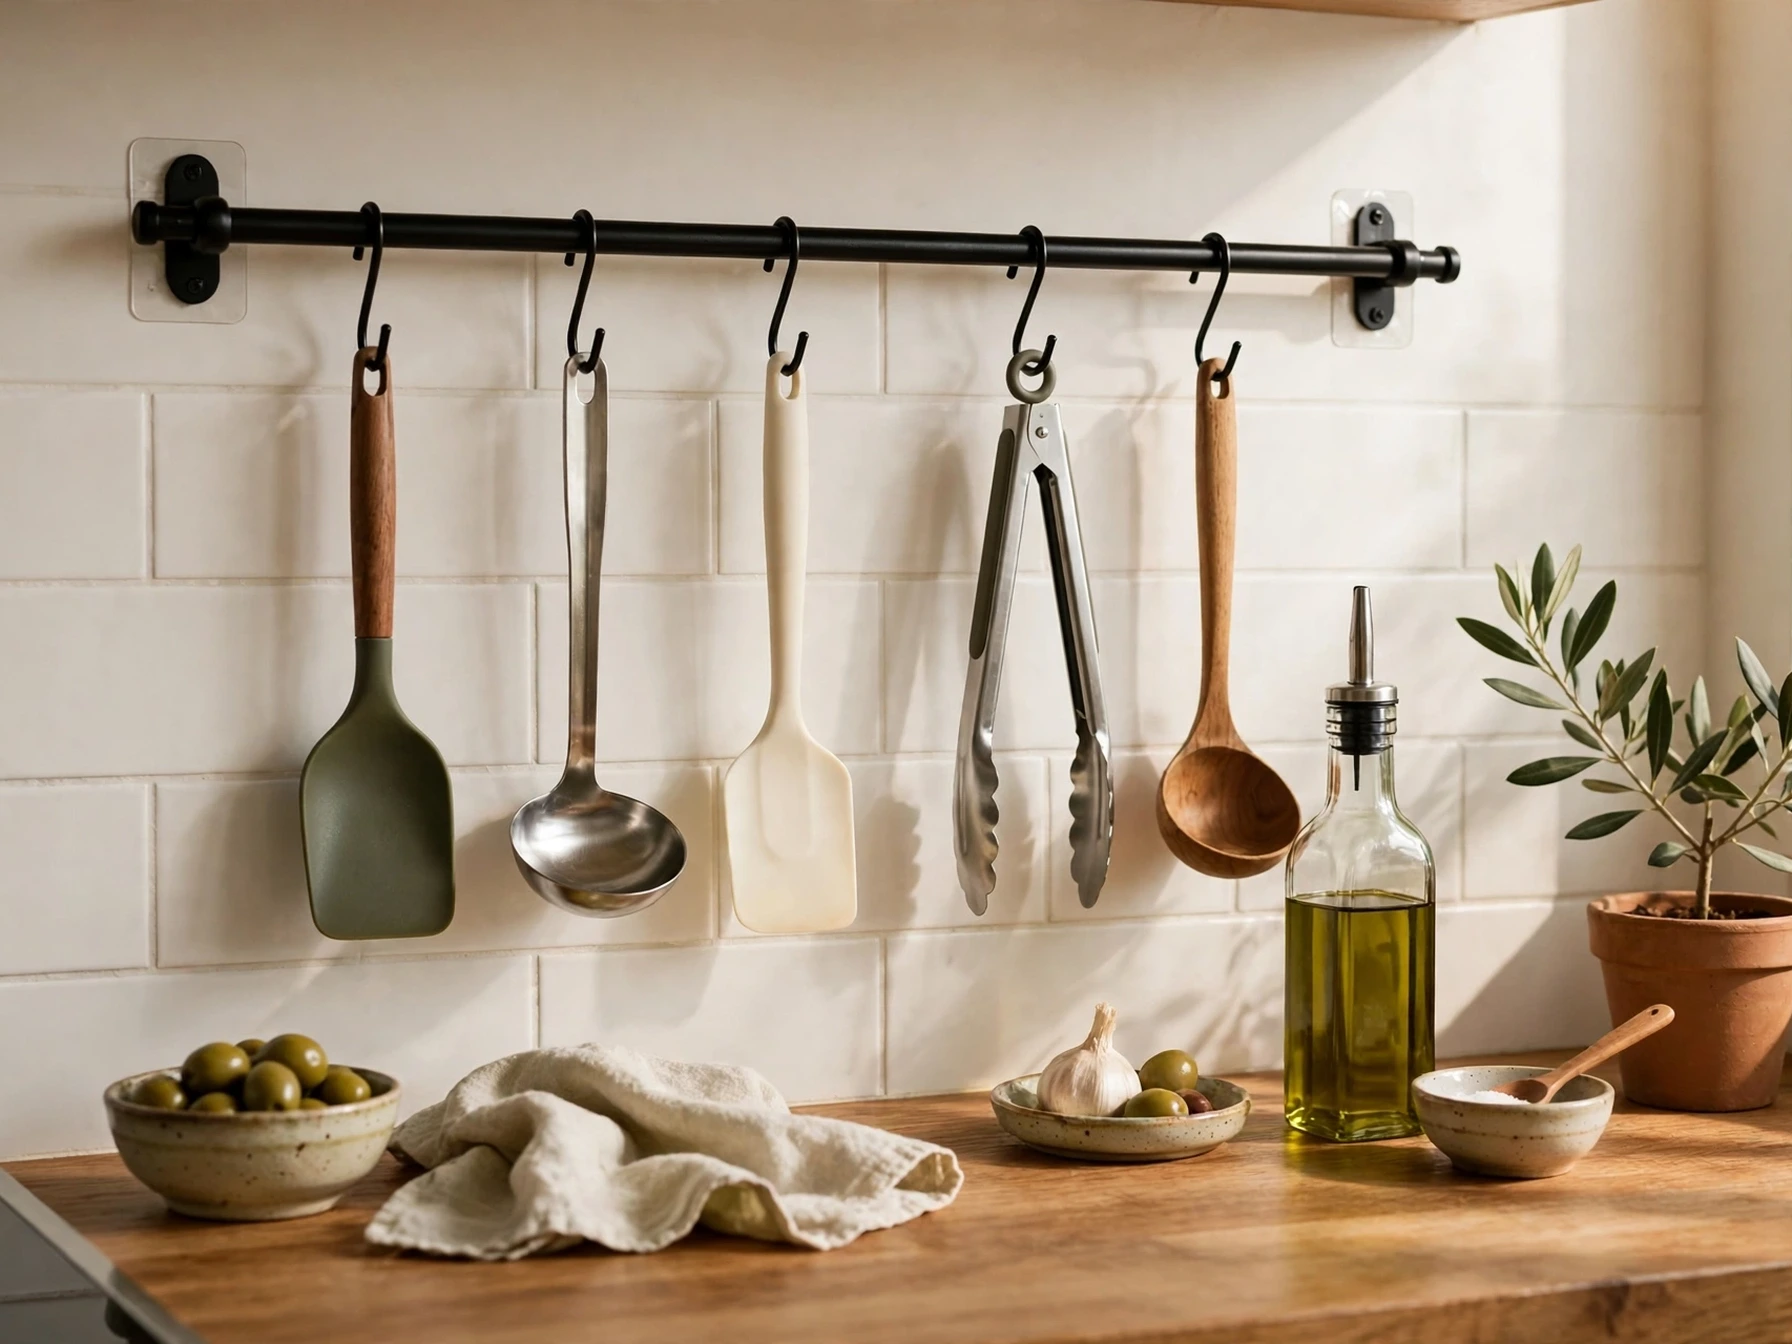
A wall rail turns a blank stretch of wall into storage and frees a whole drawer. Adhesive-mounted rails stick firmly to smooth tiles or painted walls and peel off cleanly, so renters get the hanging storage without the holes.
Hang your most-used utensils — spatulas, ladles, and tongs — on S-hooks where you can grab them while cooking. Hang the longest tools at the ends and the smallest in the middle, so nothing bumps into the counter below.
Practical note: Check the weight rating before you load the rail, and stick it to tile or a smooth painted wall rather than textured wallpaper, where adhesive holds poorly.
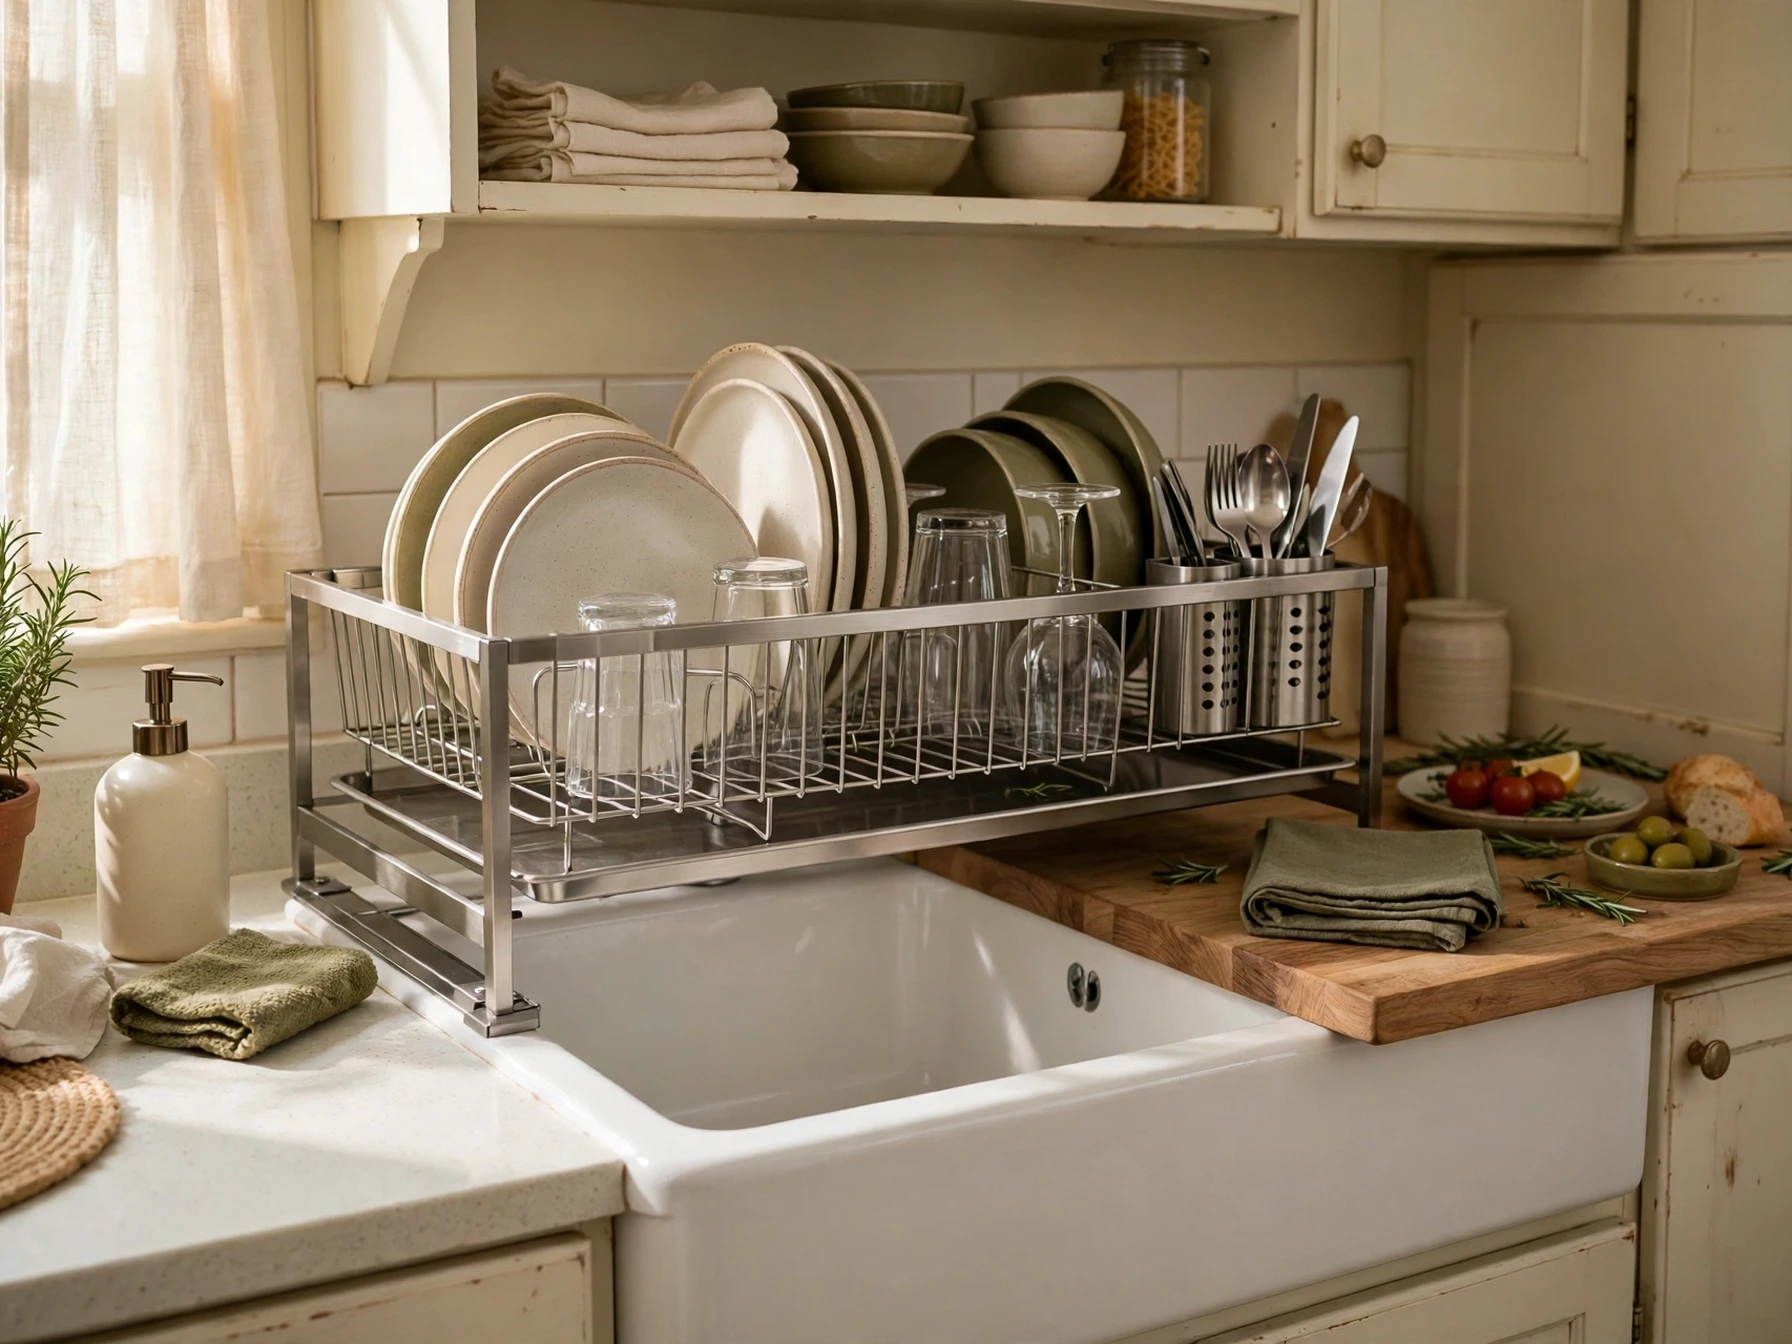
15. Add an Over-Sink Rack and a Sink Cutting Board
The sink area is wasted space in most rental kitchens, but an over-sink dish rack and a cutting board that fits across the sink turn it into extra counter. The rack holds washed dishes above the sink so they drip straight down, and the board gives you a prep surface exactly where you wash vegetables.
Choose a rack that fits your sink’s width and a board that sits securely on the rim without wobbling. When the dishes are dry, put them away the same day — a rack that stays full becomes a second pile of clutter.
Practical note: Measure the sink before buying. A roll-up dish rack that folds away is best if your sink is unusually small.
Drawers, Doors & Daily Habits
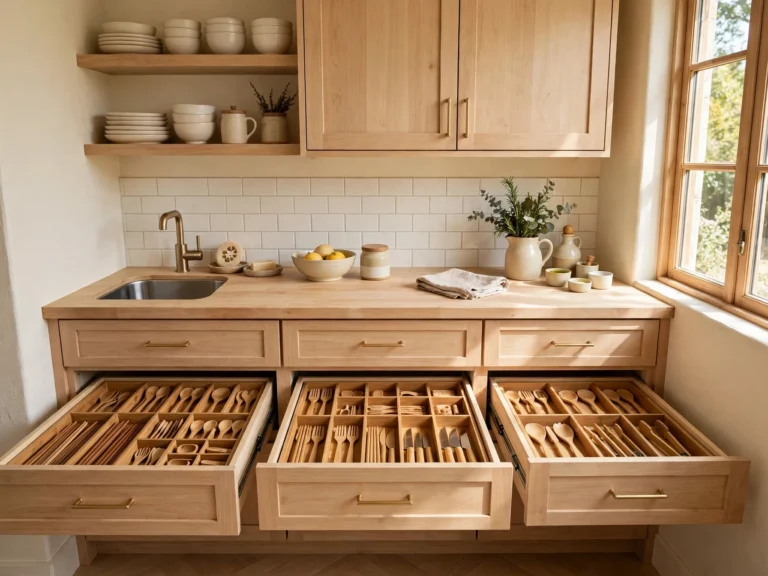
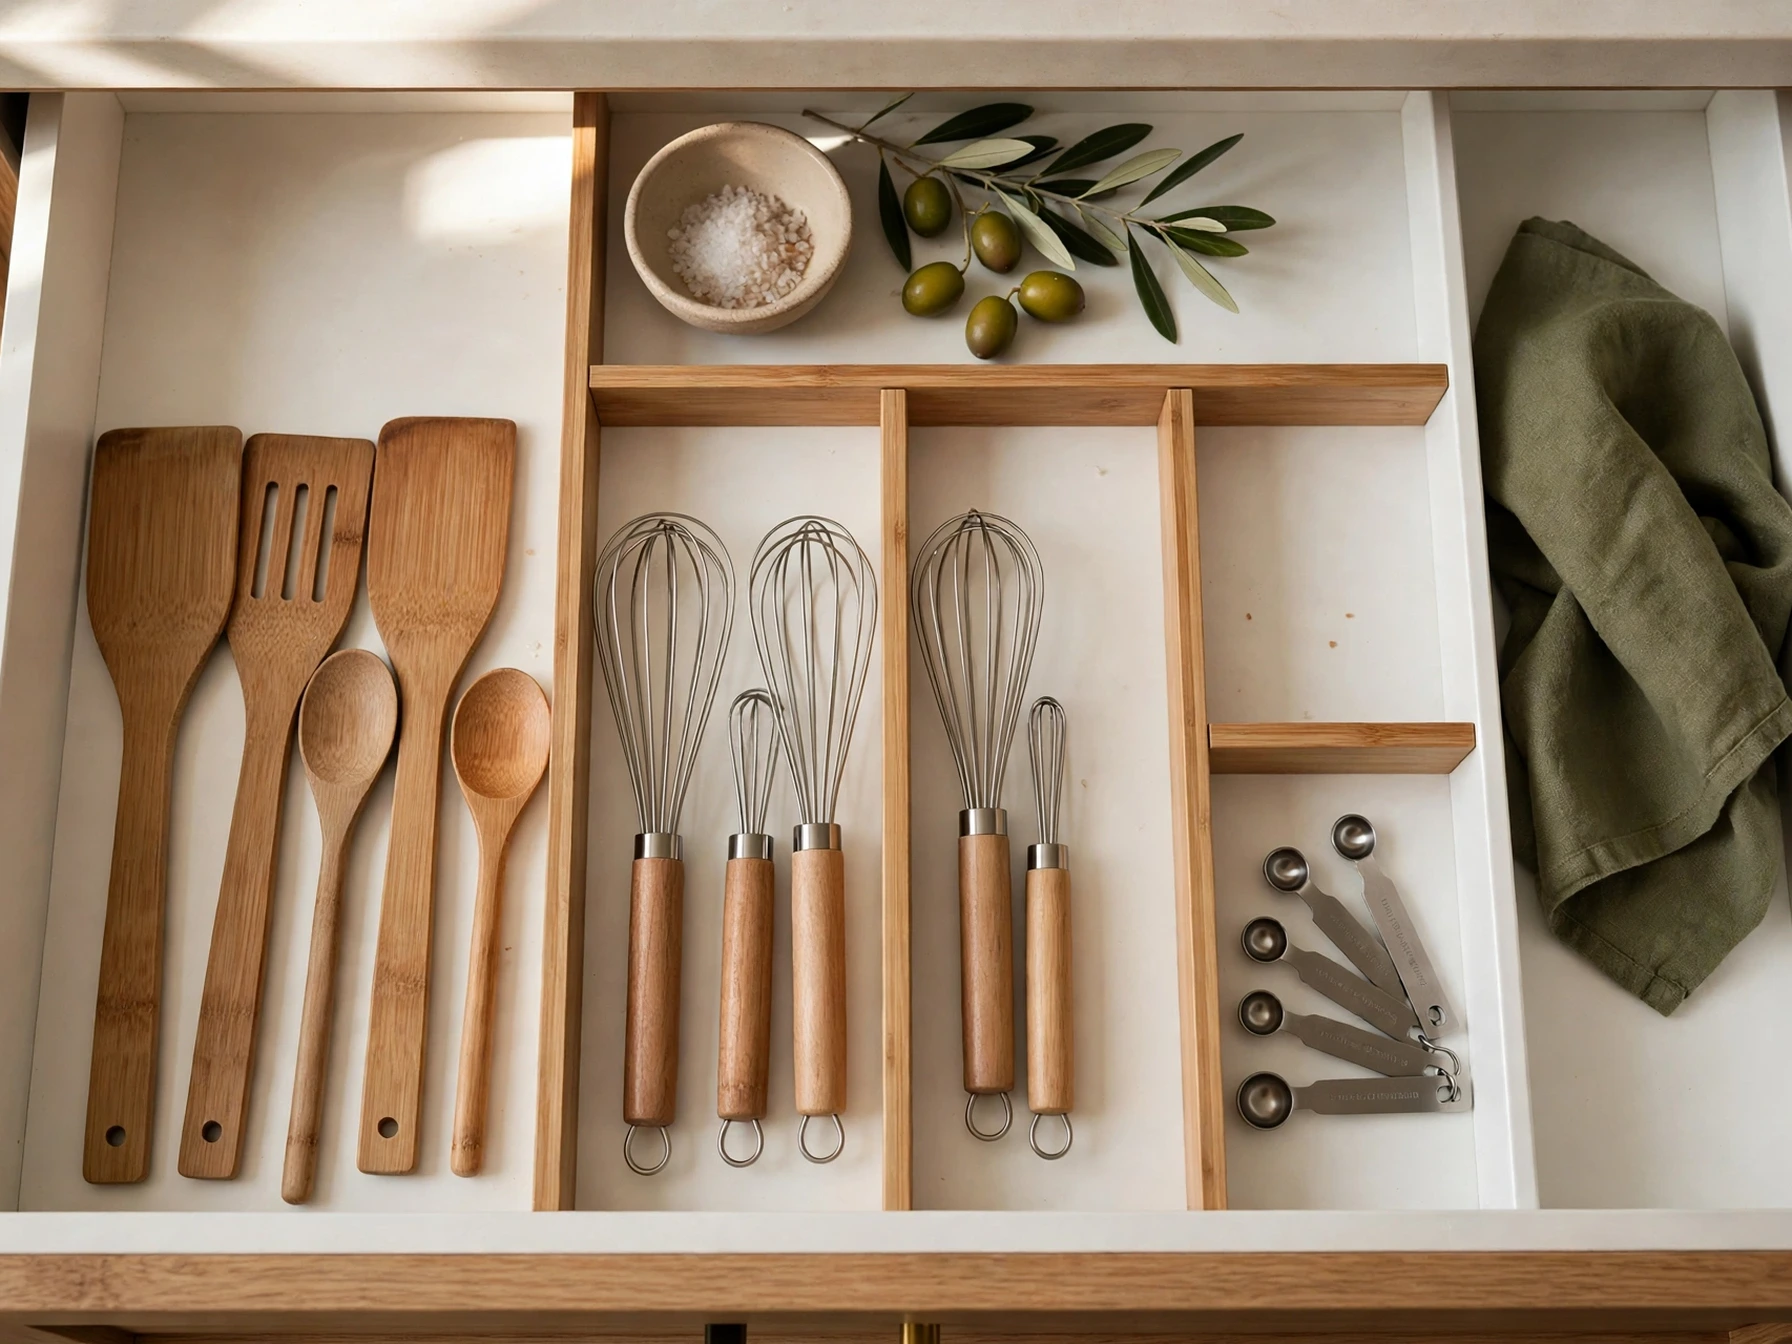
16. Divide Every Drawer with Bamboo Inserts
An undivided drawer is where utensils go to tangle. Drawer dividers — adjustable bamboo inserts or small trays — give every tool its own slot, so the spatula is never under the whisk and the measuring spoons are never lost.
Start with the utensil drawer, then do the junk drawer. Keep the dividers shallow enough that the drawer still closes easily, and leave one small empty section for the odd item with no home yet.
Practical note: Adjustable bamboo dividers fit most drawers without measuring. For a full drawer plan, see our kitchen drawer organization ideas.
17. Use the Inside of Cabinet Doors
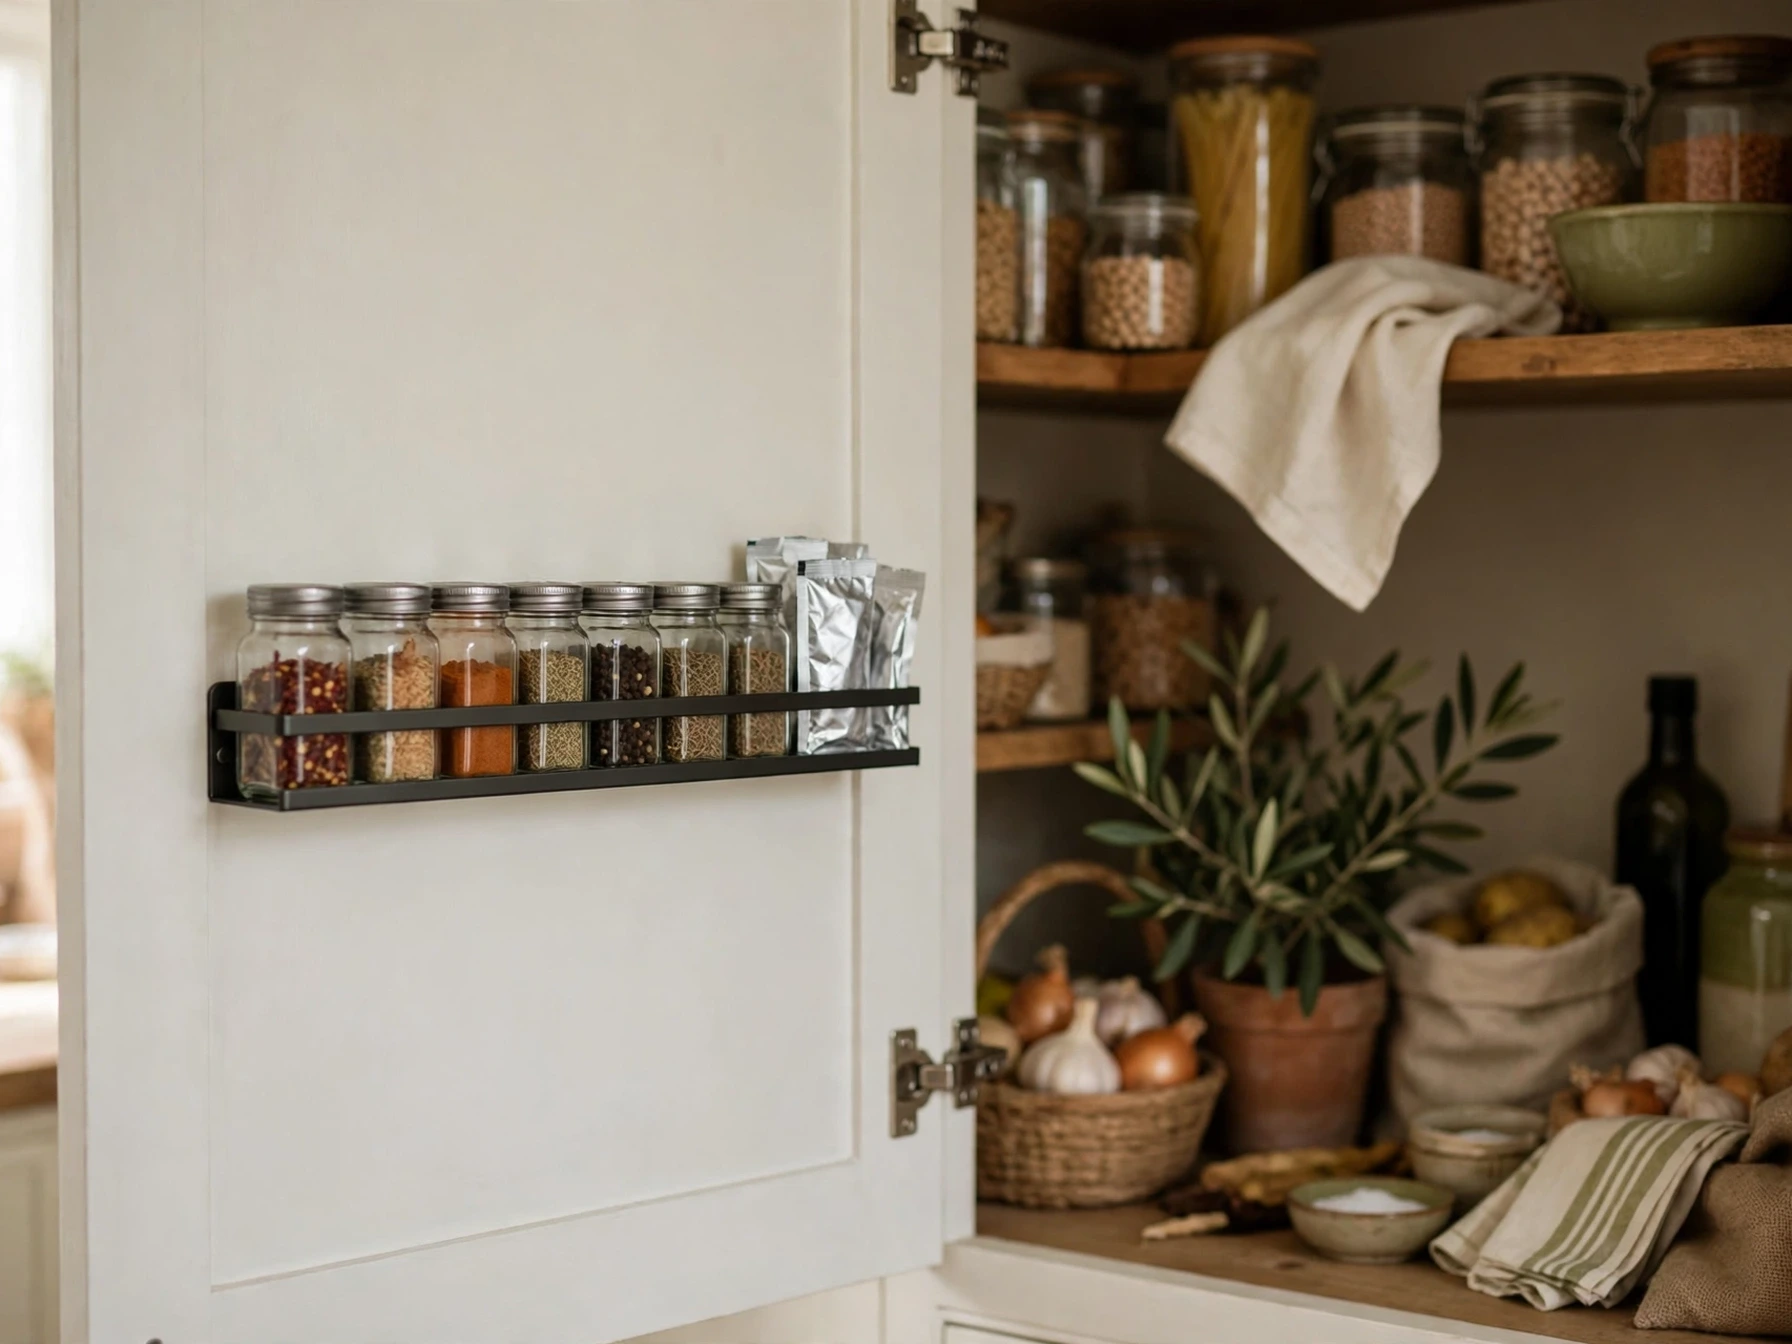
The inside of a cabinet door is a hidden shelf that most renters ignore. A slim adhesive rack or a row of small hooks there holds spice jars, measuring spoons, and foil that would otherwise crowd a shelf — and it keeps them visible every time you open the door.
Choose a rack shallow enough for the door to close fully, and keep the heaviest items at the bottom. Adhesive mounts mean the rack peels off cleanly when you move, with no marks on the door.
Practical note: Measure the gap between the door and the shelf behind it before buying, so the rack does not bump the shelf when the door closes.
18. Tame the Under-Sink Cabinet
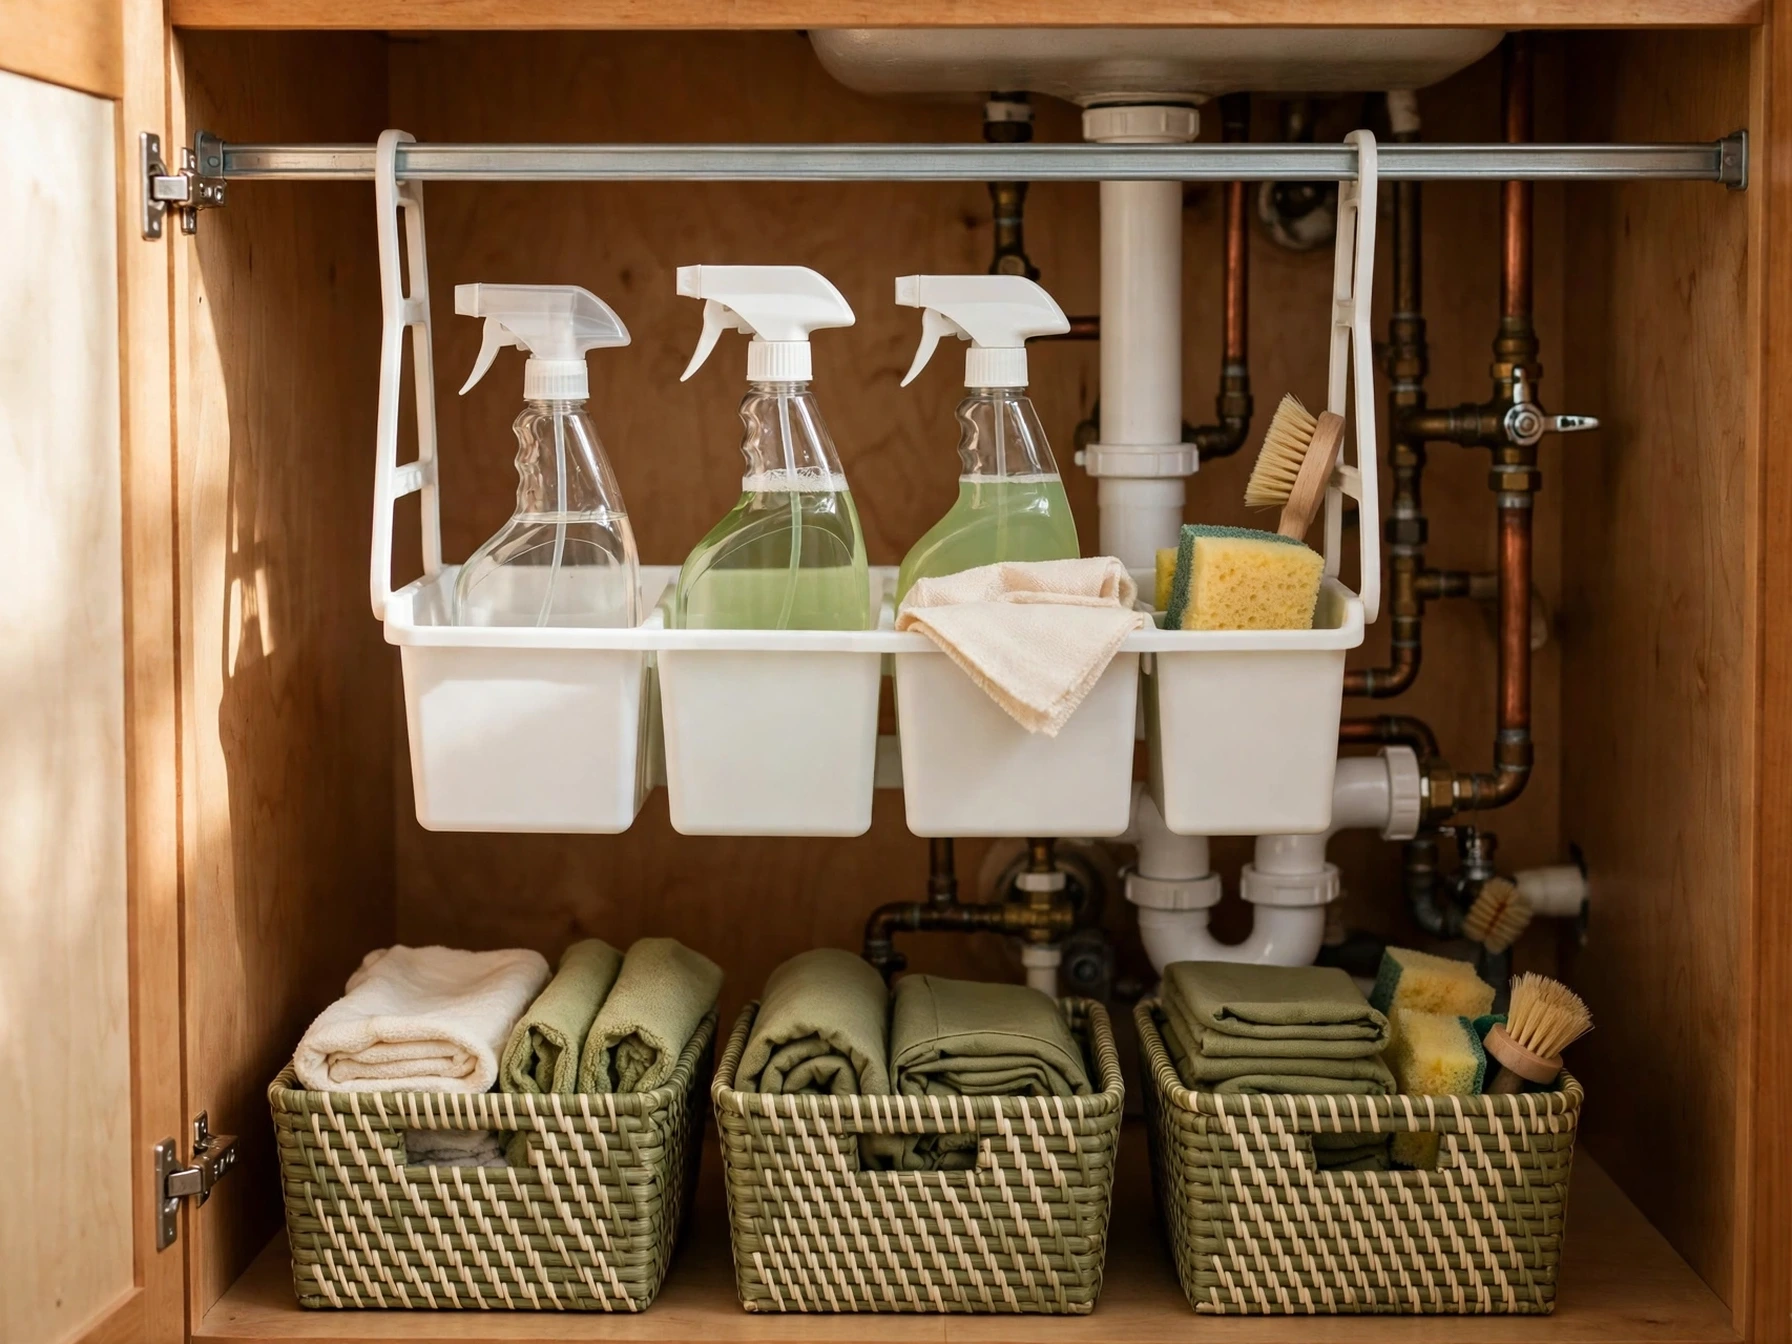
The cabinet under the sink is the messiest spot in most rental kitchens, because pipes make it awkward and cleaning supplies pile up there by default. A small caddy with a handle holds your everyday sprays and cloths so you can lift them all out at once.
Add a tension rod across the cabinet so spray bottles can hang by their triggers, and keep a small bin underneath for spare sponges. Keep only cleaning supplies here, and check the pipes for drips while you are organizing.
Practical note: A two-tier shelf that fits around the pipes doubles the space. For more under-sink ideas, see our under kitchen sink organization ideas.
19. Follow the One-In, One-Out Rule
Organization fails when new things keep arriving and nothing leaves. The one-in, one-out rule fixes that: every time a new mug or gadget comes into the kitchen, an old one goes out — to a donation box or the bin.
Keep a small donation box in a hallway cupboard, and drop the outgoing item straight into it. Review the box once a month and take it to a charity shop. The rule works best when the whole household knows it, and it matters most in a rental, where space is already tight.
Practical note: Apply the rule to gifts too. A new gadget is lovely, but if it replaces a tool you already use, let the old one go the same week.
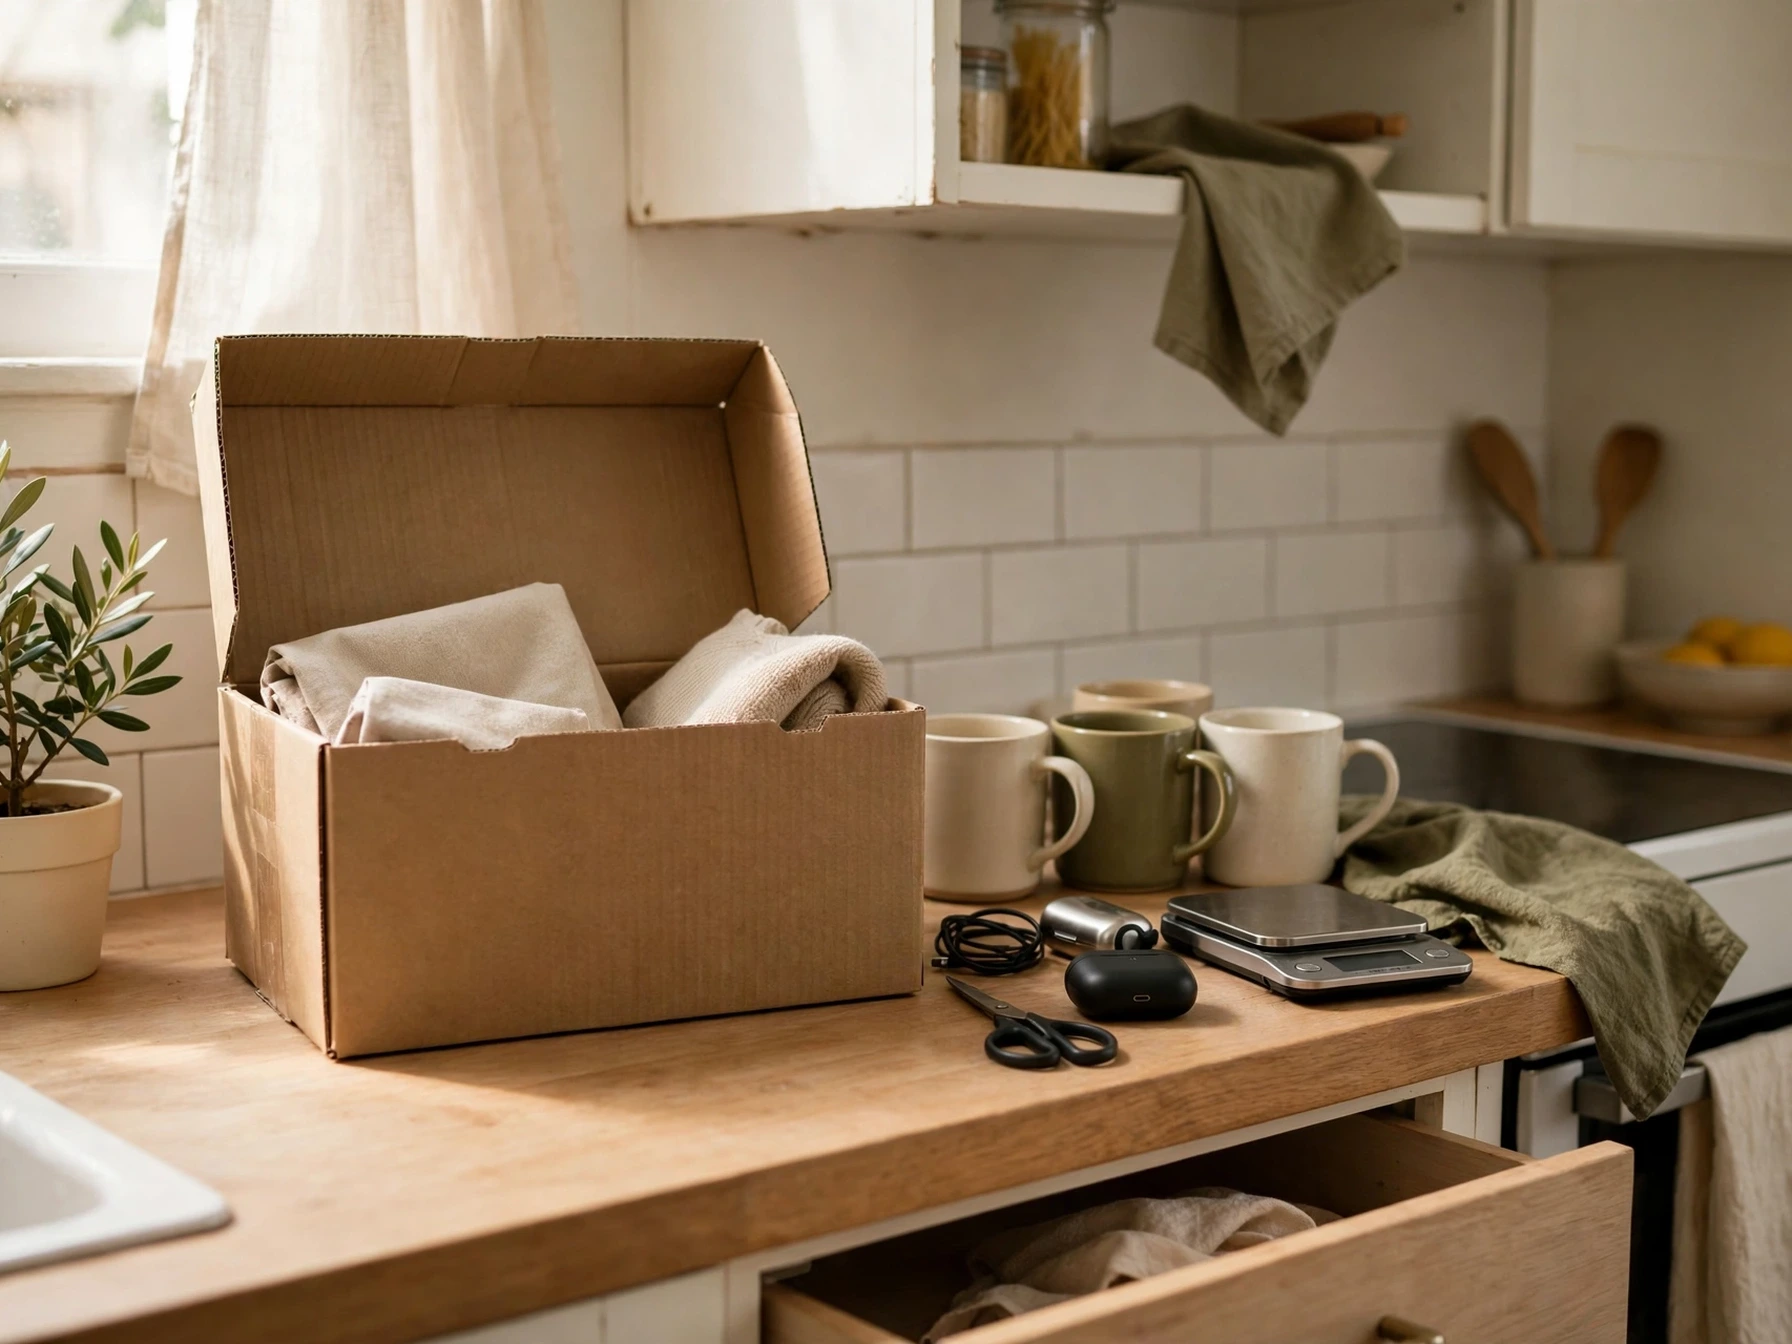
20. Do a Ten-Minute Weekly Reset
Even the best system drifts without a short weekly reset. Once a week, spend ten minutes putting things back in their zones, wiping the shelves and the counter, and checking the fridge for food past its best.
Pick a fixed time — Sunday evening works well — and set a timer for ten minutes. When the timer rings, stop. A short reset you actually do every week beats a long clean you keep putting off, and it keeps every renter-friendly fix above working.
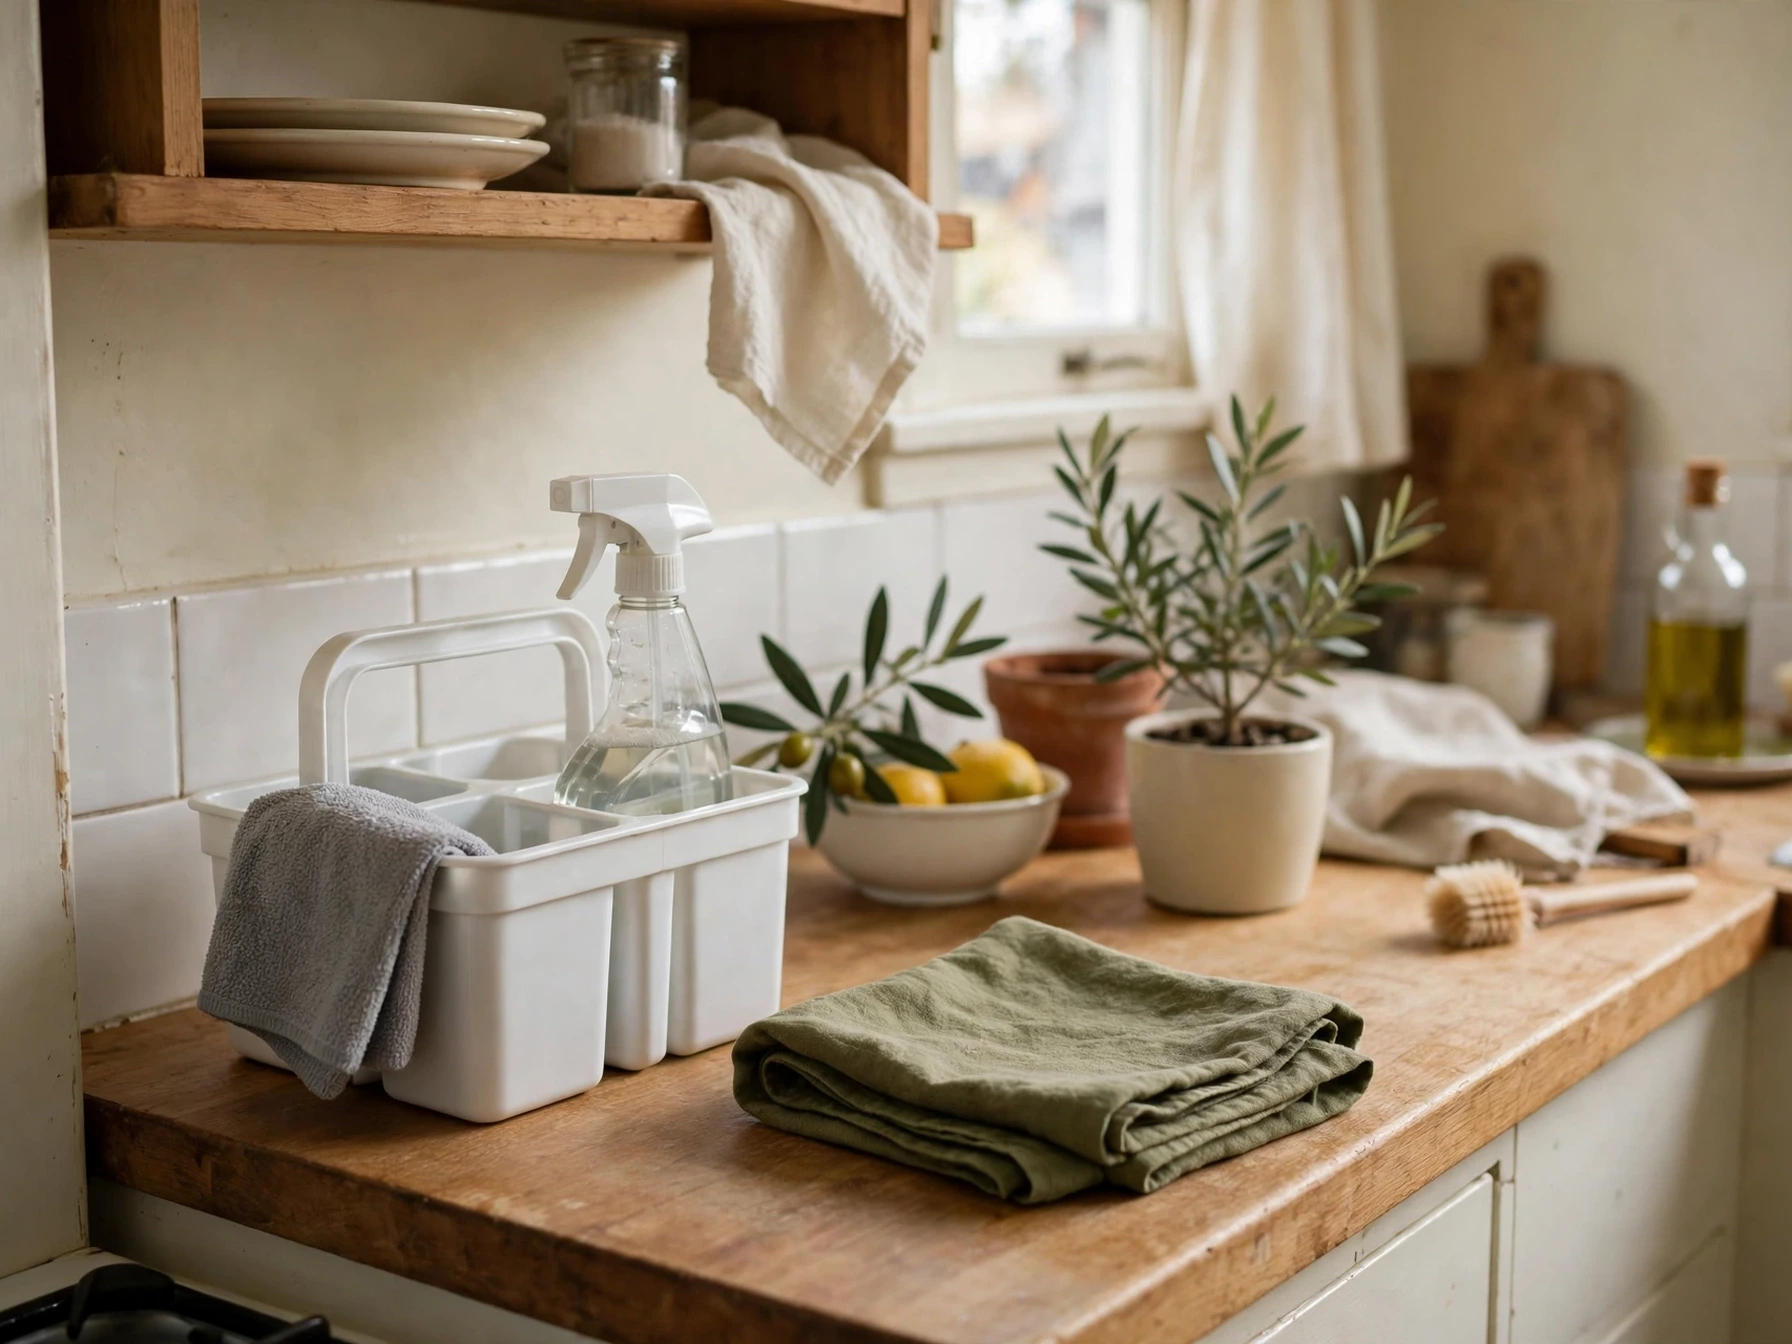
Practical note: Keep a small caddy with a cloth, a spray, and a bin bag ready, so the reset starts the moment you pick it up.
5 Kitchen Organization Tips for Renters
- Start with one zone, not the whole kitchen. Finish one cabinet completely before you start the next. A finished zone motivates you; five half-finished zones overwhelm you.
- Test every adhesive first. Stick one hook, wait a day, and check it holds before you trust it with anything heavy or breakable.
- Keep the sink empty at night. A clear sink in the morning sets the tone for the whole day. Wash up before bed, and the kitchen greets you tidy.
- Store by frequency, not by category. Daily items live at hand height near where you use them; monthly items live high or low. Frequency beats neat categories every time.
- Leave breathing room on every shelf. A shelf that is 80 percent full is easy to use; a shelf that is 100 percent full is a pile. In a rental, breathing room also means nothing gets damaged when you move it.
For renter-friendly ideas beyond the kitchen, see our small bathroom storage ideas and our small laundry room organization ideas — the same no-drill rules work in every small room. And when the kitchen is tidy, our gallery wall ideas for renters show how to decorate it without a single hole in the wall.
Kitchen Organization Ideas for Renters FAQs
How do I organize a rental kitchen without drilling?
Use removable systems: adhesive hooks and rails, over-the-door racks, tension rods, shelf risers, and freestanding shelves. Everything sticks, hooks, or stands on its own, so nothing damages the walls or cabinets and everything moves with you.
What is the best first step for organizing a small rental kitchen?
Audit the kitchen first — walk through with a notebook, list what bothers you, and measure the cabinets and drawers. Then fix the worst zone first, usually the utensil drawer or the cabinet under the sink, before buying anything else.
How can I organize a rental kitchen on a budget?
Use what you already own first: boxes as drawer dividers, jars as containers, and tension rods as dividers. Then add cheap buys one at a time — a shelf riser, a turntable, and a few bins — instead of buying a full set at once.
Will adhesive hooks damage the walls when I move out?
Good removable hooks peel off cleanly from smooth painted walls and tiles if you follow the packet instructions — pull the tab straight down slowly, never yank the hook outward. Test one hook in a hidden spot first, and avoid textured wallpaper, where adhesive holds poorly and can peel the surface.
Final Thoughts
A rental kitchen does not need a renovation to feel calm. It needs removable systems that match how you cook, a clear counter, drawers that open to order, and a few no-drill fixes that cost very little and move with you.
Start with one idea from this list — the adhesive hooks, the tension rod, or the ten-minute reset — and let the kitchen get easier one zone at a time. For more small-kitchen ideas, see our small kitchen organization ideas.
Save this post to your kitchen board and start with one small zone this weekend.